How to Check Wiper Sweep Coverage on a Windshield
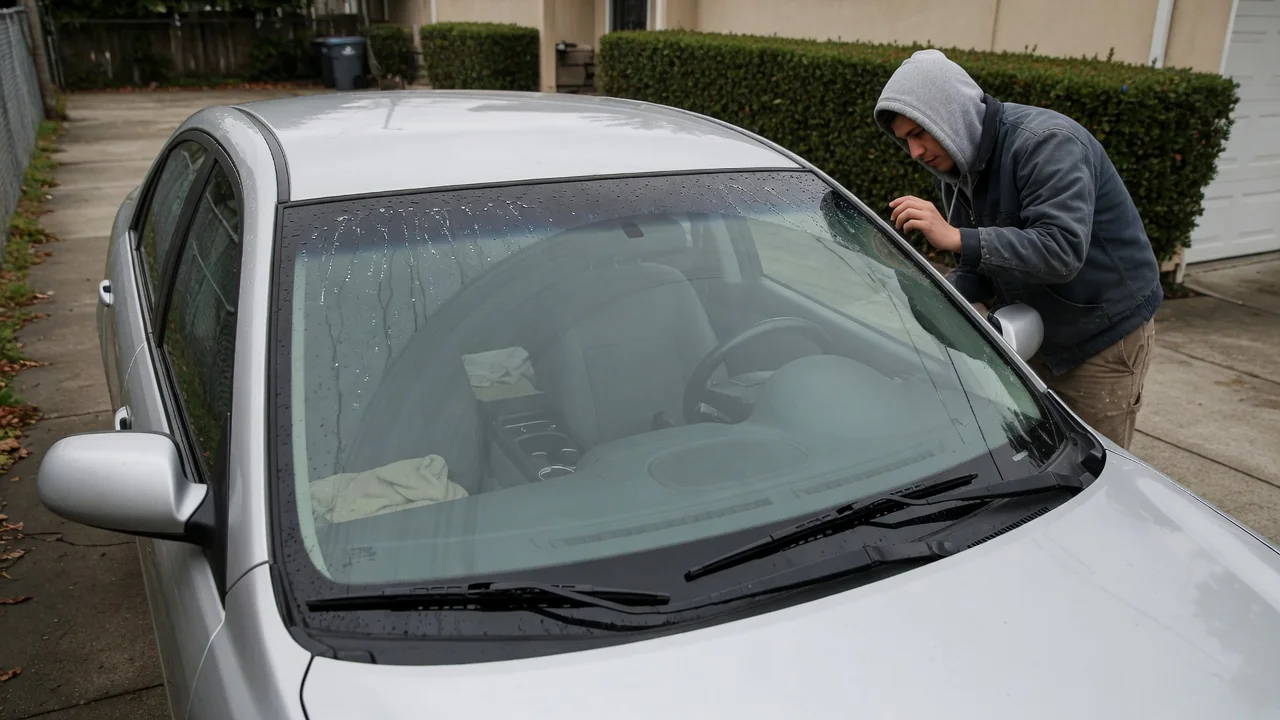
Knowing how to check wiper sweep coverage on a windshield comes down to wetting the glass, watching where the blades clear, and noting where they do not. A few minutes in the driveway can reveal unwiped corners, streaked bands, or an arm that parks in the wrong place, long before a heavy rainstorm turns those missed zones into a visibility problem.
Run washers
Start with the vehicle parked, the engine or ignition on as the vehicle requires, and a full washer reservoir. Spraying the washers gives the blades lubrication, since dragging rubber across dry glass can chatter and give a false impression of poor contact. Let the fluid spread across the windshield, then run the wipers at low speed for several cycles. A light film of road dust actually helps here, because the cleared arc shows up as a sharp boundary against the dirtier glass around it.
While the washers run, look at where the fluid lands. Nozzles that aim too low, too high, or off to one side leave part of the sweep dry, and that part can smear even with healthy blades. Nozzle design differs between vehicles: some spray from the hood, some from the cowl, and some from the wiper arms themselves. If the spray pattern looks weak or uneven, a garden hose or spray bottle can wet the glass evenly so the sweep test still gives an honest picture.
Inspect blade contact
With the glass wet, watch each blade through a full stroke from both the driver's seat and outside the vehicle. A blade in good contact leaves a uniform, nearly dry surface behind it. Thin lines of water usually point to nicks or hardened spots in the rubber edge, while a wide hazy band suggests the blade is not pressing evenly against the curve of the glass. Unwiped patches near the tip or heel of the blade often appear where the windshield curvature is strongest.
Next, switch the wipers off and lift each arm gently, if the design allows it; some vehicles need a service position before the arms clear the hood. Look along the rubber for cracks, tears, or a wiping edge that has taken a permanent set to one side. Check that the blade frame or beam flexes freely and that the element sits fully in its holder. Lower the arm slowly by hand rather than letting it snap, since a bare arm striking the glass can chip or crack it.
Adjust or replace
What the pattern shows determines the fix. Streaks, smears, and chatter that follow the blade across the whole stroke usually trace to worn or contaminated rubber, and cleaning the edge with a damp cloth is a reasonable first step before buying new blades. If replacement is needed, match the length and connector style listed for the vehicle, because driver and passenger blades often differ. A blade that is too long can overrun the glass edge or collide with its partner; one that is too short shrinks the cleared area.
Coverage problems that involve the position of the arc, rather than the quality of the wipe, point toward the arm or linkage. An arm that parks too high, sweeps past the pillar trim, or stops short of its usual range may have slipped on its pivot or lost spring tension. Repositioning an arm on its splined shaft is possible on many vehicles, but the reference marks and method vary, so the service information for that model should guide the work. A bent arm or worn linkage is generally replaced rather than straightened.
Everyday Use and Observations
Driveway tests are useful, yet real driving reveals things a parked test cannot. At highway speed, airflow can lift a blade off the glass, leaving an unwiped band that never appears at a standstill. Night driving exposes smeared film as glare around oncoming headlights, and light drizzle shows chatter that a heavy washer spray hides. Pay attention to the area directly in front of the driver's eyes and the zone near the driver-side pillar, where a missed strip can hide a pedestrian or cyclist at an intersection.
Some uncleared areas are normal. Most wiper systems leave unswept corners at the top of the glass and a triangle near the bottom center or passenger side, and the exact shape depends on whether the vehicle uses tandem arms, opposed arms, or a single arm. What matters is change over time. Taking a quick photo of the wet sweep pattern with fresh blades gives a baseline, so a shrinking arc, a new streak, or a blade parking in a different spot is easy to recognize later.
Limits and Next Steps
A sweep check has limits. It cannot tell whether poor wiping comes from the blade or from the glass itself, since wax residue, tree sap, oily road film, and fine pitting all cause smearing that new blades will not cure. A thorough glass cleaning before retesting separates those causes. The check also says little about the motor and linkage beyond what is visible, although slow movement, uneven speed, or knocking noises during the stroke are worth noting alongside the coverage pattern.
If new, correctly sized blades on clean glass still leave missed zones, the next step is a professional inspection of arm tension, pivot wear, and the linkage beneath the cowl. Vehicles with rain sensors or cameras mounted behind the windshield deserve particular attention, because those systems look through the swept area and may behave erratically when it stays dirty. Until the fault is resolved, treat reduced coverage as a real safety limitation and avoid driving in heavy rain when the driver's primary viewing area cannot be kept clear.