How to Check Trailer Lights Before a Trip
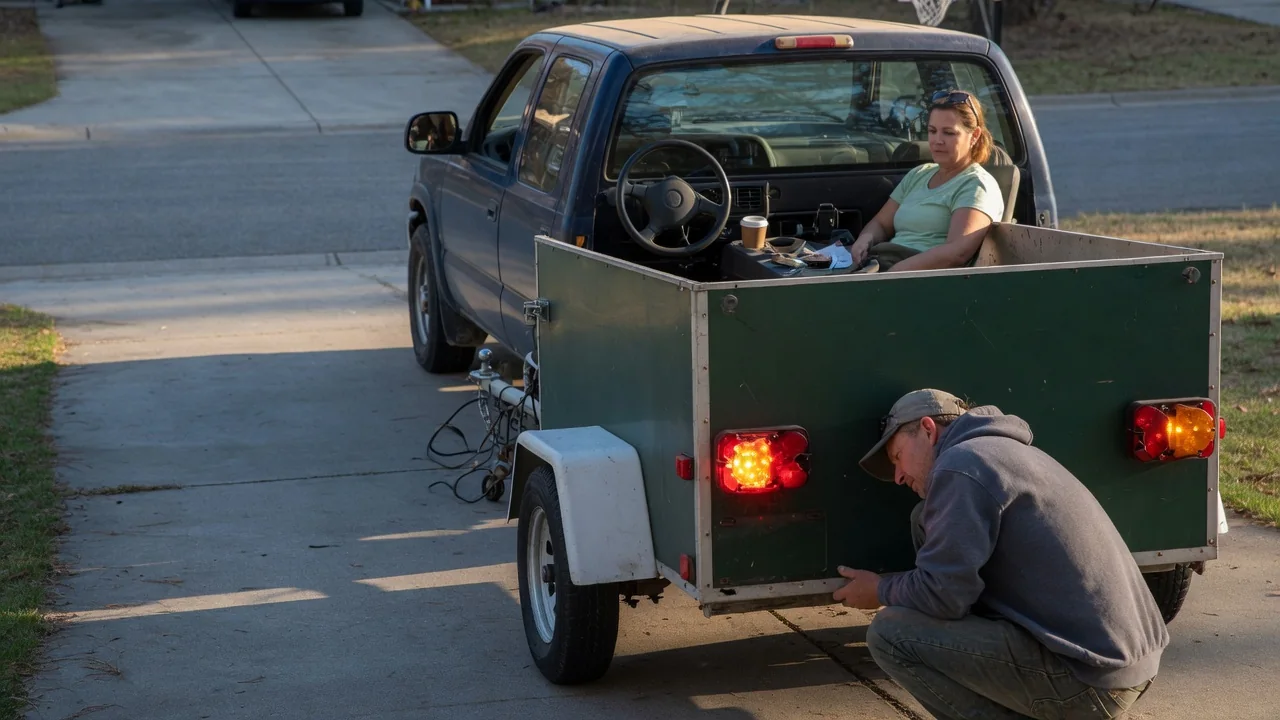
Knowing how to check trailer lights before a trip takes only a few minutes, and it protects everyone behind you on the road. Drivers following a trailer rely entirely on its lamps to read your braking and turning intentions, because the tow vehicle's own lights are often hidden. A consistent routine, done in the same order every time, catches most problems in the driveway.
Connect plug
Start at the connector, because every lamp on the trailer depends on it. Before plugging in, look into both the vehicle socket and the trailer plug for green or white corrosion, bent pins, packed dirt, or moisture. Flat four-way connectors, common on small utility and boat trailers, carry only the basic lighting circuits, while round seven-way connectors on larger trailers add circuits such as electric brakes and auxiliary power. The layout varies by vehicle and trailer, so an adapter may be needed when the two do not match.
Push the plug in fully until it seats, and on connectors with a spring-loaded cover, make sure the latch tab catches the plug so it cannot vibrate loose. Route the harness with enough slack for tight turns but not so much that it drags on the pavement or snags the hitch. Some tow vehicles display a trailer-connected message on the instrument cluster, and others give no indication at all, so a firm physical fit remains the most reliable sign that the connection is ready for testing.
Check each lamp
With the plug seated, switch on the ignition and work through the functions one at a time rather than all at once. Turn on the parking lights and walk around the trailer to confirm the tail lamps, side markers, clearance lamps, and license plate light are glowing. Then run the left turn signal, the right turn signal, and the hazard flashers, checking that the correct side responds each time. A signal that flashes on the wrong side points to a wiring mismatch, not a bad bulb.
Brake lights are the hardest to verify alone. A helper pressing the pedal is the simplest approach, but backing up near a garage door, wall, or shop window at dusk lets you watch the reflection in the mirrors. If the trailer has reverse lamps, have the helper hold the brake and select reverse while you watch from behind, standing clear to one side. Compare brightness from side to side as well, since a lamp that glows dimly compared with its twin is working poorly even though it technically lights up.
Trace faults
The pattern of a failure tells you where to look first. One dead lamp while the rest work usually suggests a bulb, a corroded socket, or a break in that lamp's own wire. Several lamps that are dim, flicker, or behave strangely together, such as tail lights that pulse when the turn signal runs, often indicate a weak ground. On many trailers the ground wire is fastened to the frame near the tongue, and rust under that connection is a frequent source of trouble.
It also helps to determine whether the fault sits on the tow vehicle or the trailer. A simple plug-in circuit tester inserted in the vehicle socket shows whether each function is being sent; if a signal is missing there, a blown fuse or a faulty relay or converter module on the vehicle side becomes the likely suspect, and the owner's manual identifies the relevant fuse locations. If the socket tests correctly, follow the trailer harness rearward, looking for chafed insulation, pinched sections, and loose splices.
Everyday Use and Observations
Trailer lighting lives a harder life than the lamps on the tow vehicle. Boat trailers are submerged at the ramp, utility trailers sit outdoors for months, and every trailer shakes over rough roads. Lamps that worked on the last outing can fail in storage as moisture creeps into sockets and connectors. Cloudy or cracked lenses, water sloshing inside a housing, and faded reflectors are all worth noting during the walk-around, because they reduce visibility even when the bulb itself is fine.
Pay attention to what the tow vehicle tells you as well. A turn signal that flashes faster than normal with the trailer attached, or a bulb-out warning on the dash, can point to a failed trailer lamp or to a mismatch between LED trailer lights and the vehicle's lamp monitoring, and behavior differs between manufacturers. Repeat a quick check at fuel stops on long drives, since a plug can work loose and lenses coated in road grime dim noticeably, particularly in rain or after gravel roads.
Limits and Next Steps
A driveway check confirms that the lamps work at that moment; it cannot guarantee the wiring will survive the trip, and it does not cover everything. Electric trailer brakes, breakaway systems, and battery charging circuits share the larger connectors but need their own verification according to the trailer and brake controller instructions. Lighting requirements also vary by state and by trailer size and weight, so confirm which lamps and reflectors your trailer is required to carry before assuming a working set is a complete one.
Simple fixes such as cleaning contacts, replacing a bulb, or tightening a ground connection are within reach of most owners. Recurring blown fuses, melted connector housings, or faults that come and go deserve professional diagnosis, because they suggest a short circuit or an overloaded circuit that guesswork will not resolve. If a brake or turn lamp cannot be restored before departure, postponing the trip or repairing it first is the safer choice. Carrying spare bulbs, fuses, and a circuit tester makes roadside problems easier to handle.