How to Change the Oil on a Light-Duty Diesel Engine
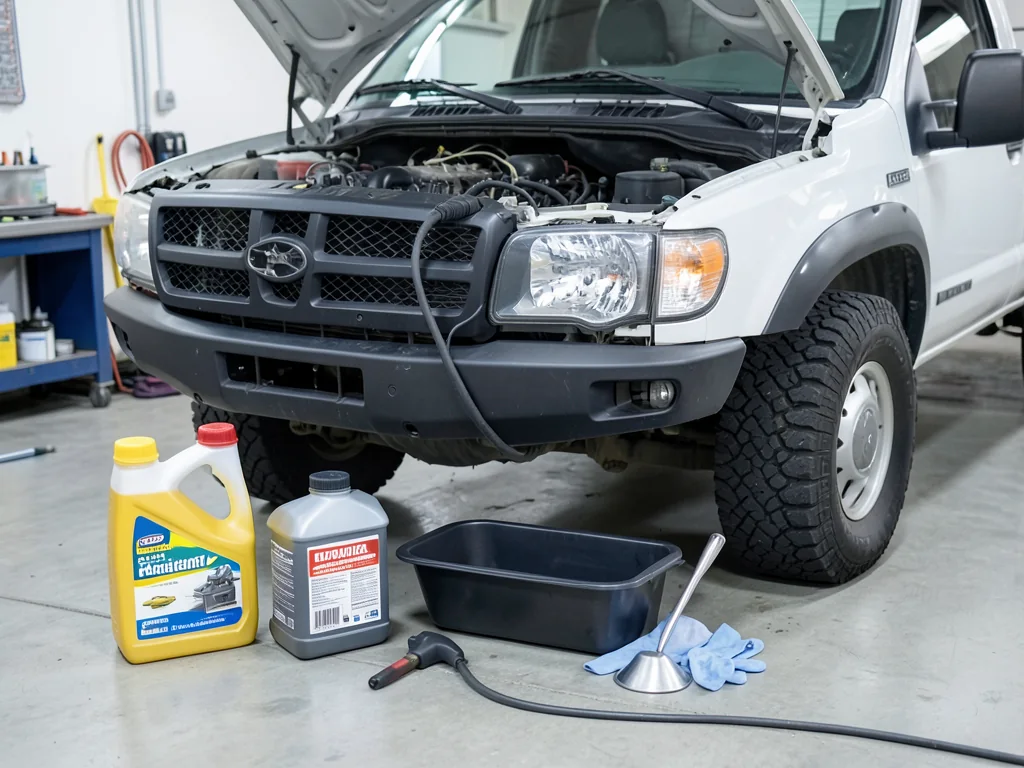
An oil change for a diesel engine follows the same basic logic as any oil change, but the details matter more. Light-duty diesel trucks and cars often call for specific oil approvals, larger fill quantities, and filter designs that differ from gasoline setups. When you change oil on a diesel engine, work from confirming the specification through verifying the final level, so the service protects both the engine and its emissions hardware.
Confirm the Oil Specification and Service Capacity
Start by identifying the exact engine, because the same truck or car may be offered with different diesel and gasoline engines, each with its own requirements. The owner’s manual or factory service information lists the required oil viscosity, the diesel oil specification, and any manufacturer oil approval. A bottle labeled for diesel use, or one that simply matches the viscosity number, does not prove suitability. Many engines with a diesel particulate filter require low-ash formulations, and the wrong oil chemistry can contribute to faster aftertreatment loading over time.
Next, find the refill capacity that includes a new filter, often published as oil capacity with filter. That figure differs from dry-engine capacity, which applies to a rebuilt or completely empty engine and would overfill the engine during a routine service. Some light-duty diesels hold considerably more oil than a comparable gasoline engine, so buy enough of the specified oil and confirm your drain pan can hold the entire volume with room to spare. Planning around the published number prevents an interrupted job and a half-drained vehicle.
Gather Supplies and Establish Safe Access
Before changing diesel engine oil, gather the specified oil, a replacement filter verified for your engine, and any new seals or drain plug washer the procedure calls for. Add correctly sized wrenches or a filter tool, a torque wrench for published tightening values, a clean funnel, nitrile gloves, rags, and a drain pan sized for the full capacity. Then use vehicle-specific information to locate the fill opening, the dipstick or electronic level check, the filter housing, and the engine oil drain plug before you begin.
Park on a firm, level surface, shut the engine off, and apply the parking brake. Let the engine cool enough that the oil and nearby exhaust components cannot burn you. If reaching the drain plug or filter requires lifting, use approved lifting equipment and rated supports placed at the points the manufacturer specifies. Never work beneath a vehicle held only by a jack, because jacks are designed for lifting, not for holding weight. When safe access is not available, a shop oil change on a diesel engine is the sensible choice.
Drain the Engine Oil and Secure the Drain Plug
The underside of a diesel truck may have several drain plugs close together, including those for the transmission, transfer case, or other components, so positively identify the engine oil drain plug before loosening anything. Position the pan slightly offset to catch the initial stream, which can shoot outward before settling into a steadier flow. Wear gloves and keep your hand clear as the plug comes free. Let the oil drain completely, keeping used oil contained and wiping drips before they spread across the ground or undercarriage.
While the oil drains, inspect the plug, its threads, and the pan’s sealing surface for damage, stripped threads, or debris. Replace the drain plug washer or O-ring whenever the service procedure requires it, since a crushed washer may not reseal reliably. Start the plug by hand to avoid cross-threading, then tighten it to the specified torque. If the threads are damaged or the plug will not seal properly, stop and have it repaired professionally before refilling, because a leaking plug can lose oil while driving.
Replace the Filter and Its Required Seals
Diesel engines use either a spin-on filter or a cartridge element inside a reusable housing, and each design has its own service procedure and correctly identified replacement parts. Place the pan beneath the filter to catch residual oil before loosening it. With a spin-on filter, confirm the old rubber gasket came off with the canister rather than sticking to the mounting surface, since a doubled gasket can leak quickly. With a cartridge housing, remove the old O-rings from the cap or housing wherever the procedure specifies.
Fit each new oil filter seal in its specified groove or position, because an O-ring seated in the wrong location may be pinched or fail to seal. Lubricate seals with clean oil only when the filter or vehicle instructions direct it. Tighten the filter or housing cap using the specified method, whether that is a published torque value for a cartridge cap or a hand-tightening guideline for a spin-on canister. Prefill a filter only when the applicable instructions call for it, since some mounting orientations make prefilling impractical.
Refill, Start, and Verify the Oil Level
Add the specified oil in controlled amounts rather than pouring in the full published capacity at once. Some vehicles specify a refill sequence or an initial quantity before the first check, and a small amount of old oil can remain in passages, so the needed volume may differ slightly from the published figure. Pour slowly through a funnel to keep oil off hot or electrical components. Reinstall the fill cap securely, and if the service information prescribes an initial level check before starting, perform it now.
Start the engine following the vehicle’s startup procedure and watch the oil-pressure warning. It should go out shortly after starting; if it stays on or abnormal noise develops, shut the engine off promptly and investigate. From a safe position, look around the drain plug and filter for leaks. Then stop the engine, wait the required settling time, and check the dipstick oil level or electronic reading under the specified conditions. Top up gradually as needed, and correct any overfill before driving the vehicle.
Finish the Service and Recognize Warning Signs
Reset the oil-life monitor only after the service is complete, using the procedure in the owner’s manual, since resetting early can leave the reminder out of step with the actual work. Record the date, mileage, oil specification, and filter part used, which helps with warranty questions and future diagnosis. For the next diesel engine oil change, rely on the manufacturer’s maintenance schedule and its guidance for operating conditions such as towing or extended idling, rather than a universal mileage interval borrowed from another vehicle.
Diesel oil often darkens quickly because it holds soot in suspension, so color alone cannot establish its condition or remaining service life. More meaningful signs include an oil level that rises between changes, which can point to fuel or coolant dilution, a warning that persists, or a leak that continues after the service. Any of these warrants proper diagnosis. Take used oil and filters to an appropriate collection facility for used oil recycling, keep oil separate from other fluids, and clean up any spills promptly.