How to Change a Diesel Fuel Filter and When to Do It
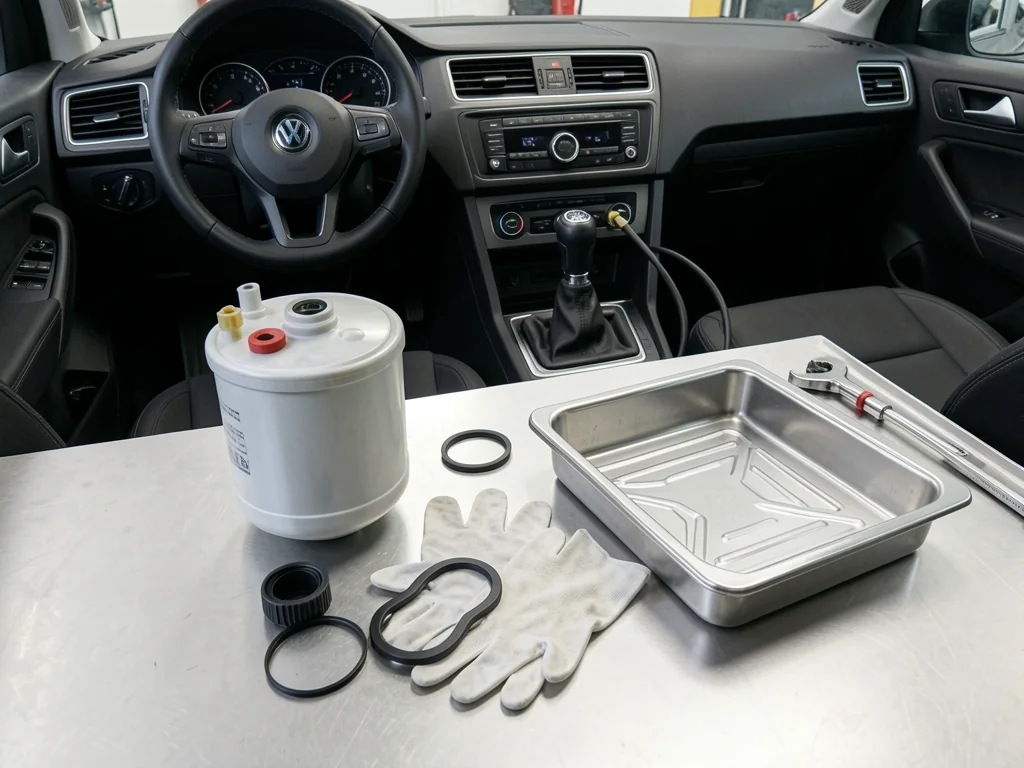
Knowing how to change a diesel fuel filter starts with respecting how sensitive a diesel fuel system is to dirt, water, and air. A diesel fuel filter replacement is more than swapping a cartridge. It involves confirming the right interval, keeping every opening clean, priming the system correctly, and checking for leaks afterward, with vehicle-specific instructions governing each step.
Find the Diesel Fuel Filter Replacement Interval
The diesel fuel filter change interval for your truck or car is set by the manufacturer, not by a rule of thumb. Look in the maintenance schedule in the owner's manual or official service information, where the replacement interval may be given as a mileage figure, a time limit, or both, with whichever comes first taking priority. Also check whether the schedule sets separate requirements for particular operating conditions, such as dusty environments, towing, extended idling, or fuel of uncertain quality, because some manufacturers shorten the interval or add inspections for that kind of use.
When you buy a used diesel with no clear service history, treat the filter's age as unknown rather than assuming it was changed recently. Check receipts, dealer records, and any service stickers near the housing, and ask a dealer or qualified diesel shop for guidance specific to that vehicle. Keep filter replacement separate from water-separator servicing. Draining collected water from the separator, often prompted by a water-in-fuel warning, can have its own instructions and timing, and draining it does not replace the filter element.
Identify the Filter and Prepare for Clean, Safe Service
Before replacing a diesel fuel filter, confirm the model year, engine, and exact filter part, along with the replacement seals or O-rings that should come with it and the service procedure for your configuration. Some diesel vehicles use more than one serviceable filter. One example is a primary filter with a water separator along the frame rail and a secondary filter mounted on the engine, each with its own location and requirements. Verify every one before starting so you don't service one filter and overlook another.
Work with the engine off and cooled, the parking brake set, and the area well away from sparks, flames, or other ignition sources. Clean road grime from around the fuel filter housing before opening anything, set out a drain pan and absorbent material, and wear eye protection and fuel-resistant gloves. Never loosen high-pressure injection lines or fittings. If the filter sits behind components that need specialized tools, or the procedure calls for pressure control you can't perform, have a professional do the job.
Understand the Filter Removal and Installation Sequence
The general sequence for changing a diesel fuel filter follows the manufacturer's steps: contain residual fuel, remove the serviceable filter, and protect the open connections. Fuel will spill when the housing opens or the canister comes off, so put the drain pan in place first. Once the old filter is out, cap or cover the exposed ports and the empty housing right away. Even fine grit that reaches the clean side of the filter can travel toward the injection pump and injectors, which depend on extremely tight internal clearances.
A cartridge-style housing usually involves removing a cap and filter element, with new seals fitted to the cap. A spin-on filter comes off as one unit and seals against its mounting base. Seat each specified seal fully, make sure no old seal stays stuck behind, and use only the lubrication and tightening values in the service instructions. Prefill a new filter only if the manufacturer approves it, because pouring unfiltered fuel into the clean side can introduce contamination. Collect used fuel in a sealed container and take it, along with the old filter, to a local waste facility that accepts them.
Prime the Diesel Fuel System and Remove Trapped Air
Opening the fuel filter housing lets air into the low-pressure fuel supply, and diesel injection systems depend on a steady, air-free flow of fuel. Trapped air can stop the pumps from delivering fuel properly, cause hard starting or stalling, and in some designs leave components running without the lubrication the fuel normally provides. That's why the prescribed fuel system priming process has to be finished before the first start attempt. Don't count on the starter motor to pull fuel through a dry system.
Priming arrangements vary. Some vehicles have a hand primer on the filter housing, others run an electric lift pump when the ignition is switched on, and some have a designated low-pressure bleed provision on the filter head. Follow the procedure for your exact vehicle, including any ignition-cycle routine, bleed order, and starter duty limits, rather than a generic count. Never crack injector pipes or open high-pressure fuel connections to bleed air. Fuel escaping at high pressure can penetrate skin and cause serious injury.
Check for Leaks and Normal Operation After Replacement
After priming, keep tools, rags, and hands clear of the engine bay. Then start the engine as the service instructions describe and let it idle while you watch the instrument cluster. A water-in-fuel warning, check-engine light, or fuel system message needs attention, and so do rough idle, misfiring, unusual smoke, or stalling in the first minutes. Some engines run briefly unevenly while leftover air clears, but continued abnormal running means the priming or installation should be rechecked before the vehicle is driven.
Check for leaks visually from a safe position. Use a flashlight to inspect the housing, cap, drain valve, and fittings without touching fuel lines or reaching near the belt, fan, or other moving parts. If you see fuel seeping or dripping, shut the engine off and arrange service. Don't drive with an active leak, because diesel on hot exhaust components is a fire risk. Once everything stays dry and runs normally, record the date, mileage, and installed filter part number so the next diesel fuel filter change is easy to schedule.
Know When Hard Starting or Stalling Needs Professional Testing
Hard starting, stalling, or reduced power don't prove that a filter is restricted. The same symptoms can come from air leaks, a weak lift pump, contaminated or gelled fuel, sensor faults, or injection problems, and any stored fault code is evidence to interpret, not confirmation that a part has failed. If trouble shows up right after replacing the diesel fuel filter, likely causes include trapped air, a pinched or missing seal, a loose housing, or the wrong filter. Each of these still needs to be confirmed.
If the prescribed priming procedure doesn't get the engine started, stop cranking once you reach the manufacturer's starter limits. Repeated attempts can overheat the starter and drain the battery without fixing the fuel problem. At that point, professional testing is the sensible next step. A diesel technician can measure low-pressure supply, check for air entry with the right equipment, and sample the fuel for water or contamination. That diagnosis keeps you from replacing pumps, sensors, or injectors on guesswork when the fault may be a simple sealing or supply issue.