How Tight Should Spark Plugs Be? Torque and Avoiding Cross-Threading
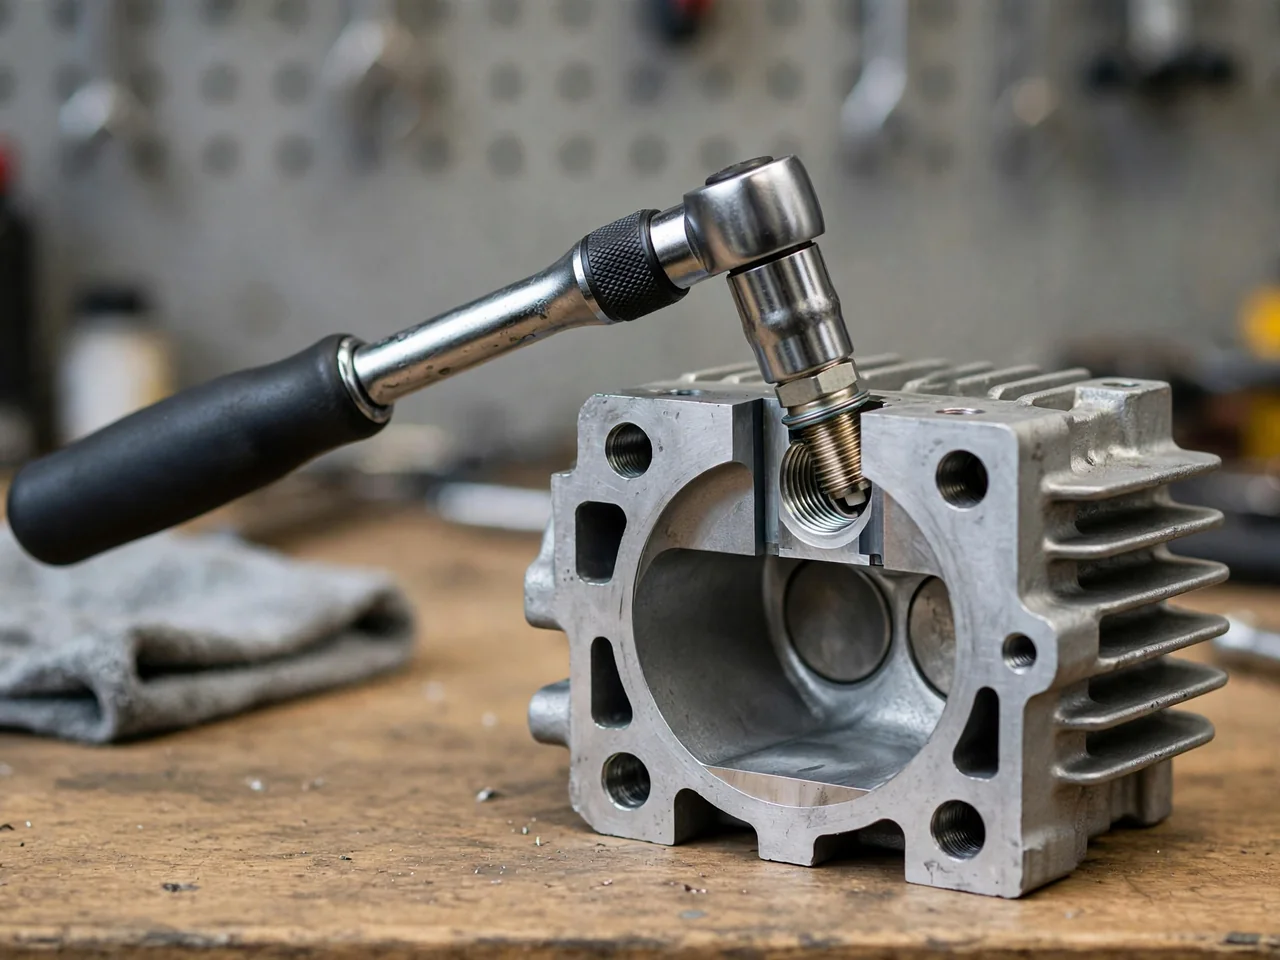
How tight spark plugs should be depends on the spark plug torque specification for that engine and plug, not on a guess from feel. Correct tightness creates the seating load that seals combustion and transfers heat through the gasket seat or tapered seat into the cylinder head. Applying that specified torque, watching thread condition and lubrication, and stopping at early signs of cross-threading protects cylinder head threads from damage.
Correct Spark Plug Tightness Starts With the Specified Torque
There is no single tightness that is safe for every spark plug installation. How tight spark plugs should be is defined by the spark plug torque specification for that engine, cylinder head material, thread size, and the particular plug. A torque wrench is the practical way to apply that value because the target is a seating load, not a sensation in the wrist. That load presses the gasket seat or tapered seat so combustion gases stay in the chamber and heat can leave the plug shell into the head.
Insufficient tightening leaves the plug poorly seated, so sealing can leak and heat transfer at the spark plug seating surface can suffer. Excessive tightening can crush a gasket, distort a tapered seat, or stretch and damage cylinder head threads, and it can also crack a ceramic insulator. Feel cannot confirm that the specified torque has been reached because friction, thread condition, and tool leverage change how hard a plug seems to turn. Two installations that feel similar can produce very different clamping loads.
Confirm the Plug Application and Installation Requirements
Before choosing a torque value, confirm the plug application in vehicle service information and in the plug manufacturer's installation instructions. Thread size changes how much clamp load a given torque produces, and aluminum cylinder head threads typically require a different approach than iron because they are more easily damaged. A gasket seat depends on compressing a gasket evenly, while a tapered seat relies on metal-to-metal contact without a crush washer. Those differences mean installation requirements are not interchangeable across engines or plug styles.
Some manufacturers specify an angle after a seating point rather than, or in addition to, a torque figure. That angle guidance assumes a particular gasket condition and a plug that has not already been crushed by a prior installation, so a reused or distorted gasket can make the same turn produce the wrong load. If service information and the plug maker disagree, or if a value is missing, do not guess and do not fall back on a generic torque chart. Resolve the conflict with qualified support for that vehicle.
Thread Condition and Lubrication Affect Tightening
A torque reading is not a direct measure of clamp load. It is a turning effort that includes friction in the cylinder head threads and at the seating surface. Oil, anti-seize compound, leftover carbon, or damaged threads can raise or lower that friction, so the same wrench click can leave the plug under-clamped or over-clamped. Follow the applicable instructions on dry threads, factory coatings, and lubricant use rather than applying anti-seize compound as a default. If those instructions call for dry installation, added lubricant changes the load the specified torque was meant to create.
Visible debris, galling, or deformed threads are a reason to stop and assess the opening before the new plug goes in, because contamination and existing damage change thread resistance and can prevent true spark plug seating. Cleaning methods and thread repair are a separate job from tightening. Follow the specified engine-temperature condition for installation. Hot cylinder head threads expand, which can alter how a plug engages and how torque converts into load, so hot components should be allowed to cool before they are handled.
Recognize Cross-Threading Before Applying Tightening Force
Cross-threading occurs when a spark plug enters out of alignment and cuts across the cylinder head's intended thread path instead of following it. Once those threads are crossed, continued turning can peel metal from the head and ruin the hole. Start the plug by hand with the shell square to the port so the threads find each other without a powered tool forcing engagement. If the plug will not start easily by fingers, stop rather than reaching for a socket to make it go.
Early binding, a raspy or rough feel, an obvious tilt, or a plug that will not reach its normal seating depth are reasons to back out and reassess alignment. Thread resistance by itself does not prove the plug is cross-threaded. Carbon in the hole, existing thread damage, or an incorrect plug reach or thread size can also stop normal engagement. Do not use a wrench to force a reluctant plug into place. When it is unclear whether the threads are tracking correctly, professional inspection is the safer next step.
Use the Torque Tool According to the Installation Specification
After the plug is fully engaged by hand and sitting on its gasket or taper, a suitable torque wrench applies the specified value in the correct units. The wrench should have a working range that includes that specification rather than sitting at the extreme bottom or top of the scale, where accuracy is poorer. Tighten in a smooth, controlled pull. Jerky motion or a sudden snatch can overshoot the seating load and is not a substitute for watching the wrench indication as the specified torque is approached.
Extensions, crowfoot adapters, and universal joints that change the effective length of the wrench can change the torque actually applied at the plug. Use those accessories only with the tool maker's guidance for correcting the reading. Do not rely on a universal number of extra turns after snug, and do not keep tightening past the specified endpoint because the plug still feels loose. Abnormal resistance while turning is not a path to the correct torque. Stop, because that resistance may mean poor engagement, contamination, or damage rather than a plug that simply needs more force.
Know When Tightening Concerns Need Professional Inspection
Stop if a plug spins without building tightness, binds before it seats, or cannot reach the specified seating condition on the gasket or taper. Those symptoms mean the threads or the seat are not doing what the torque specification assumes, and more turning will not create a reliable clamp. Do not start the engine while secure spark plug seating is in doubt. Combustion pressure on a loosely held or mis-threaded plug can blow the plug, damage the head, or allow hot gas to escape around the shell.
After an installation, misfires, a ticking or puffing sound at the head, or a check-engine light are reasons to have the work assessed, but they do not by themselves prove that torque was wrong or that the threads are damaged. Other ignition, sealing, or sensor issues can produce the same complaints, and a fault code is evidence to interpret rather than proof a part has failed. Damaged cylinder head threads need a separate repair assessment. Thread restoration is outside the scope of tightening practice and should not be improvised once a hole is already compromised.