How Are Old Body Seams Repaired? Corrosion Removal, Joining and Sealing
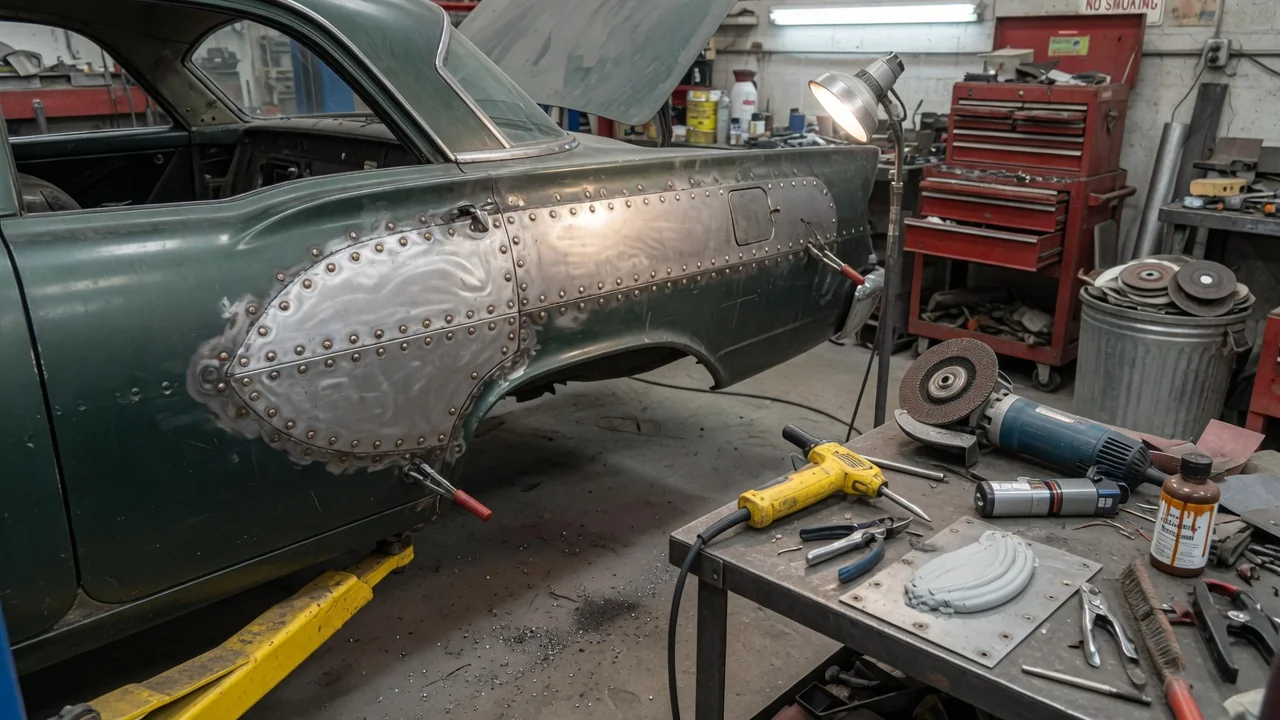
Old body seams, the places where steel panels overlap or meet at flanges, lap joints and pinch welds, are among the most common starting points for corrosion on a classic car. Moisture and dirt get trapped between the layers, and aging factory sealer cracks and lets water in. Classic car body seam repair generally follows three stages: removing corrosion down to sound metal, rejoining the panels, and sealing the seam so it does not trap water again.
Corrosion Removal: Getting Back to Sound Metal
Seam rust is often more extensive than it looks from the outside. Bubbling paint or a swollen line along a joint usually means corrosion has developed between the overlapping layers, where oxygen and moisture are trapped and the metal cannot dry out. The first step is assessment. Old seam sealer is removed with scrapers, heat or abrasives, and the surrounding metal is probed to find where it turns thin or porous. Some older sealers, undercoatings and paints may contain hazardous materials, so dust control and appropriate personal protection are part of the job.
Surface rust on exposed faces can be removed mechanically with wire wheels, abrasive discs or media blasting, or chemically with rust removers and, for complete shells, immersion processes. The difficulty is that none of these methods reliably reaches the inside of a closed seam. For that reason, a corroded seam is often separated rather than cleaned in place. Spot welds are drilled out with a spot weld cutter, the flanges are carefully split, and both mating faces are cleaned to bright metal. Any rust left between the layers will continue to spread after the repair is finished.
Metal that has lost significant thickness is cut out rather than filled. Repairers cut back to solid steel and fit either a replacement panel or a patch fabricated from steel of comparable thickness. Before cutting, it is standard practice to measure key points, photograph the original spot weld pattern and seam layout, and brace openings such as door apertures so the body does not move once material is removed.
Joining: Rebuilding the Seam
Most factory body seams on production steel cars were made with resistance spot welding, which fuses overlapping panels at regular points. In restoration, those joints are recreated either with a resistance spot welder, where both sides of the seam are accessible, or with plug welds. A plug weld is made by punching or drilling holes in the outer flange and filling each hole with a MIG weld that fuses into the panel underneath. Before the layers are clamped together, the mating faces are often coated with a weld-through primer intended to give some corrosion protection in the area that will never be reachable again.
Patch panels inserted into a damaged area are commonly attached with butt welds, where the edges meet flush. A butt weld avoids creating a new overlap that could trap moisture, but it demands a precise fit. Welds are laid as short tacks or stitches spread around the joint, allowing the metal to cool between passes. Thin automotive sheet distorts easily when overheated, and controlling heat is one of the main skills in seam work. Joggled or flanged lap joints are also used in some repairs, typically where they mimic the original construction.
Panel bonding adhesives are another joining method found in modern repair, usually on outer skins rather than load-bearing areas. Whether adhesive is suitable depends on the location and on the adhesive maker's instructions. Structural seams are generally rejoined by welding in a way that reproduces the original construction as closely as practical.
Sealing: Keeping Water Out of the Repaired Seam
Once welding is complete, the area is cleaned, visible welds are dressed where appearance matters, and bare metal is primed promptly so fresh steel does not begin to flash rust. Seam sealer is then applied along the joint, normally over primer. Sealers come in several forms, including brushable, bead-applied and sprayable products, and in different chemistries. The choice affects flexibility, finish texture and compatibility with the primer and paint system, so products are typically selected to work together as a system.
Sealing the outside of a seam is only half of the protection. The enclosed side of many seams faces into box sections such as sills, pillars and crossmembers. After painting, these cavities are commonly treated with a cavity wax or similar penetrating rust-proofing product that creeps into joints and leaves a protective film. Drain holes must stay open; sealer or wax that blocks a drainage path can create the very water trap the repair was meant to eliminate.
For owners who care about originality, the appearance of the sealer matters as well. Factory sealer was often applied with a recognizable bead shape or brushed texture, and restorers may try to replicate that look so the repaired seam does not stand out from the rest of the body.
Practical Implications and Limits
In practice, seam repair is labor intensive mainly because of what surrounds the seam. Trim, glass, interior parts and adjacent panels often have to be removed for access, and the true extent of the damage is frequently unknown until the joint is opened. This is why seam work can grow in scope during a restoration. On seams that tie together load-bearing areas, such as floors, sills, pillars and crossmembers, the quality of the repair affects body rigidity and how the structure behaves in a collision. Misaligned welding can also shift door gaps and panel fit, which is why measurement and bracing are central to the process.
There are limits to what these methods can achieve. Hidden areas that were not opened can still harbor corrosion, and filler or sealer applied over rust only conceals it. Which seams are structural, what the original joining method was and what the correct dimensions are vary from vehicle to vehicle. The factory service manual and body dimension information for the specific model are the appropriate references, and structural repairs are often best left to an experienced body shop.
After a repair, ongoing care helps it last. Owners can periodically check seams for cracked sealer or lifting paint, keep drain holes clear, and renew cavity protection at intervals recommended by the product used, since even a well-made seam depends on staying dry.