How a Turbocharger Is Installed: Preparation and Pitfalls
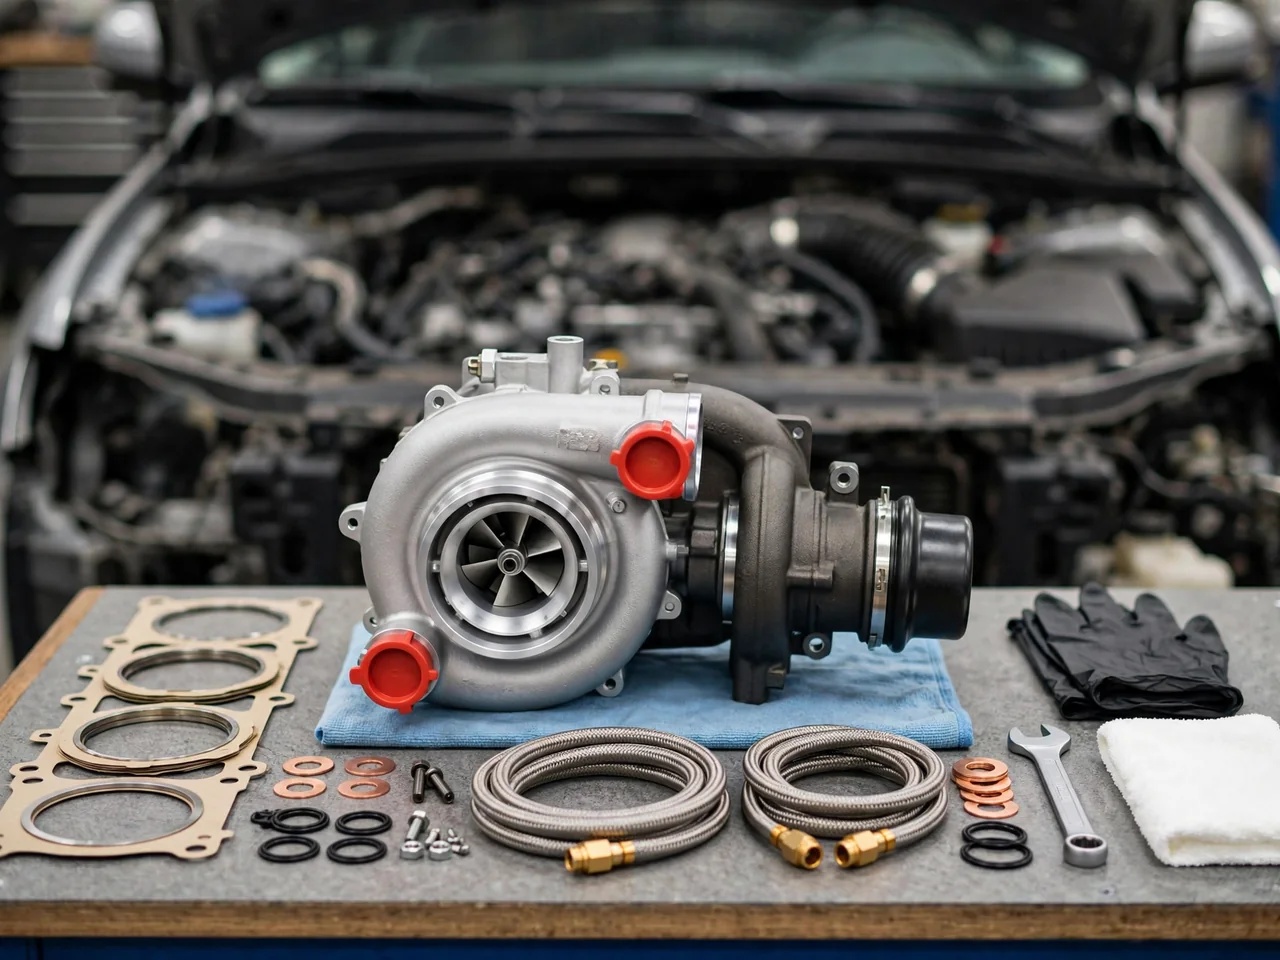
Fitting a turbocharger is more than bolting a housing to an exhaust manifold. Whether the job is a factory replacement or a new forced-induction conversion, turbocharger installation depends on lubrication, cooling, charge air plumbing, boost control, and engine management working together. This overview of how to install a turbocharger, and how to fit a turbocharger in shop or DIY settings, covers preparation, priming oil lines, and common pitfalls without replacing vehicle-specific service information.
Define the Installation Scope Before Ordering Parts
The first decision when installing turbocharger hardware is whether the work restores a factory turbo system or adds forced induction to an engine that never had it. A replacement on an originally turbocharged vehicle follows the manufacturer's installation information, identified turbocharger, and confirmed engine application. Adding boost is a different project: it needs a vehicle-specific engineering plan for lubrication, cooling where fitted, exhaust routing, boost control, and engine management. Mounting space alone cannot prove the assembly is suitable.
Before parts are ordered, confirm the engine, the turbocharger identification, and the applicable manufacturer installation information rather than assuming fitment from appearance or catalog photos. How to fit a turbocharger correctly still depends on oil feed and return paths, charge air plumbing, the exhaust manifold interface, and any coolant connections. Hands-on procedures, torque figures, and specifications belong in vehicle-specific service information. A general walkthrough of fitting a turbocharger can outline the process, but it cannot replace those application details.
Resolve the Original Fault and Prepare the Supporting Systems
An existing turbocharger failure needs diagnosis before a replacement is installed, because the same oil, exhaust, or intake condition that damaged the first unit can damage the next one. A technician may need to investigate oil supply restrictions, drain problems in the oil return line, contamination, and foreign-object damage. None of those issues can be treated as the usual cause without evidence from that vehicle. Installing a turbocharger over an unresolved lubrication or contamination problem can produce a second failure.
Preparation includes inspecting intake plumbing, charge air components, exhaust connections, and the applicable oil and coolant lines for damage or contamination. Specified seals, fasteners, and fluids belong in a clean workspace so debris cannot enter the compressor, turbine, or oil passages. How to install a turbocharger does not rest on a universal parts list or a rule that every hose and gasket must be replaced. Use the vehicle manufacturer's and turbocharger supplier's installation requirements for what must be renewed on that application.
Understand the Mounting and Connection Stages
Professional turbocharger installation follows a sequence: safe access, removal of the old unit, inspection of mating surfaces and supporting hardware, mounting the new or remanufactured turbocharger, then reconnection of every oil, air, exhaust, and coolant path that the system uses. Correct alignment and support matter because strain on the housing, pipes, or flanges can crack castings, leak joints, or preload bearings. The turbo oil feed line, oil return line, and charge air plumbing must sit without being forced into position.
Each connection has a job. The oil feed supplies pressurized lubricant to the bearings, the oil return line drains oil back to the engine, intake and exhaust paths move charge air and turbine gas, boost control regulates wastegate or bypass behavior, and coolant connections, where fitted, help manage heat at the center housing. Tightening sequence, torque values, and sealing methods must come from the specified instructions. Generic fastener settings and unapproved sealant advice do not belong in this process.
Confirm Lubrication and Priming Before the First Start
Turbocharger priming exists because the bearings need an established oil supply before the turbine and compressor spin at speed. A dry first start can starve those bearings in the seconds after cranking, which is why lubrication preparation is part of installing a turbocharger, not an optional extra after mechanical fitment. Follow the turbocharger supplier's and vehicle manufacturer's applicable priming procedure. Do not substitute a guessed oil quantity, a homemade pre-lube method, or a universal cranking time for that documented process.
Oil visible inside a turbo oil feed line does not prove adequate flow or pressure at the bearing housing. A restriction, collapsed hose, blocked gallery, or incorrect filter condition can leave oil in the line while the turbocharger still starts dry. Suspected restrictions require professional verification rather than another start attempt. First-start authorization is a checkpoint: lubrication preparation, fluid levels, and a connection inspection should be complete before the engine is allowed to run after fitting a turbocharger.
Check Startup Behavior and Arrange Controlled Validation
Startup inspection after turbocharger installation is a controlled observation, not a road test. A technician checks for leaks at oil, coolant, intake, and exhaust joints, listens for abnormal sounds, watches for smoke, notes warning indicators, and reviews relevant diagnostic data during the specified initial startup process. An owner who is not performing the service should stay clear of hot and moving components and limit observations to warning lights, unusual sounds, odors, and visible leakage from a safe position.
Smoke, noise, and low power do not independently identify a defective turbocharger. Those symptoms can come from residual oil in the exhaust, charge air plumbing issues, boost control faults, or engine management that has not been validated for the installation. An oil-pressure warning, substantial leakage, severe noise, or uncontrolled engine speed requires shutdown and professional assessment; do not continue running or drive the vehicle to clear the symptoms. Boost control and engine management must be confirmed before normal loaded operation, including calibration work where the installation requires it.
Avoid Installation Mistakes and Recognize When a Shop Is Needed
Skipped root-cause diagnosis, residual contamination, and inadequate oil preparation are installation mistakes that can repeat the original damage. Incorrect seals, unapproved sealant on the oil feed or oil return line, strained plumbing at the exhaust manifold or compressor outlet, and guessed fastener settings can leak, restrict flow, or crack housings. Those risks are reasons to stop and use specified methods, not a cue to improvise a repair. Unresolved lubrication concerns, damaged mounting hardware, uncertain fitment, and calibration requirements are also reasons to involve a shop.
Keep part identification, installation documentation, diagnostic findings, and startup-check results so a later technician can see what was fitted and how it behaved on first run. After fitting a turbocharger, follow the installation-specific inspection and maintenance requirements from the vehicle manufacturer and turbocharger supplier. There is no universal break-in period or service interval for every application. Completing the work well means treating lubrication, boost control, and supporting systems as part of the same turbocharger installation, not as afterthoughts.