Honda Pilot Transmission Fluid Change: Requirements and Steps
Before you start
A transmission fluid change on a Honda Pilot is a vehicle service task, not a camera or media operation. The work happens locally on the vehicle. The practical procedure is usually a drain and refill rather than a full flush, because a simple drain removes only part of the fluid held in the transmission and torque converter. Confirm the correct fluid specification for the model year before buying supplies. Incorrect fluid can damage the transmission.
Many Pilot models require Honda ATF-DW1 or another Honda automatic transmission fluid identified in the owner's manual. Check the manual or a factory service reference for the exact fluid and capacity. Replacement capacity can differ from total system capacity because a drain and refill does not remove all old fluid. Work on a level surface with the engine off and the parking brake set. Use safety stands if the vehicle must be raised to reach the drain plug.
Step-by-step instructions
The exact drain plug, fill location and check procedure vary by Pilot generation and transmission. Use these steps only after confirming them against the vehicle's service information.
1) Warm the transmission briefly so the fluid drains more completely, then turn the engine off.
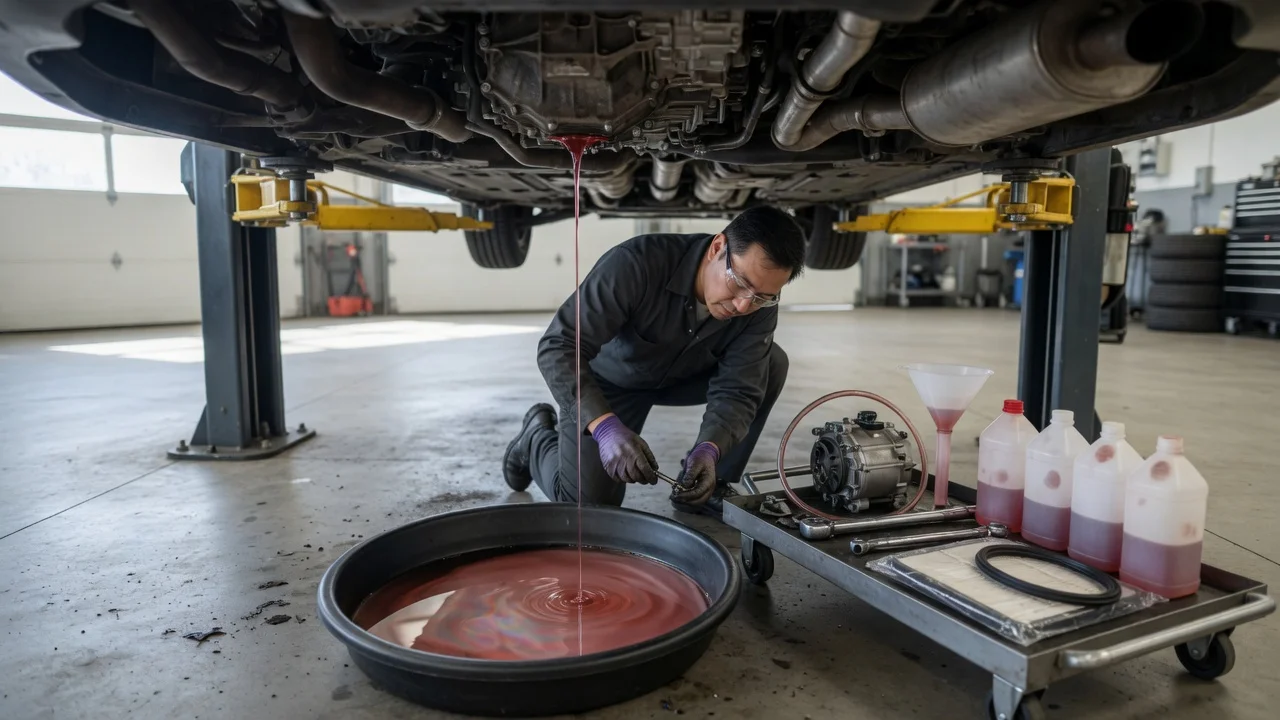
2) Raise the vehicle safely if needed and place a drain pan under the transmission drain plug.
3) Loosen the drain plug, remove it, and let the fluid drain. Reinstall the plug with a new sealing washer if specified.
4) Add the specified Honda automatic transmission fluid through the fill opening. On some models the fill opening is also the dipstick tube or a dedicated fill plug.
5) Refill gradually with less than the expected replacement capacity and check the level before adding more.
6) Start the engine and shift through the gear positions with the vehicle stationary. Return to Park and check the fluid level.
7) Check again with the engine running and the vehicle level if the manufacturer specifies a hot level check. Add only enough fluid to reach the correct mark; do not overfill.
Check the output
After the change, check for leaks around the drain plug and fill area. The expected result is a clean drain plug seal and a fluid level at the correct mark under the specified checking conditions. Improved shift behavior can follow, but the immediate verification is the correct level and no visible leak. Fluid color alone is not a reliable condition test because some new Honda fluids can appear dark even when serviceable.
Common problems and next steps
A common mistake is checking the level with the engine off when the procedure requires it to be running. Recheck the manual's specified condition. If the level is too high, remove excess fluid through the drain plug or suitable extraction method and check again. If the wrong fluid was added, have the fluid drained and refilled or corrected by a qualified service.
If the drain plug cannot be reached safely or the model has no practical home check procedure, stop and use a qualified service. Repeated drain and refill cycles are sometimes used to replace more of the old fluid, but this should follow the vehicle's service guidance rather than being improvised.