Honda Pilot and HR-V Cabin Air Filter: Location and Replacement
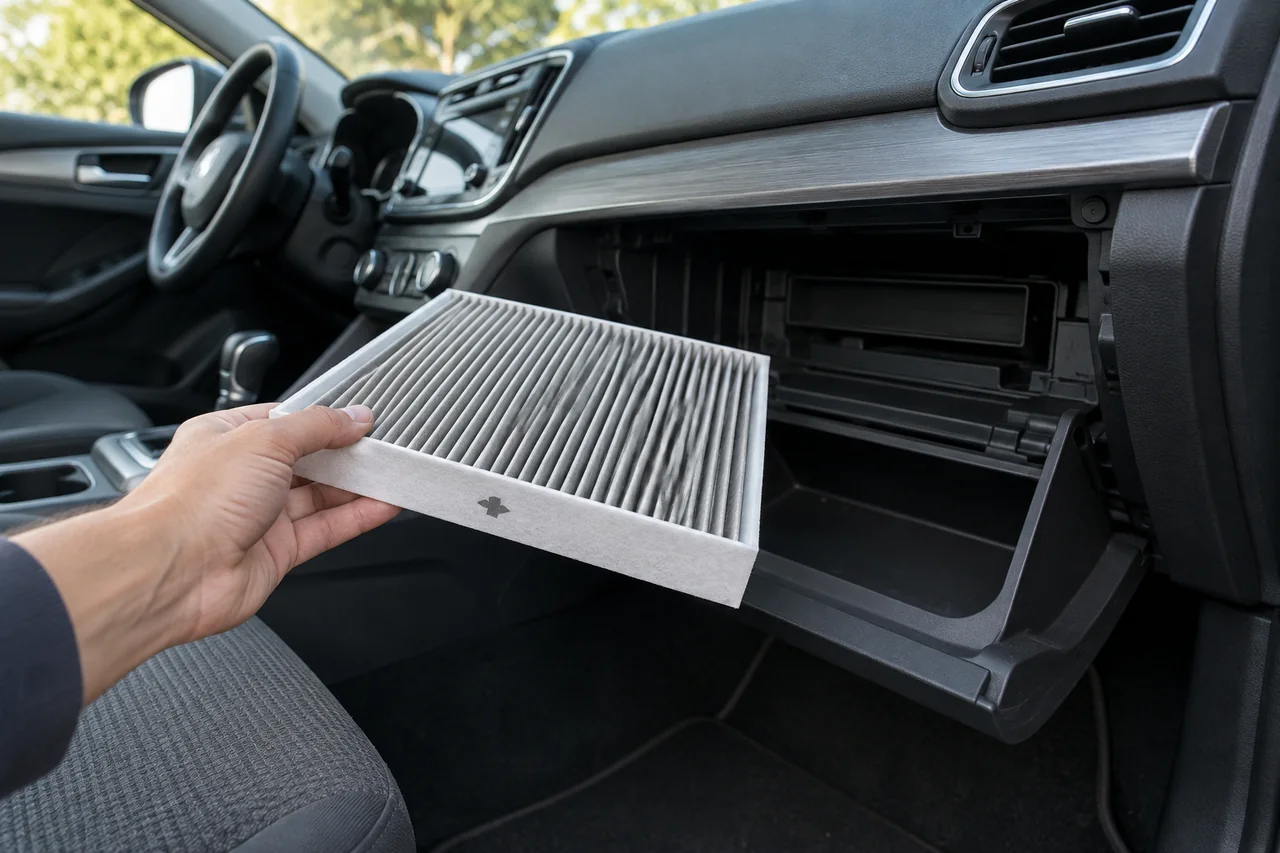
A Honda cabin air filter sits in the ventilation path and traps dust and pollen before that air reaches the cabin. On a Honda Pilot or Honda HR-V, location and access change with model year, so the owner's manual comes first. This guide covers finding the Honda Pilot cabin air filter and Honda HR-V cabin air filter, confirming fitment, replacing the media, and deciding when inspection is due.
What the Honda Cabin Air Filter Does
The Honda cabin air filter is the in-cabin media that cabin ventilation uses to capture airborne particles before they enter the passenger compartment. Dust, pollen, and other debris in incoming air pass through the filter housing, where the filter pleats collect what the system can trap. This filter is not the engine air filter. The engine filter protects the intake tract and combustion process; the cabin filter only conditions air that the climate-control system delivers to occupants. Mixing the two jobs leads to the wrong part and the wrong access path.
Restricted vent airflow, visible debris on the media, and persistent odors are reasons to inspect a Honda Pilot or Honda HR-V cabin air filter, not proof the filter has failed. Weak airflow can come from a blower issue, a blend-door problem, or a blocked intake, so the filter is one check among several. Brand-level Honda cabin air filter advice still has to follow the vehicle: Pilot and HR-V access, housing shape, and fitment depend on model year. Use year-specific information rather than assuming every Honda uses the same glove compartment layout.
Finding the Honda Pilot Cabin Air Filter
Before you look for a cabin air filter for a Honda Pilot, confirm the Pilot's model year and the location documented for that year. Honda Pilot cabin air filter placement is not something to guess from a neighboring generation. The owner's manual or matching service information identifies the filter housing and filter cover for that application. Some years route access through the glove compartment; others may not. Treat glove compartment access as valid only when that year's documentation shows it, then follow that path rather than prying nearby trim.
When the documented route does use the glove compartment, look for the stops, dampers, or retainers that year lists so the door can open far enough to reach the housing. Those parts exist to control travel and should be released only as the procedure describes. Do not force panels or pull against resistance, and do not disturb nearby wiring, connectors, or the glove-box lamp circuit. If the cover is not where the year-specific information places it, stop and recheck the model year rather than continuing into undocumented space.
Finding the Honda HR-V Cabin Air Filter
Finding a cabin air filter for a Honda HR-V starts the same way: verify the HR-V's model year and market before stating where the filter sits or how to reach it. Honda HR-V cabin air filter location can differ across years and regions, so a procedure copied from another Honda can miss the housing entirely. Use the owner's manual or service information written for that HR-V. Only after that confirmation should you describe the route to the filter cover, including any glove compartment components that application requires you to release.
If that year's information shows glove compartment access, release only the documented stops, dampers, or retainers, then locate the filter housing and cover without forcing adjacent trim. Honda HR-V cabin air filter access should feel like a planned sequence, not a hunt behind unexplained fasteners. Unfamiliar screws, clips that do not match the procedure, unexpected resistance, or unclear instructions are reasons to stop. Continuing can break a damper, crack a panel, or disturb wiring. Seek assistance or year-correct documentation rather than improvising a path to the media.
Confirming Fitment and Filter Orientation
Confirm the replacement Honda cabin air filter with year-specific application information for the Pilot or HR-V you are servicing, not with a generic Honda listing. When catalogs still disagree, the VIN is the more reliable way to match the housing. Compare the new media to the specified dimensions, frame shape, and sealing arrangement for that application. A filter that is slightly short, thin, or missing a seal edge can leak unfiltered air around the frame. Do not assume interchangeability across model years or between Pilot and HR-V housings.
Orientation is as important as size. An airflow arrow on the frame indicates the intended air movement through the filter pleats; an UP marking indicates how the filter should sit in the housing. Those two marks are not interchangeable, and neither replaces a check of the housing's airflow direction. Verify which way cabin air actually moves through that housing for the vehicle's model year, then align the arrow with that path and the UP mark with the housing's up position. Installing the media backward can load the wrong face and reduce sealing.
Replacing the Filter and Checking the Installation
To replace a Honda cabin air filter, park the vehicle securely and turn the ignition and ventilation system off before any cover work. Follow the verified model-year access procedure for that Pilot or HR-V rather than a generic Honda cabin air filter replacement sequence. Remove the filter cover gently, note how the old filter sits, and slide the media out without tearing it. Contain loose dust so debris does not fall into the ventilation system. Photograph or mark orientation if the old filter still shows a readable airflow arrow.
Seat the correctly oriented filter so the frame seals against the housing and the filter pleats stay open rather than crushed. Slide it fully home, then secure the filter cover as that application specifies. Restore any glove compartment stops, dampers, or retainers you released so the door travels and latches normally. After reassembly, run cabin ventilation and listen for normal blower behavior. Persistent weak airflow, unusual noise, or odors after a clean install need further diagnosis of the intake, blower, or ducts, not another filter swap as the first next step.
When to Inspect or Replace the Cabin Air Filter
There is no single interval that covers every Honda cabin air filter. Use the maintenance schedule for that Pilot or HR-V model year, and follow any vehicle-specific maintenance reminder the instrument cluster or information display presents. Dusty roads, high pollen seasons, and visible debris in the housing can justify an earlier inspection, but only within that schedule's guidance rather than as a substitute for it. Inspection means looking at loading and condition, not assuming the media is finished because the vents smell off or airflow feels weaker than last season.
Heavy loading that blocks the pleats, torn or collapsed media, and moisture in the filter are reasons to assess replacement. Recurring moisture or odor after a fresh filter still points past the media: a wet housing, a blocked drain, or an intake leak needs its own investigation. After you replace the Honda cabin air filter, record the installation date and mileage. That note, kept with the owner's manual or service file, makes the next inspection a comparison against actual use instead of a guess about when the last Honda cabin air filter service occurred.