Honda Odyssey Check Engine Light: Causes and Diagnostic Next Steps
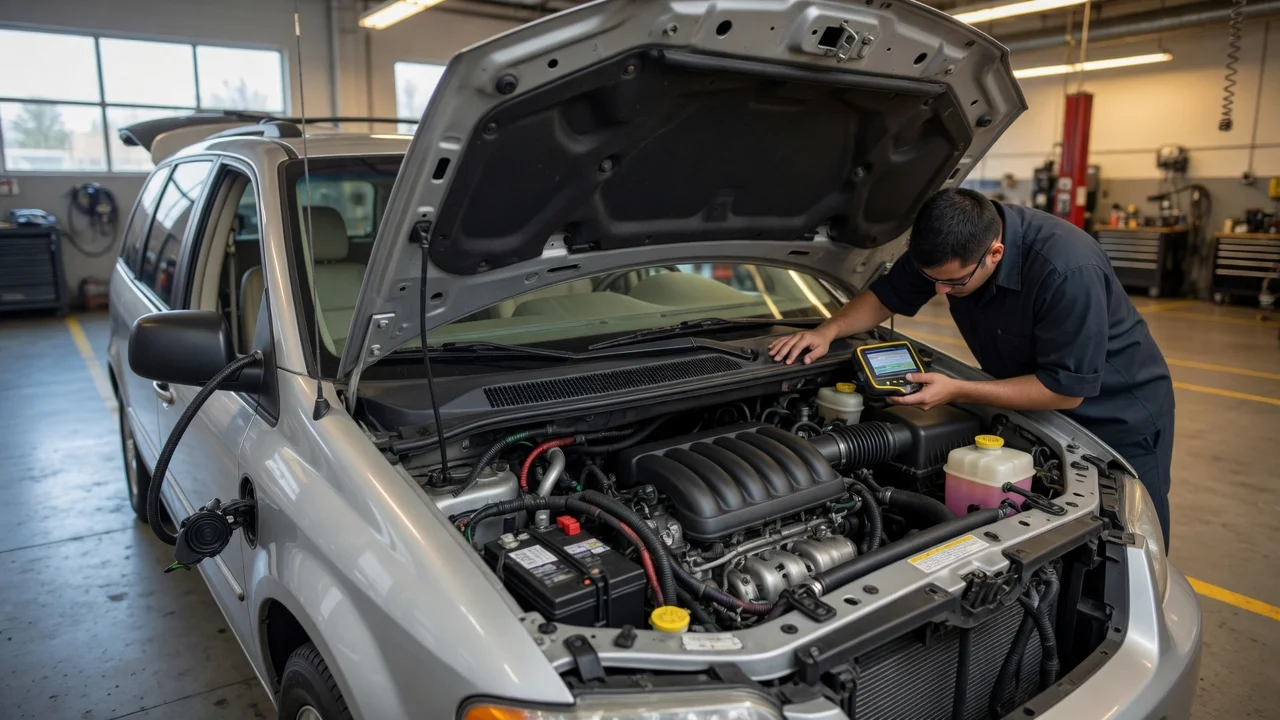
What the Check Engine Light Means in a Honda Odyssey
A check engine light in a Honda Odyssey indicates that the engine or emissions control system has recorded a fault condition. The light may appear as a steady yellow or amber engine symbol, or it may blink. A steady light normally means a fault has been stored and the vehicle can usually be driven carefully to a place where it can be inspected. A blinking or flashing check engine light indicates an engine misfire severe enough to risk damaging the catalytic converter, and Honda documentation lists this as a condition requiring immediate attention.
The check engine light is not proof that one specific part has failed. It is a request to retrieve the stored diagnostic trouble code and investigate the indicated system. The same light can be triggered by a loose fuel cap, a failing oxygen sensor, a worn spark plug, an ignition coil problem, or an emissions system fault.
Check the Obvious Items First
Before interpreting a code or replacing parts, check the items that commonly set a false or temporary fault. If the fuel cap was recently removed and is loose, damaged, or missing, tighten or replace it. The fuel cap creates a sealed fuel system, and a leak can be detected by the evaporative emissions monitor.
A low engine oil level does not directly explain every Odyssey check engine light, but it is worth checking because some models can display warning behavior alongside other faults. Check the oil level only after the engine has been off for a few minutes and the vehicle is on level ground. If the oil level is low, add the correct oil in small amounts and recheck the dipstick before restarting the engine.
Retrieve the Diagnostic Trouble Code
The most useful next step is to read the stored diagnostic trouble code, usually called a DTC. The required tools depend on the model year. Many Odyssey models from the mid-1990s onward support OBD-II scanning through a connector under the driver's side of the dashboard. Older OBD-I applications may use a different connector and procedure.
Locate the OBD-II diagnostic connector under the dashboard on the driver's side. Connect a compatible OBD-II scan tool with the ignition off, then turn the ignition to the run position without starting the engine if the tool requires it. Follow the scan tool instructions to read stored and pending codes. Record the code exactly, including the letter and all digits. Check for freeze frame data, which records the engine conditions present when the fault was set.
A code is diagnostic evidence to investigate, not a command to replace a part. For example, an oxygen sensor code can be caused by the sensor itself, its wiring, a connector, an exhaust leak, or an engine condition that makes the exhaust mixture abnormal. A misfire code on one cylinder can come from the spark plug, coil, injector, compression, or the wiring feeding those components.
Common Fault Areas in the Odyssey
The exact frequency of each fault varies by model year, engine, and maintenance history. The following areas are commonly associated with check engine light faults on Honda V6 engines, but they should be confirmed with a stored code and inspection rather than assumed.
Fuel cap and evaporative emissions system; Oxygen sensors; Spark plugs and ignition coils; Catalytic converter and post-catalyst sensor readings; Engine coolant temperature sensor circuit; Mass airflow sensor or intake air leak; Variable cylinder management components on engines equipped with that system
Interpreting What You See
Condition | Likely Meaning | Next Action; Steady light, normal driving | A fault is stored but the engine is usually not in an emergency state | Schedule diagnosis and retrieve the code; Blinking or flashing light | Severe misfire with possible catalytic converter damage risk | Stop or minimize driving and have the vehicle diagnosed promptly; Light came on after refueling | Possible loose, missing, or damaged fuel cap | Inspect the cap, then recheck the light after a few drive cycles; Light stays on after clearing a code | The fault condition is still present or recurring | Return to diagnosis using the stored and freeze frame data
A Methodical Diagnostic Sequence
If you plan to inspect or repair the vehicle yourself, use this order. It avoids replacing parts based on a code alone and preserves useful diagnostic evidence.
Confirm whether the light is steady or blinking. Check the fuel cap and the engine oil level. Retrieve the DTC and any freeze frame data. Note the code and the conditions under which it appeared. Inspect the circuit named by the code for visible damage, loose connections, or leaks. Check the relevant live data with a scan tool if available. Clear the code only after a repair or when you intentionally retest. Perform a drive cycle or drive normally and observe whether the code returns.
Clearing a code without diagnosing it can erase useful information and may also reset emissions monitors. In areas where the vehicle must pass an emissions inspection, this can delay a valid inspection until the monitors have run again.
When to Stop Driving and Seek Professional Diagnosis
Stop or significantly limit driving if the light is blinking, the engine is noticeably misfiring, you smell fuel, or the vehicle loses power or overheats. A blinking light is specifically associated with a risk of catalytic converter damage. If the vehicle is running roughly or emitting unusual odor, have it inspected before continued use.
A repair facility can read enhanced manufacturer codes that a basic scanner may not show, inspect live data, and follow Honda diagnostic procedures for the specific code and model year. This is especially important when the fault involves timing adjustments, variable cylinder management, emissions controls, or intermittent electrical problems.
What Cannot Be Determined from the Light Alone
The check engine light alone does not identify the failed part, the repair cost, or whether the vehicle is safe to drive for a long distance. Model-year differences, trim, engine type, maintenance history, and the actual stored code all affect the diagnosis. The shortest and least expensive repair is not necessarily the correct one, and a repeated code after replacing a suspected part indicates that the original cause has not been fully resolved.
Use the light as the starting point: check the obvious external causes, retrieve the code, treat it as evidence, and inspect the named circuit before replacing components.