Honda Odyssey Cabin Air Filter Replacement: Location and Steps
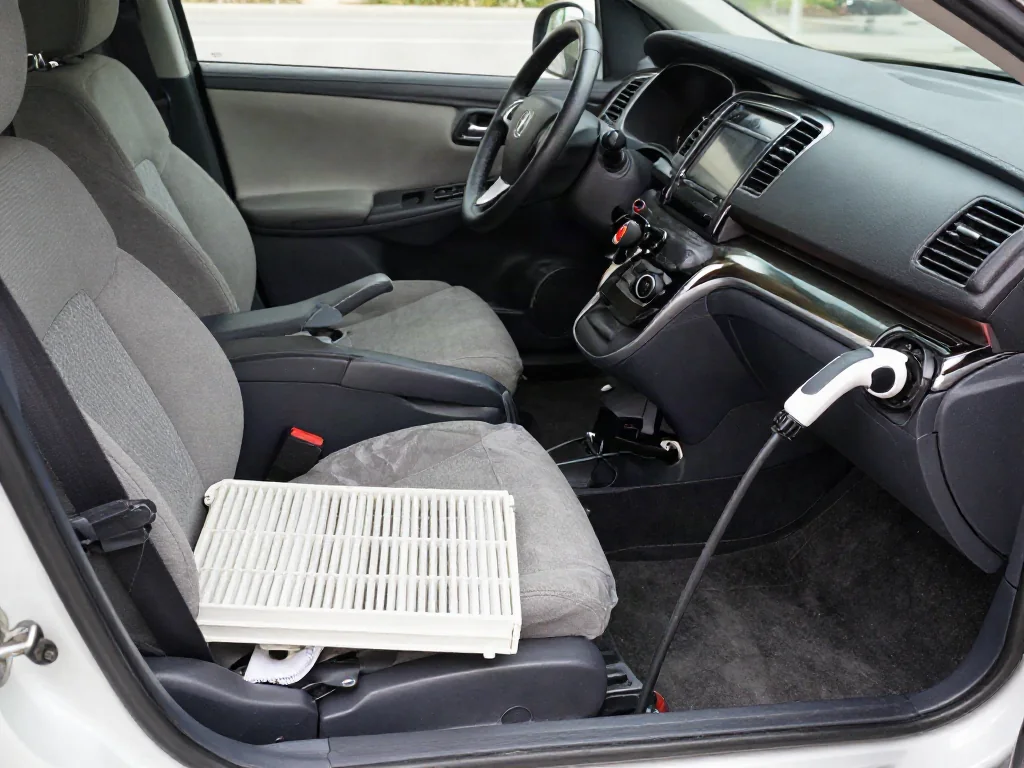
The cabin air filter for Honda Odyssey minivans sits in the HVAC intake and traps dust and pollen before air reaches the passenger cabin. Honda Odyssey cabin air filter size, housing, and glove-compartment access vary by model year and market, so confirm fitment before a home replacement. Changing this filter is ventilation maintenance, not proof that a blower or evaporator has failed.
Confirm the Cabin Air Filter for Your Odyssey’s Model Year
Identify the Odyssey's model year and market before selecting a filter or following any replacement sequence. Use the certification label on the driver's door jamb, the owner's manual, and Honda vehicle-specific parts information rather than a generic Odyssey listing. Generations share a nameplate while glove-compartment layout, filter housing depth, and element size can change, so a part that fits one year may not seat in another. Market also matters, because a filter or access method sold for another region can differ from the U.S. housing you actually have.
The Honda Odyssey cabin air filter sits in the HVAC intake path and is meant to capture dust and pollen before that air is distributed through the cabin ventilation system. A loaded or collapsed element can restrict airflow at the vents, contribute to stale odor, or let more debris reach the evaporator area, but those same symptoms also appear with a weak blower, iced evaporator, closed recirculation door, or blocked cowl intake. Treat filter condition as one ventilation variable, not a complete diagnosis of the climate system.
Locate the Filter and Check the Access Procedure
On many U.S.-market Odysseys the cabin air filter is behind the glove compartment once that bin is dropped or removed, but that location is confirmed only for the model year whose service information you are using. Some years place the element in a housing at the back of the glove box; others change damper, stop, or cover details enough that a neighboring year's steps will not match. Treat behind-the-glove-compartment access as the usual passenger-side HVAC location, then verify it in year-specific guidance before you pull trim.
Glove compartment stops, dampers, and the filter access cover are the details that actually control the job. One year may use side stops you squeeze to drop the bin; another may add a damper strut, extra screws, or a housing lid with different clips. If the published procedure for your model year calls for more than glove-box drop and cover removal, or if trim resists, stop and have a technician complete the access. Forcing clips or a damper can break the glove compartment and still leave the housing unopened.
Prepare the Passenger Area for Replacement
Park the Odyssey on level ground, set the parking brake, and switch the ignition and climate system fully off so the blower cannot draw air while the housing is open. Empty the glove compartment completely, including the owner's manual and any stored items that could fall when the bin drops. Gather the verified replacement filter and only the tools specified for that model year. Extra tools invite extra disassembly the published sequence does not require.
Protect the passenger footwell so dust from the old element does not grind into carpet or the lower dash. Before you release anything, inspect the existing filter and the filter housing for an airflow arrow, an UP marking, or molded direction cues, and note how the old element actually sits. Do not assume the previous install was correct; a reversed filter can still look seated. Record those markings so the new element is oriented from housing cues, not from memory of the old part.
Remove the Old Filter and Install the New One
To change a Honda Odyssey cabin air filter, follow the glove-compartment and housing sequence published for that model year rather than forcing the bin. Release only the stops, damper, or fasteners that procedure names, then lower or remove the glove compartment far enough to reach the filter access cover. Open the housing without prying on hidden clips. Slide the old element straight out so debris does not shower into the HVAC case. Lift away loose dust you can see at the opening; do not blow or shove material deeper into the ventilation path.
An airflow arrow on the new element shows intended air movement through the media; an UP marking shows which edge should sit toward the top of the housing. Confirm which cue your Odyssey's service information uses, because the two are not interchangeable and the old filter may have been reversed. Seat the new filter fully without folding its frame or crushing the pleats, then reinstall the filter access cover until it latches. Reconnect any glove-compartment damper, stops, and clips so the bin is supported as designed.
Check Airflow and Glove Compartment Operation
After reassembly, confirm the filter access cover is fully seated and that no frame edge is pinched in the lid, which can leak unfiltered air or whistle under blower load. Operate the glove compartment through its full travel: it should open, stay, and close without sagging, binding, or a damper that no longer controls the drop. A bin that hangs or rattles usually means a stop or damper was not reattached, not that the new filter is wrong. Correct those fittings before you evaluate airflow.
Start the engine or accessory power as your climate controls require, set the fan to a mid or high speed, and sample face, floor, and defrost outlets. You should feel a clear increase in cabin ventilation as fan speed rises, without a new rattle from the housing or a whistle at the cover. Persistent weak airflow, musty odor, or uneven distribution after a correctly installed new filter points beyond the element: a restricted cowl screen, blower issue, blend or mode door problem, or evaporator debris. Those conditions call for HVAC inspection, not another immediate filter swap.
Determine When Your Odyssey’s Filter Needs Replacement
There is no single mileage or calendar interval that applies to every Odyssey. Use the owner's manual, the printed maintenance schedule, or Maintenance Minder messages for that model year to decide when to inspect or replace the cabin air filter. Dusty roads, wildfire smoke, and heavy pollen can load the media faster than suburban commuting, and those conditions can justify earlier inspection under the vehicle's maintenance guidance. Do not invent a universal shortcut interval that the manual does not state.
Visible debris on the element, a crushed or wet frame, collapsed media, and restricted vent airflow are reasons to investigate the cabin air filter. Those findings still do not prove the media is the only restriction, because a Honda Odyssey can lose cabin ventilation from a blocked cowl, blower wear, or a control fault. When you replace the cabin air filter on a Honda Odyssey, write the date and odometer reading in the maintenance log so the next inspection follows the maintenance schedule instead of guesswork.