Honda CR-V Roof Rack Installation
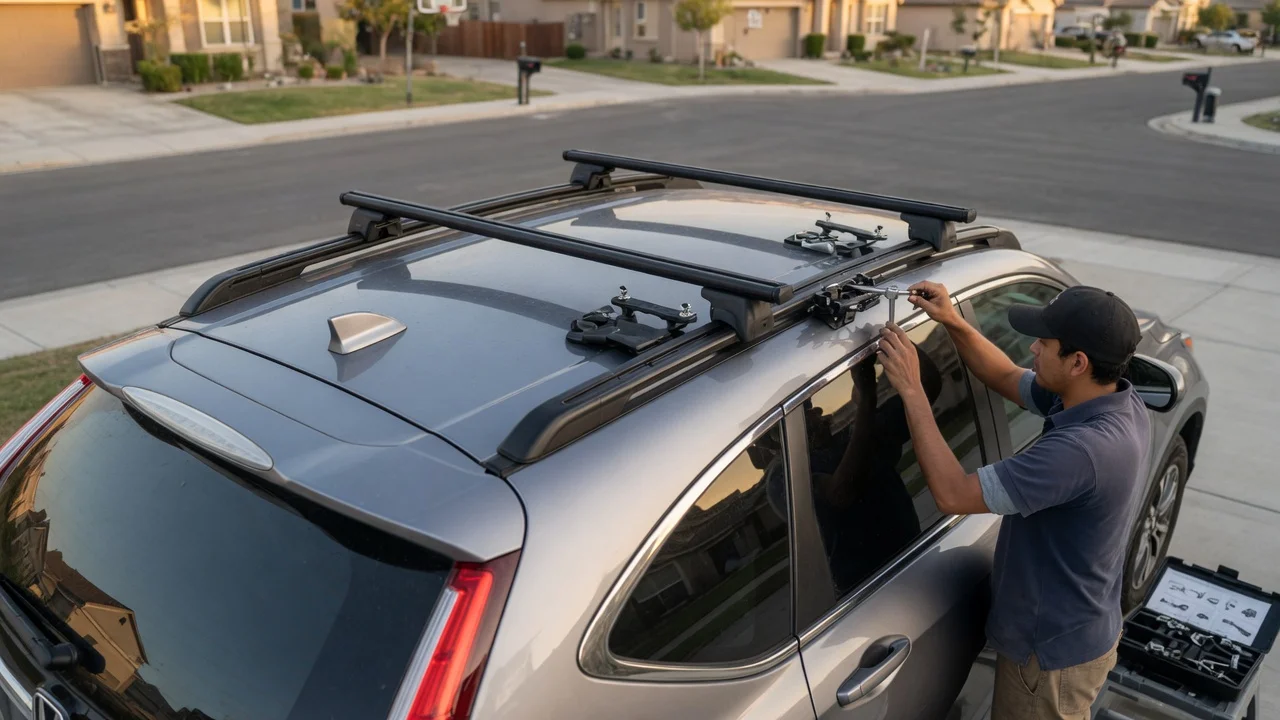
Direct Answer
Installing a roof rack on a Honda CR-V generally means fitting rails, crossbars, or a complete rack system to the factory mounting points already present on the roof. The exact procedure varies by model year and whether you are working with an original equipment rack or an aftermarket kit. Later CR-V generations commonly use fixed mounting studs, bolt holes under trim strips, or a bare roof with provisions for clamp-on or track-mounted bars. Before buying parts or drilling anything, confirm how the rack attaches to your specific CR-V roof.
Check the Mounting System First
Honda CR-V roofs fall into several attachment categories. Some models have raised side rails, so you only need to add crossbars. Others have flush roof moldings with covered access points or threaded fixtures. A bare roof without factory attachment points typically requires a fit kit designed for the vehicle, not a universal clamp kit. Identifying the roof type before ordering prevents problems with load rating, noise, and water sealing.
2000 Honda CR-V Roof Rack Installation
For a 2000 Honda CR-V, the factory roof often has fixed mounting locations integrated into the roof structure. Installation may involve removing or repositioning trim covers to access threaded holes or studs, then aligning the rack feet and securing them with the supplied hardware. Because the 2000 model is an older first-generation CR-V, corrosion, aged plastic trim clips, and hardened rubber seals can affect fitment. Inspect the mounting area carefully and replace damaged fasteners or seals as needed.
Tools and Materials
Torque wrench; Socket set and ratchet; Torx driver or Allen keys if required by the kit; Plastic trim removal tool; Clean cloths and mild cleaning solution; Threadlocker if specified by the manufacturer; Touch-up paint or corrosion inhibitor for any exposed hardware
General Installation Steps
Clean the roof mounting surface and remove loose dirt or old sealant. Remove trim covers or plugs only at the designated rack attachment points. Check that every thread, stud, or clamp pad aligns with the vehicle surface before final tightening. Position the rack or crossbar assembly loosely so it can still be adjusted. Tighten fasteners in stages, working across the rack to keep pressure even. Torque fasteners to the value supplied in the kit instructions; do not guess the figure. Reinstall trim pieces that are not replaced by the rack feet. Press along the rack and attachment points to confirm nothing is loose before loading cargo.
Water Leak Prevention
Roof rack failures are often less about the bars coming loose and more about water entering through disturbed mounting points. Original equipment fasteners may include rubber washers or sealant strips. Aftermarket kits should also provide sealing instructions for any hole that penetrates the roof. Reuse old compressed seals only if they are clean and flexible. Where the instructions call for sealant, apply it sparingly around the fastener or opening rather than over the entire mounting area.
Load and Compatibility Limits
A roof rack installation is only complete when the system stays within the vehicle roof load rating. The rack itself may be rated higher than the CR-V roof. Check the owner's manual or the roof rating for your year and generation, and include the weight of the bars, feet, and cargo carrier in the total. For the 2000 CR-V, older roof structures and factory attachment points should not be assumed to match the higher ratings of newer models.
Known Gaps
Exact torque specifications, hole locations, and sealant products differ by rack brand, trim level, and market. The supplied information does not include a single universal torque value or a complete trim-removal sequence for every CR-V variant. Always follow the instructions included with the specific rack kit and verify the roof load limit for your model year before installation.