Honda Civic Coolant Flush: Drain, Refill and Bleeding Procedure
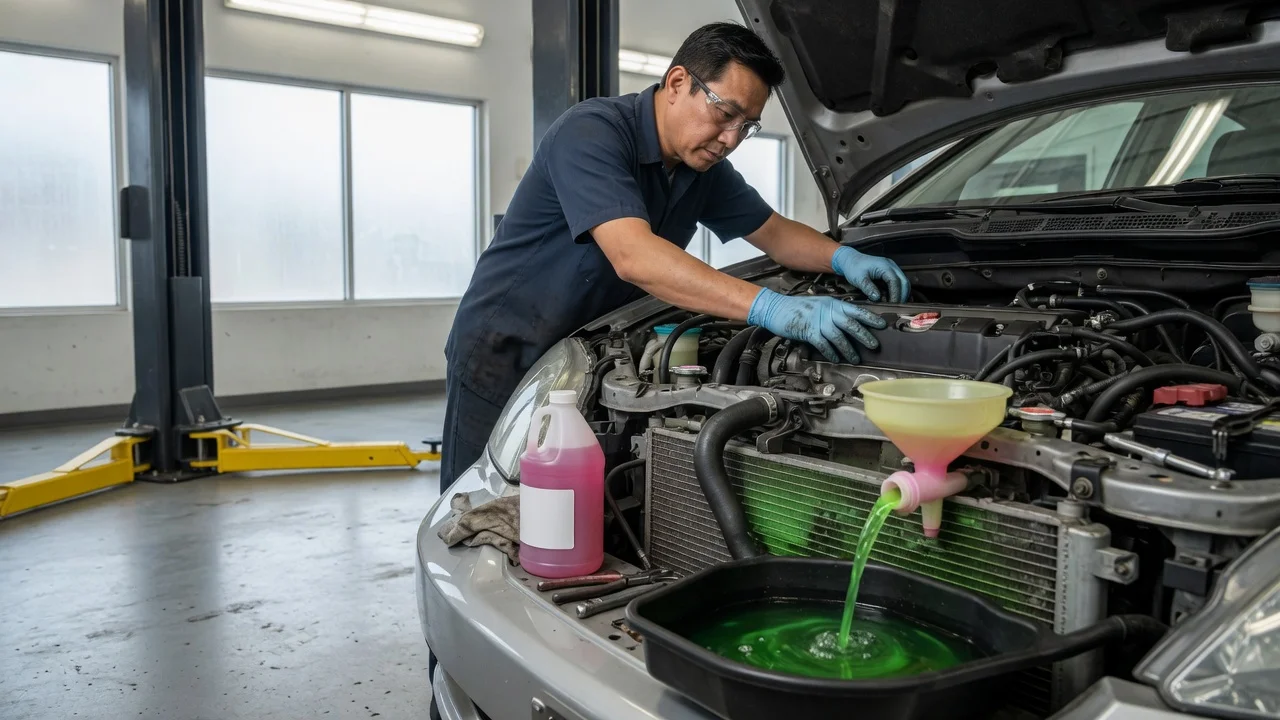
What a Civic coolant flush covers
A Honda Civic coolant flush replaces aged engine coolant by draining the cooling system, optionally rinsing remaining fluid, refilling with the coolant Honda specifies for that Civic, and bleeding trapped air. The job restores freeze and boil protection and corrosion inhibitors. It does not repair a leak, a failed water pump, a stuck thermostat, a clogged radiator, or an overheating engine. Exact drain points, capacity, coolant type, and bleed method change with model year, generation, engine, and market, so the owner’s manual or factory service information for that vehicle is the source for fluid identity, volume, and any bleed-bolt locations.
Honda has used more than one factory coolant family on the Civic. Many later models call for Honda Super Long Life Coolant (typically blue); older Civics often specify Honda Type 2 coolant. Service intervals and whether the factory fill is a long-life premix also vary by year. Mixing incompatible coolants, or substituting a “universal” formula Honda does not list for that engine, can reduce corrosion protection and is not a supported substitute unless the maker’s current guidance for that VIN says otherwise. Confirm the bottle type, premix versus concentrate, and change interval in the maintenance booklet before buying fluid.
Before you start
Work only on a cold engine. Opening a hot radiator cap, reservoir, or drain can spray scalding coolant. Park on a level surface, set the parking brake, and chock the wheels. If you must raise the car to reach a radiator petcock or lower hose, support it on jack stands at the factory lift points; a jack alone is not a support. Wear eye protection and chemical-resistant gloves. Keep coolant away from pets: ethylene glycol is toxic. Have a drain pan large enough for the full system plus any flush water, and a way to take used coolant to a recycling or household-hazardous-waste site. Never pour it down a drain or onto the ground.
Typical tools are a drain pan, pliers or a screwdriver for hose clamps, a funnel, a hose or flush adapter if you are rinsing the radiator, distilled water for any flush rinse, the Honda-specified coolant in the volume the manual lists for that engine, shop rags, and a torque tool if a drain plug or bleed bolt has a published tightening value. Some Civics drain from a radiator petcock; others require removing the lower radiator hose. Some engines also have a block drain. Later models may have no serviceable bleed bolt and rely on filling at the radiator or reservoir with the heater on. If a drain plug is seized, the radiator tanks are cracked, hoses are swollen, or you cannot identify the coolant Honda lists for that year, stop and have a shop complete the service.
Drain, flush, refill and bleed
Set the cabin heater to maximum heat so the heater core is in the flow path. With the engine cold, remove the radiator cap if the system uses one, or open the pressurized reservoir cap on models that fill only at the tank. Place the pan under the radiator. Open the petcock or disconnect the lower hose and let the radiator empty. If the service information for that engine shows a block drain, open it and drain the block as well. Empty the coolant reservoir. Close the petcock or refit the hose with the clamp in its original position before adding any rinse water or fresh coolant. Do not reuse a cracked petcock, a split hose, or a clamp that no longer seals.
If the job is a flush rather than a simple drain-and-fill, run distilled water through the radiator and, where the layout allows, through the engine until the discharge runs clear. Do not use a garden-hose pressure that can damage plastic tanks. Do not add a chemical flusher unless Honda’s procedure for that Civic calls for it; some cleaners attack aluminum and gasket materials. Drain the rinse water completely, including the reservoir, then close every drain. Residual water will dilute the final mix, so the last drain should be as complete as the hardware allows.
Refill with the coolant Honda specifies. If the bottle is concentrate, mix it with distilled water to the ratio in the manual, commonly equal parts for a temperate climate, unless that Civic’s booklet states a different mix. Premixed Super Long Life Coolant is used as supplied. Fill slowly at the radiator neck or the designated fill tank so air can escape. On engines with a bleed bolt on the thermostat housing, radiator, or water outlet, open that bolt until a steady stream of coolant appears, then close it to the tightening value in the service information. If no bleed bolt is listed, fill to the base of the neck or to the reservoir’s full mark as the fill design requires, then proceed to the run-up bleed.
Start the engine with the cap off or loosely fitted only if the service procedure for that generation says to bleed that way; many later pressurized-reservoir Civics are filled and run with the cap installed to the specified click. Set the heater to full heat and the fan on. Let the engine reach normal operating temperature so the thermostat opens. Watch the temperature gauge or display: it should stay in the normal range. Top up as the level drops when air leaves the system. Squeeze the upper radiator hose only if it is cool enough to touch and the procedure uses that method to move pockets of air. When the level is stable, the heater blows hot air, and there is no gurgling that persists after a few minutes at temperature, fit the cap fully.
Completion check and when to stop
Shut the engine off and let it cool fully. Recheck the radiator or reservoir level and bring it to the cold full mark. Inspect the petcock, hose joints, drain plugs, and bleed bolt for seepage. Take a short drive, then check the level again after another cool-down. Over the next few heat-soak cycles the level can drop slightly as remaining air works out; that is expected if there is no puddle under the car. A falling level with a wet patch, a rising temperature reading, a heater that stays cold after the thermostat should have opened, or a sweet smell in the cabin means the system is not sealed or not fully bled. Do not keep driving in that state.
Have the cooling system serviced professionally if a drain fastener rounds off, a plastic radiator tank is brittle, the water pump weeps, the thermostat housing is warped, or you cannot match the coolant Honda lists for that model year and engine. Capacities, bleed-bolt torque, and whether the Civic uses a radiator cap or a sealed reservoir are not interchangeable across generations. The supported next action is to complete the drain, refill, and bleed with the fluid and sequence in that vehicle’s manual, then confirm a stable cold level, a normal temperature reading, and a hot heater with no leaks.