Honda Civic Brake Booster Check Valve: Choosing the Correct Part
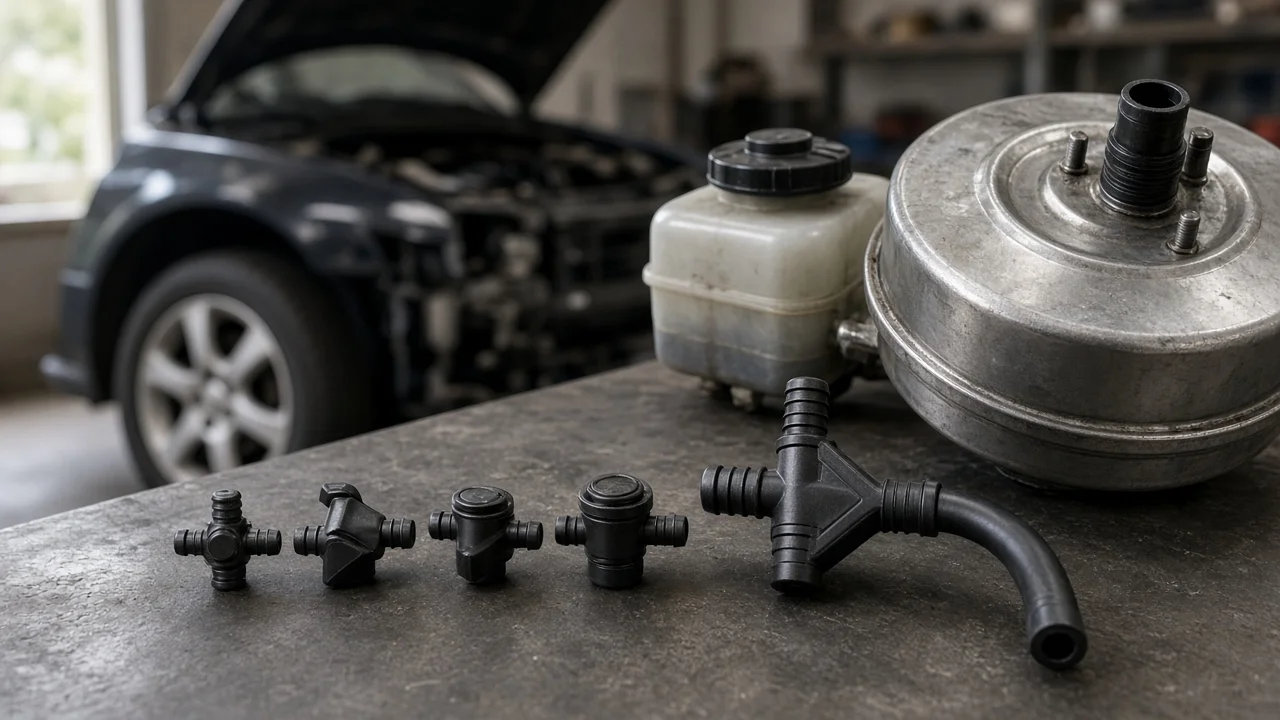
A Honda Civic brake booster check valve is a small one-way valve, yet it decides whether power assist is there when you press the pedal. If it sticks, leaks or goes in backward, the pedal can feel hard, especially after the car has been parked. This guide covers what the valve has to do, how to confirm the correct part for your Civic, which features matter when comparing options, and where a new valve stops being the answer.
Define the job the product must do
The vacuum brake booster multiplies the force from your foot using the difference between engine vacuum and atmospheric pressure. On most gasoline Civics that vacuum comes from the intake manifold through a hose, and the check valve sits in that hose or at the booster inlet. It lets air flow only out of the booster. When the engine is switched off, or manifold vacuum falls during hard acceleration, the valve closes and holds the stored vacuum, so you still get assisted stops.
Be clear about the problem you expect the part to solve. Common reasons to replace it are a hard pedal on the first press after the car has sat, a hiss near the booster, a cracked or brittle valve found during other work, or a rough idle traced to a leak in the booster hose. The valve deals only with vacuum retention and sealing in that line. It has no effect on stopping performance lost to worn brake pads, scored brake rotors, a sticking caliper or degraded brake fluid; those components are judged against their own wear limits and service intervals.
A few simple checks help confirm the diagnosis before you buy. With the engine off, press the pedal several times to use up stored vacuum, hold light pressure and start the engine; the pedal should drop slightly as assist returns. Then let the engine run briefly, switch it off, wait a short while and press the pedal again. A healthy valve and booster should still give assist on the first application or two. With the valve removed, air should pass only from the booster side toward the engine side. If the pedal is hard with the engine running, sinks toward the floor or the car does not stop normally, stop driving it and have the braking system inspected by a professional.
Check compatibility
Vehicle fitment depends on model year, generation and engine, and sometimes on market or trim. Civic generations route the booster hose differently, and the valve style can change between engines offered in the same year. The most reliable method is to look up the part by VIN in a Honda parts catalog or at a dealer parts counter, write down the OEM part number, and use it to cross-reference aftermarket listings. A listing that simply claims to fit all Civics is not enough evidence.
Several physical interfaces decide whether a valve will seal and work. Check the hose inside diameter at each end, the barb diameter and length on the valve, whether the part is straight or angled, and whether the booster side pushes into a rubber grommet. Confirm how the valve is supplied on your car: some Civics use a separate inline valve, while others have the valve built into a hose assembly sold as one part. Fitting a universal inline valve into a cut factory hose works only when diameters match exactly and the clamps seal fully; a loose joint simply recreates the vacuum leak you were trying to fix.
Engine type matters too. On any Civic whose intake manifold sees boost from a turbocharger, the check valve must also stop pressurized air from entering the booster, so a generic valve intended for a naturally aspirated engine is not a safe substitute unless the OEM cross-reference supports it. If the car has an engine swap, an aftermarket intake manifold or other modifications, stock catalog data may no longer describe the vacuum source, and the choice should be based on the hardware actually installed.
Features that affect the choice
The first real choice is between the Honda part and an aftermarket equivalent. The OEM valve or hose assembly matches the original routing, port sizes and material specification, which removes most fitment guesswork. A reputable aftermarket part can be a sound alternative when the listing names the OEM number it replaces and states port dimensions and materials, rather than relying only on a generic vehicle selector.
Construction details are worth reading. Most valves have a plastic or nylon body with an internal rubber or elastomer flap, and the part lives in engine-bay heat, so a body that turns brittle or a flap that hardens is the usual failure. Useful evidence includes stated dimensions, a clear flow direction arrow, an included grommet or clamps where your application needs them, and a return policy that covers fitment errors. Labels such as heavy-duty, performance or upgraded tell you nothing measurable. A check valve contains no friction material and cannot add braking power; the level of assist is set by the booster and the available vacuum, and the valve only needs to seal reliably in one direction.
If your Civic uses an integrated hose and valve assembly, buying the complete assembly costs more but replaces aged hose sections and preserves factory routing. A standalone valve is cheaper and quicker to swap when the existing hose is still soft and free of cracks. Choose based on the condition of the hose you will be reconnecting, not just the price of the valve.
Limitations and ownership costs
Installation is usually straightforward in an accessible engine bay, but orientation is critical. Note the direction of the original valve before removal, install the new one so flow runs from the booster toward the engine according to its marking and the service information for your car, and seat each end fully with sound clamps. Inspect the booster grommet and hose for cracks while they are exposed. Afterward, repeat the pedal checks described earlier and listen for hissing at idle.
A new valve has clear limits. It will not cure a leaking booster diaphragm, low engine vacuum caused by another fault, a leak elsewhere in the intake system, or a problem on the hydraulic side such as a master cylinder that lets the pedal sink. If the pedal is still hard after a correctly installed valve and a sound hose, the booster or the vacuum supply needs diagnosis, and that work belongs with a qualified brake technician.
Ownership costs are low. The valve uses no consumables and has no routine replacement interval for most owners; it is worth inspecting whenever brake or engine work exposes the hose. The main avoidable expense is buying several guesses, so spend the effort on confirming the part number rather than on extra parts. Budget for a hose, grommet or clamps if the old ones have hardened, since reusing them can undermine an otherwise good repair.
Build a practical shortlist
Before ordering, run each candidate through the same checks. Confirm the OEM part number by VIN. Note whether your Civic uses an inline valve or an integrated hose assembly. Match hose inside diameter, barb size and straight or angled shape. Confirm the valve suits a boosted manifold if your engine is turbocharged. Look for a clear flow direction marking and any grommet or clamps your application needs. Prefer listings that cite the replaced OEM number and stated dimensions, and set aside any that rely on marketing labels instead of specifications.
With two or three parts that pass every point, the decision usually comes down to hose condition, availability and return terms. Keep the old valve until the new one is installed and the pedal tests pass. If assist is still weak after that, return to the diagnosis described under limitations rather than trying another valve.