Honda Automatic Transmission Fluid Change: Requirements and Procedure
Before you start
This procedure covers a drain-and-fill service for a Honda automatic transmission. It is done on the vehicle, not through a computer or online tool. A complete fluid exchange requires special equipment; the common DIY method replaces only the fluid that drains from the pan, so you may need to repeat the drain-and-fill to renew more of the old fluid.
Before draining, verify the exact fluid specification for your Honda model and year. Many modern Honda automatics call for Honda DW-1 fluid; some older models may specify a different fluid. Check the owner's manual or the transmission dipstick label because using the wrong fluid can affect shift quality.
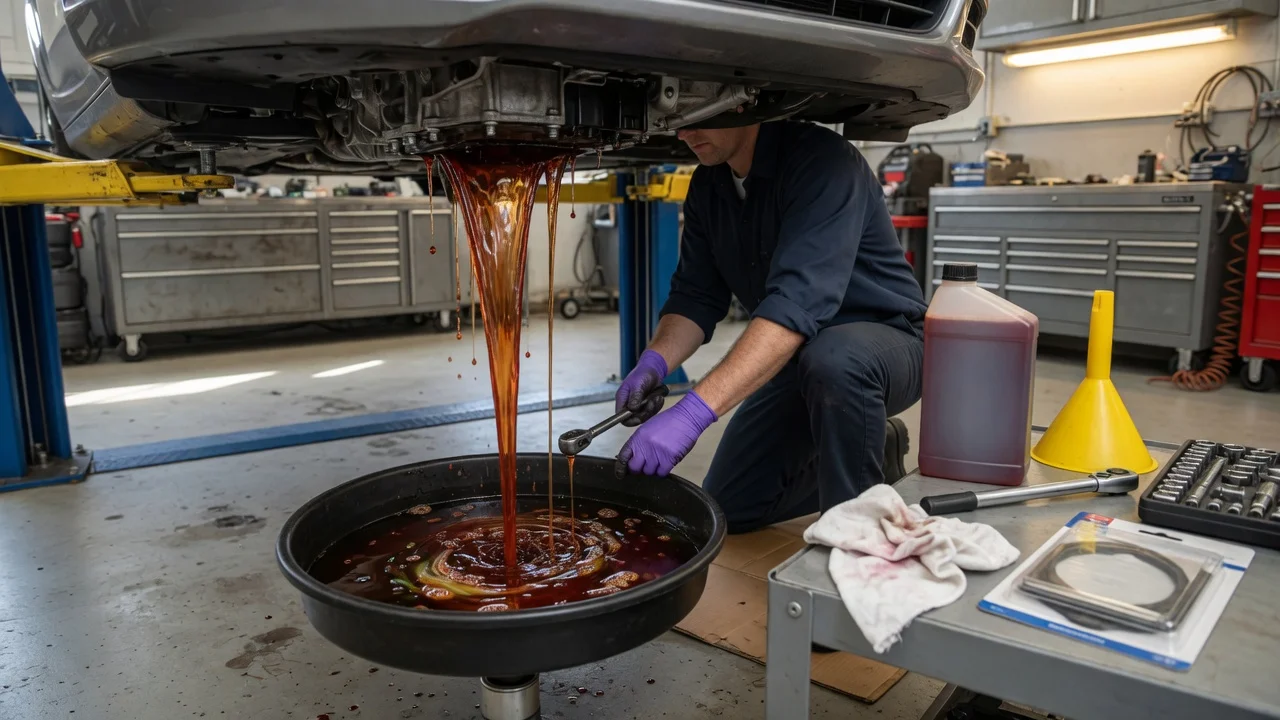
Prepare a level work area, wheel chocks, a jack and jack stands, a ratchet and the correct socket for the drain plug, a new crush washer or drain plug washer, a drain pan, a funnel, clean rags, and enough fresh transmission fluid. You also need a way to safely reach the fill point, which may be a dipstick tube or a fill plug depending on the model.
Step-by-step instructions
1) Park on a level surface and set the parking brake. Let the transmission cool enough to avoid hot fluid burns, but follow your manual's guidance: some Honda fluid level checks are done with the engine warmed up.
2) Lift the front of the vehicle and support it on jack stands. Chock the rear wheels so the car cannot roll.
3) Locate the transmission drain plug and place a drain pan beneath it. Remove the drain plug and allow the fluid to drain completely. Keep the old plug and washer for comparison.
4) Install the drain plug with a new crush washer and torque it to the setting listed in the service information for your model. If the exact torque is not available, tighten it firmly without overtightening the soft washer.
5) Find the fill location. On many Honda models this is the dipstick tube. On models with a separate fill plug, remove that plug before refilling.
6) Measure the amount of fluid that drained out, then pour the same amount of fresh Honda-specified fluid through the fill opening. This matching method is safer than guessing because a small amount of fluid stays inside the transmission.
7) Replace the fill cap or dipstick. Start the engine and let it idle, then move the shifter through each gear position briefly with the brake applied. This helps move fresh fluid through the valve body.
Check the output
Check the fluid level on level ground under the conditions specified in your manual. Many Honda vehicles are checked with the engine warm and running in Park after shifting through the gears. Others are checked with the engine off; follow the model-specific procedure because the two methods can give very different readings.
Compare the level to the dipstick marks or fill hole. The fluid should sit between the lower and upper marks. Overfilling can cause foaming, while underfilling can lead to delayed or harsh shifts, so correct the level before driving.
After a short drive, inspect under the vehicle for leaks around the drain plug and refill the level if needed. A drain-and-fill replaces only part of the old fluid; if the fluid remains dark or contaminated after the service, another drain-and-fill cycle may be necessary to lower the amount of old fluid.
Common problems and next steps
The most common mistake is checking the fluid with the wrong engine temperature or shifter condition. A reading taken with the engine off when the manual requires the engine running can look overfilled even when the level is low. Repeat the check using the exact steps for your year and model.
If the drain plug will not seal, inspect the plug threads and the sealing washer first. A reused or missing crush washer is a frequent cause. Clean the sealing surface and install a new washer before retightening the plug.
For models with a fill plug, do not pump fluid into the wrong opening. The fill plug is separate from the drain plug, so confirm both locations before removing anything. Some Honda transmissions also have a check plug that is used for level checking rather than filling.
If the transmission shifts poorly after the service, first confirm the fluid level and specification. A harsh or slipping shift after a drain-and-fill is often a level problem or the wrong fluid. If the level and fluid are correct and symptoms continue, stop driving and have the transmission inspected.