Homemade Inner Tie Rod Tool: Design and Fit Checks
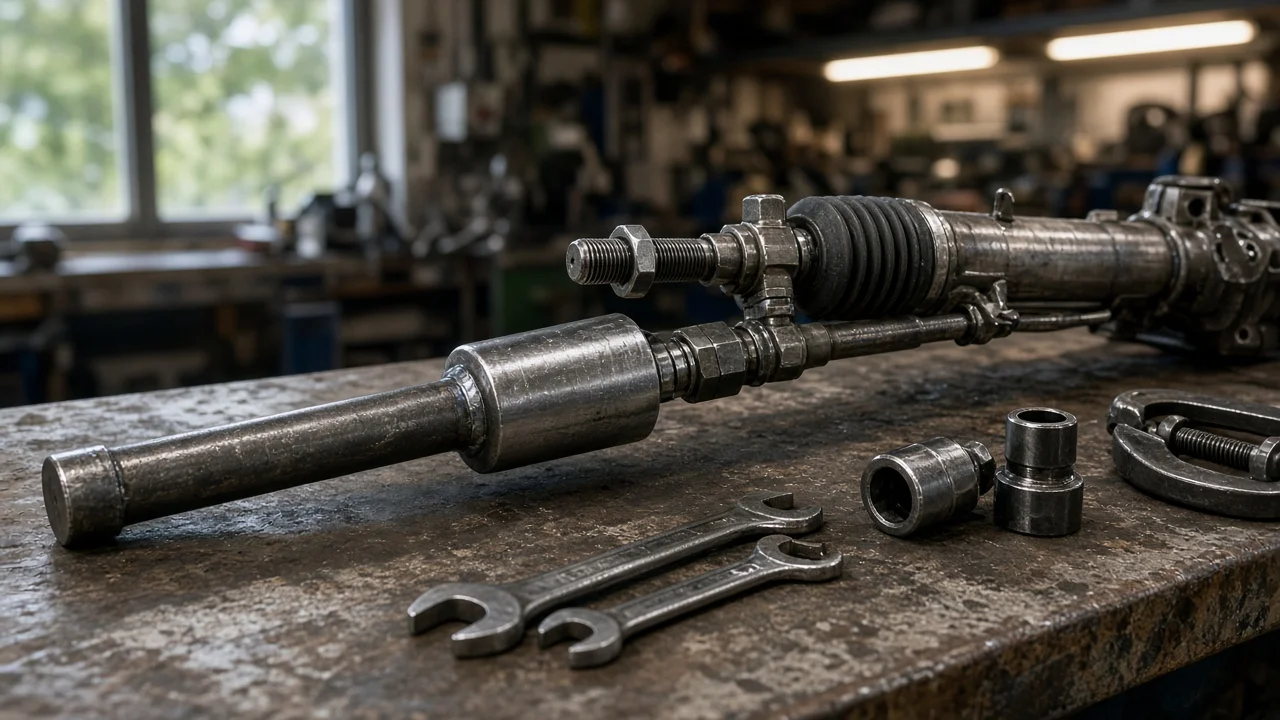
An inner tie rod sits deep inside the steering rack boot, threaded onto the end of the rack. Its housing is often too close to the frame or subframe for an ordinary wrench, which is why many owners consider a homemade inner tie rod tool instead of buying or borrowing a kit. A shop-made tool can work, but only if it fits the joint, survives the load and still lets you tighten to the manufacturer's fastener specification. These checks help you decide.
Define the job the tool must do
Start with what the tool has to do on your vehicle. Its main job is to grip the inner joint housing, turn it off the rack threads, and then hold the new joint while you tighten it. Before cutting any steel, confirm the joint actually needs replacing. With the vehicle safely supported, squeeze the boot and feel the joint while a helper rocks the steering wheel. Clunking or axial joint play at the inner ball, rather than at the outer end, points to the inner tie rod. Check the outer tie rod end and the rack mounting points too, because looseness there can feel similar.
Vehicle support matters as much as the tool. Lift only at the jacking points shown in the owner's or service manual, set jack stands on firm, level ground, chock the wheels that stay on the ground, and never work under a car held only by a jack. Note your practical constraints as well: the space between the rack and the subframe, whether the steering must be centered, and whether you have access to welding, a grinder and a torque wrench. Those limits decide which design is realistic.
Check compatibility with your steering rack
The housing shape is the first interface. Some inner joints have two wrench flats, some have a round housing that needs a grip around its circumference, and some use a staked lock washer or a locking pin that must be released before anything turns. Measure across the flats with calipers on the old part and on the replacement, since aftermarket joints do not always match the original. Note the rod diameter too: a tube-style tool must slide over the rod and past the outer threads, or the outer tie rod end must come off first.
Next, check reach and drive. Measure from the joint to the point where a ratchet or breaker bar can swing freely, and confirm that the boot, its clamps and nearby lines can be moved aside without damage. The drive end should accept a standard square drive or a wrench of known size. Finally, look up the model-specific procedure for the tightening value, thread locker requirements and any instruction to hold the rack so force is not transferred into the steering gear. Do not guess the torque.
Design features that affect the choice
Homemade designs usually fall into three groups. A slotted tube with a nut or square-drive adapter welded to one end slips over the rod and engages the flats, giving good reach. A thick plate cut into a crowfoot-style jaw is compact where space is tight but can flex under load. A deep socket split lengthwise is quick to make but loses much of its strength. Whatever the design, the jaw must fit the flats closely. A loose fit concentrates force on the corners and rounds the housing, which can leave the old joint stuck on the rack.
Judge the tool by things you can verify, not by labels. A thick wall section, sound weld penetration and a snug fit on the actual housing mean more than calling something heavy duty. Mild steel and weld beads can stretch or crack under the force needed to break a factory joint loose, so inspect the tool after every use. If you put a crowfoot-style end on a torque wrench, keep it at a right angle to the handle; mounting it in line extends the effective length and makes the reading inaccurate unless you correct for it.
Limitations and ownership costs
A homemade tool only turns the joint. It cannot release a staked washer or locking pin for you, measure torque on its own, repair a leaking or worn rack, or set toe. After an inner tie rod is replaced, a wheel alignment is required. Counting outer tie rod turns or measuring its position only gets the car to an alignment shop at low speed; proper settings are checked at normal ride height on alignment equipment. A slipping tool also risks damaging the rack threads, the boot and nearby brake or fuel lines.
Ownership costs go beyond scrap steel. Count welding wire or rods, cutting and grinding discs, paint to slow rust, and the time needed to design, test and correct the fit. A tool sized for one vehicle may not fit the next, and a cracked weld means building it again. Compare that with buying a commercial adapter set or borrowing one through a parts store loaner program where available. New boots, clamps and the alignment itself are costs either way.
Build a practical shortlist
Before committing to a homemade build, work through a short checklist. Confirm the inner joint is the worn part. Record the housing type, the across-flats dimension, the rod diameter and the release method for any lock washer or pin. Measure reach and swing room around the rack. Decide whether you can weld and finish the tool to a snug fit, and whether it accepts a standard drive or torque wrench. Find the model-specific torque, thread locker and rack-holding instructions in service information.
Then compare the realistic options side by side: a homemade tool, a purchased universal kit with multiple adapters, a borrowed kit, or a shop doing the job. Favor the option that grips your housing closely, reaches without prying on other parts and lets you tighten to specification. If a homemade design cannot meet all three, or the vehicle calls for procedures you cannot follow, choose a commercial tool or professional service, and book the alignment whichever route you take.