Hayden Transmission Coolers: Choosing a Compatible Model
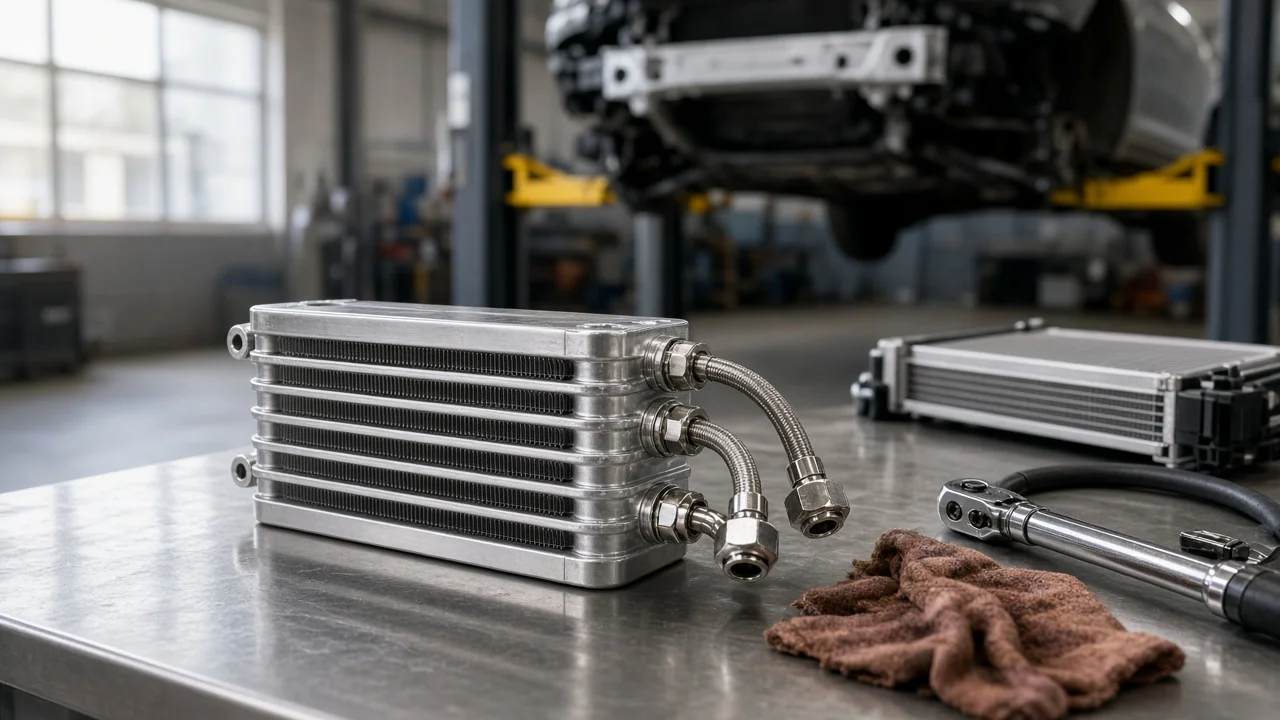
A Hayden transmission cooler adds heat-rejection capacity to an automatic transmission's fluid circuit. That extra capacity matters most when towing, hauling, climbing long grades or idling in heat. Choosing one is less about buying the biggest core and more about matching the cooler to your transmission type, line fittings, mounting space and the load you actually carry. This guide covers the checks that decide whether a Hayden automotive transmission cooler is a sensible and compatible addition to your vehicle.
Define the job the product must do
Start with how the vehicle is used. Pulling a trailer, carrying heavy loads in the bed, plowing, frequent mountain driving, hot climates and stop-and-go delivery work all push fluid temperature up. A commuter that never tows may already be well served by the factory cooler, which on many vehicles sits in a radiator tank or a separate heat exchanger. Write down the realistic loaded weight, including any trailer, because aftermarket auxiliary coolers are usually sized by a gross vehicle weight rating. Also check whether the vehicle left the factory with a tow package, since some packages already include an auxiliary cooler.
Next, list your practical constraints. These include open space in front of the radiator and air conditioning condenser, how much airflow that area gets, whether you will install the cooler yourself, and your budget for fluid and hardware. If the transmission already shows slipping, harsh or delayed shifts, or stored diagnostic codes, have it diagnosed before adding a cooler. A symptom like delayed engagement can come from low fluid, a solenoid, a sensor or internal wear, and the symptom alone does not identify which. A cooler addresses heat, not an existing fault.
Check compatibility
Identify the exact transmission and configuration before looking at coolers. Conventional automatics, CVTs and dual-clutch units manage fluid temperature differently. Many modern designs use thermostatic valves, fluid warmers or coolant-to-fluid heat exchangers that help the transmission reach operating temperature quickly. Adding an auxiliary cooler to these systems can change warm-up behavior, so check the service information for your transmission model to see how the factory circuit is routed and where an auxiliary cooler can be tied in. An auxiliary cooler is commonly plumbed into the return line after the factory cooler, so the fluid passes through both, but confirm that this suits your specific setup.
The physical interfaces determine fitment. Measure the outside diameter of the factory cooler lines and note the fitting type, because some vehicles use quick-connect fittings that need adapters rather than a simple hose-over-tube connection. The cooler's inlet size, the hose inner diameter and the line diameter must all agree. Then measure the mounting area and compare it with the core dimensions listed for each candidate, leaving clearance for the hood latch, fan shroud, bumper reinforcement, horns and any front sensors. Plan the fluid side too. The cooler and hoses add volume, so you will need extra fluid that meets the transmission's fluid specification. Many sealed units also require a temperature-specific level check procedure.
Features that affect the choice
Core construction is the main trade-off. Tube-and-fin coolers are simple and inexpensive but move less heat for their size. Plate-and-fin and stacked-plate designs generally move more heat for the same frontal area. Stacked-plate cores also tend to tolerate higher pressure, though they usually cost more. If space in front of the radiator is tight and the heat load is high, a more efficient core can be the better fit. For moderate towing with plenty of room, a simpler core may be enough. Mounting method also matters. Kits that use through-core ties are quick to install, while bracket mounting is usually more secure on vehicles that see rough roads or vibration.
Treat ratings as a starting point. A gross vehicle weight rating reflects the manufacturer's sizing assumptions, so use it to narrow the field, then check it against your climate and driving. A much larger cooler is not automatically better. In cold regions, an oversized core can keep fluid below its intended operating temperature, which is one reason some owners consider a thermostatic bypass. Some auxiliary coolers come with an electric fan, which helps when airflow is low, such as during slow towing or long idling. Labels like heavy duty mean little on their own. Rely on stated dimensions, inlet size, rating, construction and kit contents.
Limitations and ownership costs
Installation means opening the transmission cooling circuit. That involves cutting or disconnecting lines, catching spilled fluid, securing hoses with suitable clamps, refilling with the correct fluid and checking the level by the specified procedure. Recheck for leaks after the first full heat cycle. Ongoing costs are modest but real. Rubber hoses age and should be inspected for cracking, swelling and chafing at each service. Clamps can loosen. A core mounted at the front of the vehicle collects insects and road debris that reduce airflow, and a stone strike can puncture it. A leaking cooler can drain the transmission quickly, so routine visual checks matter.
A cooler also has limits within your maintenance plan. It does not replace fluid changes, and it cannot make up for the wrong fluid or a neglected service history. If a transmission has already failed internally, debris can lodge in the cooler and lines. After a rebuild or replacement, follow the repairer's guidance on flushing or replacing the cooler. If you have warranty coverage, find out whether changes to the cooling circuit affect it before you install anything.
Build a practical shortlist
Use a short checklist before comparing specific Hayden transmission cooler models. Confirm the transmission type, model code and factory cooling route. Record the loaded weight, including any trailer. Measure the available mounting area and its clearances. Measure the line diameter and identify the fitting type. Decide which core construction suits your heat load and space. Consider whether your climate calls for a bypass and whether low-speed work calls for a fan. Finally, note the fluid specification and the approximate extra volume you will need.
Then place two or three candidates that meet your weight rating side by side. Compare core dimensions, inlet size, hose length and diameter, adapter needs, mounting hardware and what the kit includes. Choose the one that meets your load with a sensible margin and fits without blocking airflow to the condenser and radiator. If the factory routing or fitting type is unclear, a transmission shop can confirm the tie-in point and discuss repair options before you buy. After installation, watch shift behavior and, if your vehicle displays it, transmission temperature under your typical loads.