GM LS and LS1 Ignition Coils: Operation, Faults, and Upgrades
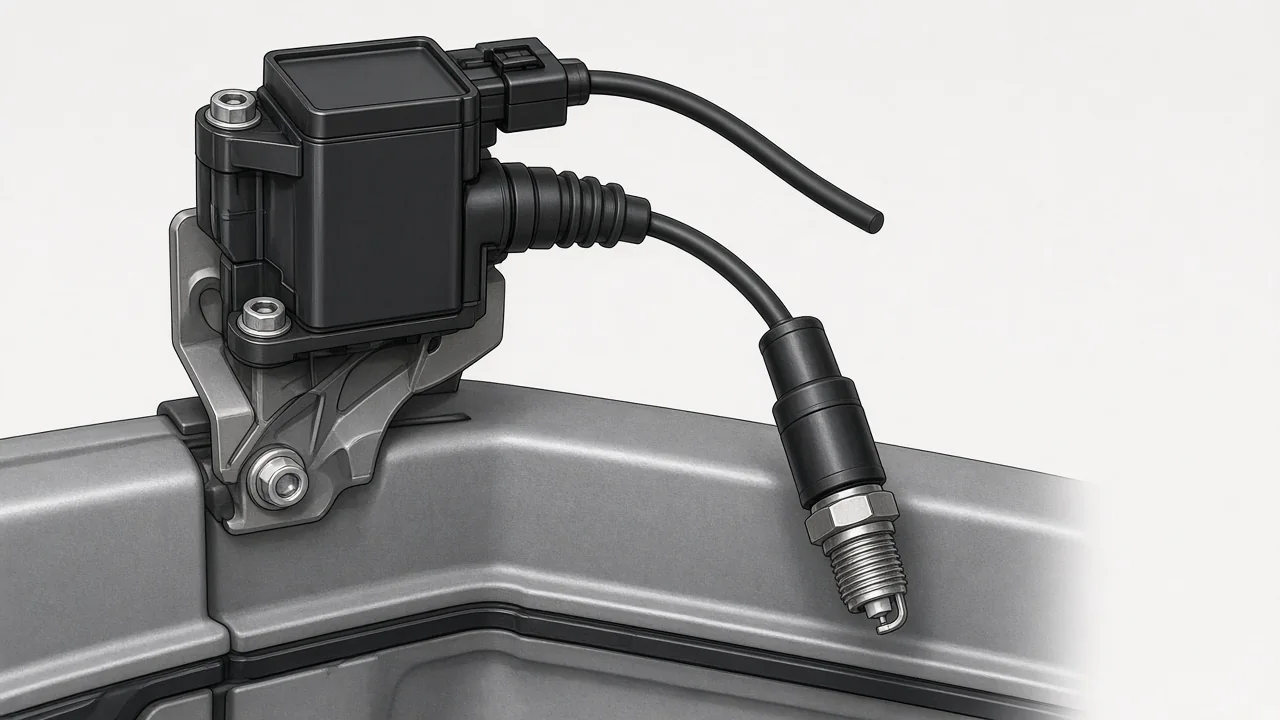
An LS ignition coil sits in a coil-near-plug layout that uses individual ignition coils rather than a single remote coil pack. Each coil fires its cylinder through a short spark plug wire, while the engine controller manages timing through power, ground, and ignition control signals. Hardware varies across the LS family, so an LS1 ignition coil should be identified from the engine and vehicle rather than assumed from the series name.
How LS Coil-Near-Plug Ignition Delivers Spark
GM's coil-near-plug ignition places one coil above each cylinder, close to the plug it serves. A short spark plug wire carries the high-voltage pulse from the coil output to the plug terminal, which keeps the high-tension path brief and routes it through a dedicated boot rather than a long distributor-style cable. That arrangement still depends on the plug seating correctly, the wire terminals locking, and the coil remaining fixed on its bracket so the boot does not pull or arc.
The engine controller commands spark timing by switching each coil's control circuit at the intended crankshaft position, while battery power and engine grounds complete the primary circuit. Coil dwell is the commanded charge time on that circuit, a calibration and wiring concern rather than a marking on the housing. The coil, bracket, electrical connector, short plug wire, and spark plug handle mounting, primary power and control, high-voltage delivery, and the spark gap. An LS family label does not confirm which of those parts is installed.
Identify the Ignition Coils Installed on an LS1
The LS1 uses the same coil-near-plug idea as later LS engines, with individual ignition coils mounted along the valve covers and short leads to the plugs. That layout does not mean one LS1 ignition coil part number covers every LS1 application. Production changes, service replacements, and aftermarket hardware can leave different coils on otherwise similar engines. Treat the LS1 label as a family clue, then identify the hardware actually on the engine before ordering a match.
Replacement selection should start with the vehicle application, the engine identification on the block or documentation, coil markings on the housing, and the applicable service or parts information. On a swapped engine, the donor engine, harness, controller, and existing coil brackets matter as much as the vehicle VIN, because the ignition hardware follows the engine and its controls rather than the body it sits in. Coil shape and connector appearance are useful identification clues, but they still require confirmation against those records rather than a visual match alone.
Understand Coil Generations and Application Details
Shop talk often groups LS coils into generations or informal names, yet those labels only help after they are tied to documented applications and part numbers. Two coils that look similar can differ in connector keying, mounting ears, or the way the controller expects them to charge. Using a generation nickname as a substitute for a catalog application risks mixing hardware that will not lock into the bracket or talk correctly to the harness. Documented part numbers and application notes remain the reliable way to name what is on the engine.
Once a coil is identified, establish its fitment details before treating it as interchangeable: mounting provisions on the coil brackets, the coil connector and wiring assignment, the plug-wire terminal style, and the controller requirements that govern coil dwell. An engine generation label, such as LS1 versus a later LS family designation, does not confirm coil interchangeability on its own. Any substitution needs documented compatibility for the harness, brackets, wires, and dwell settings involved, because a coil that physically sits in the bracket can still be electrically mismatched.
Recognize Coil Trouble Without Assuming the Cause
Ignition trouble can show up as a rough idle, hesitation, a misfire under load, or an illuminated malfunction indicator, sometimes with a stored cylinder misfire code. Heat exposure, insulation damage, moisture at the coil connectors, and poor electrical connections can all disturb spark delivery without proving which part is at fault. Those conditions may affect one coil, several coils, or the shared power and ground paths that feed the bank. Treat the symptom as a reason to inspect the ignition circuit, not as a verdict on a single coil.
Misfire diagnosis has to consider more than the coil. Spark plug condition, short spark plug wires, injectors, intake air leaks, wiring faults, and mechanical problems can produce the same stumble or code. A cylinder misfire code identifies detected misfire activity on that cylinder; it does not prove the coil has failed. The controller reports what it measured, not which component caused the event. Confirming the code's meaning for the specific vehicle and then checking related systems keeps a coil from being replaced while the actual fault remains.
Make Safe Observations and Know When Testing Is Needed
Owner inspection should stay engine-off on a cooled engine and remain visual: look for loose coil connectors, damaged insulation, cracked housings, and contamination around the boots and brackets. Do not probe live ignition circuits or perform exposed-spark tests. Record stored codes, the operating conditions when the fault appeared, and recent repair history before clearing diagnostic evidence. Prematurely erasing that data removes the context a technician uses to reproduce the complaint. Photograph connector positions and note which cylinder was flagged if a misfire code is present.
Each stored code needs its meaning confirmed for the specific vehicle and controller, because manufacturer-dependent codes are not universal definitions. Professional testing may be required to assess coil power, engine grounds, ignition control signals, and actual spark delivery without exposing live high voltage. If the malfunction indicator flashes or the engine shakes severely, stop safely and arrange assessment rather than continuing to drive. Those conditions can indicate ongoing misfire that risks catalytic converter damage and should not be treated as a wait-and-see idle quality issue.
Plan a Replacement or Upgrade Around a Defined Need
Replacement and upgrade planning should start with a defined need. Restoring correct ignition operation after a confirmed coil or circuit fault is a different goal from supporting documented engine modifications that change spark energy demand or packaging. Mixing those goals often leads to swapping coils while the original misfire cause remains. An LS ignition coil change that is not matched to the harness, brackets, and controller settings can introduce new connection or dwell problems even when the old hardware was not the root issue.
A coil upgrade alone does not establish a power gain and will not resolve an undiagnosed misfire. Before committing to a change, verify coil specifications, mounting, wiring, plug-wire fit, and controller calibration against documented compatibility. Unsuitable coil dwell settings can overheat or damage ignition components and should be assessed by a qualified technician or calibrator rather than guessed from a parts listing. After the work, check that the original symptoms are gone and that codes do not return; remaining or recurring faults call for further diagnosis instead of another parts swap.