G-Body Adjustable Control Arms: Fitment and Selection
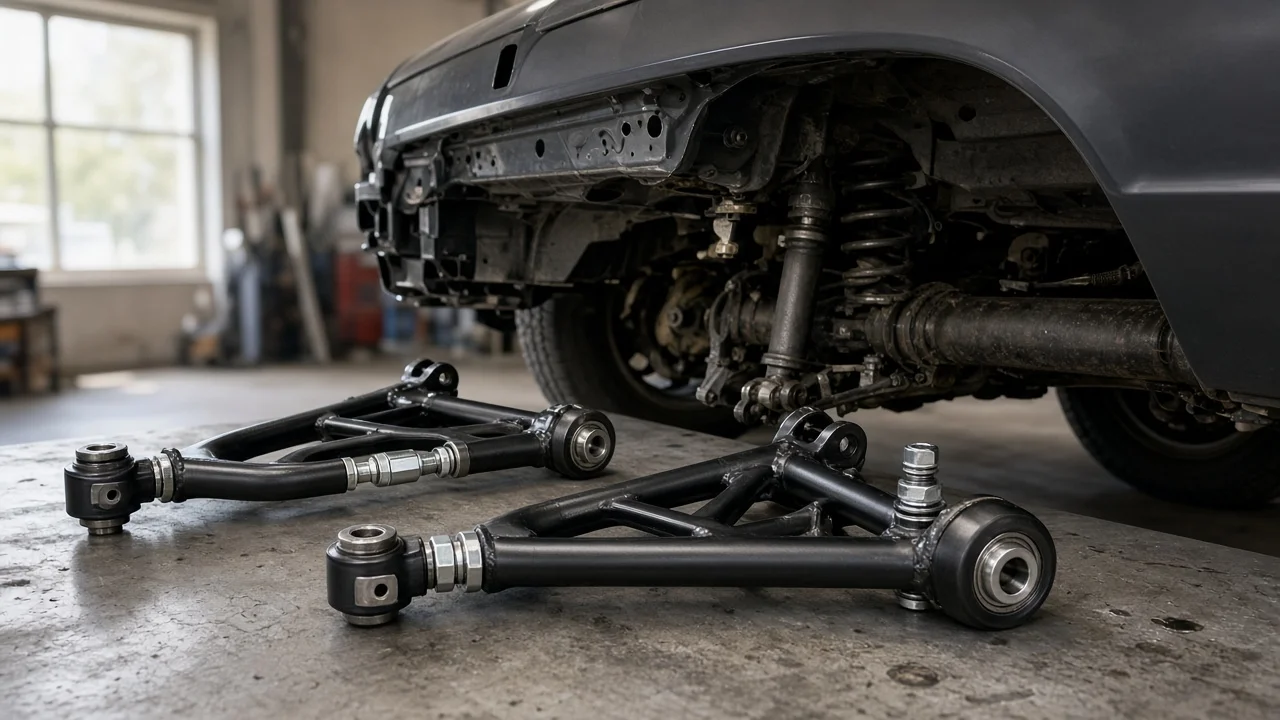
Adjustable control arms let a G-body owner set suspension geometry that fixed factory arms lock in place. On the 1978 to 1988 GM rear-wheel-drive intermediates, that usually means controlling rear pinion angle, centering the axle, or widening front caster and camber range after a ride height change. The right set depends less on brand claims and more on what your car does, which body and axle it has, and how much setup work you are prepared to take on.
Define the job the product must do
Start with the use, not the catalog. A lowered street cruiser usually needs arms that restore geometry without adding noise or harshness. A car built for drag launches needs rear arms that hold the axle firmly and allow pinion angle to be tuned for traction. A car driven hard on twisty roads or at autocross events benefits from front upper arms that add caster and camber range, plus rear arms that resist deflection. If the stock arms simply have cracked, tired bushings and the car sits at factory height, fresh factory-style arms may solve the problem for less money.
Next, decide which arms actually need adjustment. Adjustable rear upper arms are the usual tool for pinion angle. Adjustable rear lowers set axle position fore and aft and help square the axle side to side. Front upper arms affect alignment range. Many owners only need one pair, so be honest about constraints: daily-driver comfort, budget, access to an angle finder and solid stands or a lift, and whether you will pay for a proper wheel alignment afterward.
Check compatibility
The G-body family includes cars such as the Chevrolet Monte Carlo, Malibu and El Camino, Pontiac Grand Prix and LeMans, Buick Regal and Grand National, Oldsmobile Cutlass Supreme and 442, and GMC Caballero. Many arms are sold as fitting the whole group, but listings still vary by year, body style and rear axle. Confirm that the part number covers your exact car, and check how the rear upper arm attaches at the axle housing. The factory design presses a bushing into the housing ears; some aftermarket uppers reuse it, while others require removing it in favor of a spherical joint or a different sleeve. A swapped rear axle may need different arms or brackets altogether.
At the front, confirm ball joint style and size, upper arm shaft and bushing layout, bump stop provisions, and clearance to the spring, shock and tire. In the rear, check whether the lower arms need a sway bar mount, since some G-bodies carried a rear bar attached to the lower arms. Note your current and planned ride height, because lowering changes pinion angle and the arm lengths you will need. Finally, inspect the frame-side mounting points before ordering. Cracked or torn upper arm brackets are a known G-body problem under hard use, and an adjustable arm will not fix a damaged mount; repair or reinforce it first.
Features that affect the choice
Bushing choice drives most of the trade-off. Rubber is quiet and compliant but lets the axle move under load. Polyurethane is firmer and longer lasting, yet in the angled G-body four-link it can bind as the suspension articulates, which may cause squeaks and a stiffer ride. Spherical rod ends remove that bind and locate the axle precisely, at the cost of more noise and vibration in the cabin and more frequent inspection. Hybrid or rotating bushing designs try to combine articulation with some isolation; judge them on stated construction and service requirements rather than on labels.
Look closely at how adjustment works. Single-adjuster arms usually come off the car to change length, while double-adjuster designs with left- and right-hand threads can be turned in place, which matters if you plan to tune pinion angle at the track. Check that jam nuts are included, that the maker states minimum thread engagement, and that adjustment range is given as a measurement rather than a vague promise. Tube material and wall thickness, weld quality, grease fittings, included hardware and clear instructions are useful evidence. Terms such as race-proven or heavy-duty are marketing language until specifications back them up.
Limitations and ownership costs
Installation is more than a parts swap. Use proper vehicle support: solid stands under the frame, with the axle supported as well, since the arms locate it against coil spring load. Replacing one arm at a time helps keep the axle where it belongs. Set each new arm to the length of the old one as a starting point, then measure pinion angle and axle centering against the targets in your service manual or the arm maker's instructions. Tighten rubber and similar bushings with the suspension at normal ride height to avoid preloading them, and follow the fastener specification from the factory manual or the manufacturer. Any front arm change requires a wheel alignment.
Running costs include alignment, pinion angle rechecks after any ride height change, grease for serviceable bushings and periodic inspection. Check rod ends and bushings for joint play, look for loosened jam nuts and listen for new clunks, especially after the first drives. Adjustable arms also have clear limits: they cannot cure worn ball joints, tie rods, shocks or sagging springs, cannot straighten a bent frame and will not hide an axle housing problem. If the car still wanders or wears tires unevenly, inspect the rest of the suspension and steering.
Build a practical shortlist
Narrow the field with a short checklist. Confirm fitment for your model, year, body style and rear axle. Note which arms you need: rear uppers, rear lowers, front uppers or a combination. Match bushing type to how the car is driven and how much noise you will accept. Prefer arms with on-car adjustment if you will tune pinion angle often. Verify ball joint and sway bar provisions where relevant. Check that hardware, jam nuts and instructions are included, and that the maker lists material, adjustment range and fastener guidance.
Then compare two or three candidates on those points rather than on price alone. Budget for an angle finder, an alignment and any frame mount reinforcement, since those costs often decide whether a set works well. Keep the old arms until the new ones are measured, installed and road-tested, so you have a reference if something feels wrong.