Fuel Pump Replacement: How to Replace the Pump
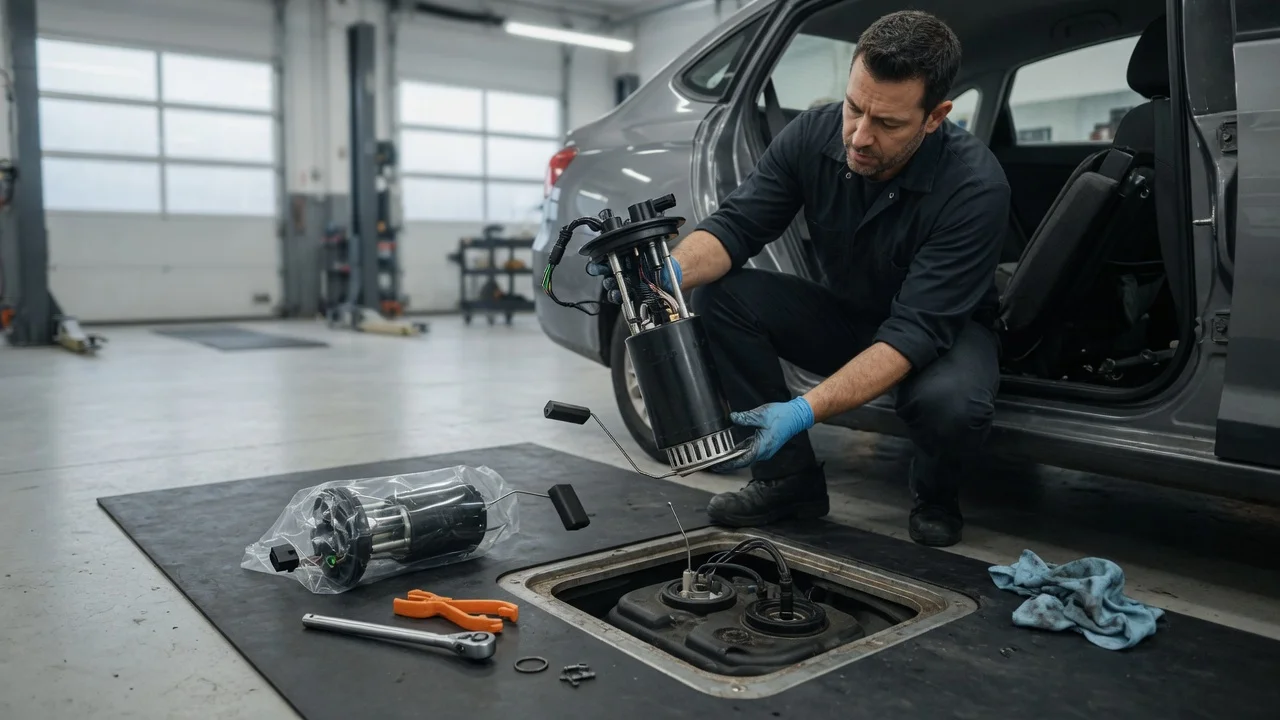
What fuel pump replacement means
Fuel pump replacement is the removal of a failed or weak pump and installation of a matching new or remanufactured unit so the engine again receives fuel at the pressure and volume the injection or carburetion system requires. On most petrol vehicles from the late 1980s onward the pump is an electric unit inside the fuel tank, usually part of a larger sender module that also includes the level sensor, strainer (sock), and a lock-ring or bolted flange. Older vehicles may use a mechanical pump bolted to the engine and driven by a cam or pushrod. Some layouts use an external in-line electric pump on the frame or underbody. Diesel common-rail systems add a low-pressure lift pump and a separate high-pressure pump; those high-pressure units are a different job with different hazards.
The essential condition that changes the answer is vehicle configuration. Access, depressurization method, connector style, lock-ring design, and whether the tank must be dropped all depend on make, model, year, market, powertrain, and tank equipment. A procedure written for one layout does not transfer to another. Manufacturer service information for that exact vehicle is the authority for torque values, residual-pressure steps, fuel-line disconnect method, and coding or priming after install. Those figures are not interchangeable and are not restated here.
When replacement is the right repair
A pump is replaced when diagnosis has shown that the pump, its strainer, or the complete module is the cause of low or no fuel delivery, and that wiring, relay, fuse, inertia switch, fuel filter, and control signals are not the fault. Typical signs that lead to that diagnosis include a no-start with a silent pump at key-on, stalling under load, loss of power that tracks fuel pressure, or a pump that runs but cannot hold specified pressure. Confirm with the tests the manufacturer specifies for that system: listening for prime, measuring voltage and ground at the pump connector, and reading fuel pressure or volume against the published specification. Replacing the pump without those checks can leave a wiring or control fault in place.
Replace the strainer with the pump. If the module is sold as an assembly, replace the assembly rather than pressing a pump into a cracked, swollen, or electrically failed hanger. On many later vehicles the level sender, jet pump, and pressure regulator live in the same module; a leaking flange, failed sender, or damaged lock-ring groove is a reason to replace the whole unit. Do not mix petrol and diesel parts, and do not fit a pump whose flow and pressure rating are unspecified for the vehicle.
What belongs with a qualified workshop
Stop and use qualified service when the vehicle has a high-pressure diesel pump, gasoline direct injection with very high rail pressure, a hybrid or start-stop system whose high-voltage or fuel-shutoff interlocks you cannot isolate from the published procedure, a tank that is structurally rusted or leaking, or damaged fuel lines and evaporative canisters that need certified repair. Tank drops on vehicles that require a two-post lift, support of a full tank, or disturbance of heat shields, brake lines, or exhaust are also beyond a driveway job if you lack the equipment to support the tank and the vehicle securely. Fuel-system work that affects evaporative emissions equipment may be subject to inspection rules in your jurisdiction; the applicable rule is the one for the place the vehicle is registered or repaired.
Prerequisites and equipment
Work only with the correct pump or module for the vehicle identification (VIN-level application where the catalogue requires it), a new strainer, a new tank lock-ring or flange gasket if the design uses one, and any fuel-line seals the manufacturer calls out as single-use. Have the vehicle’s service information on hand before you open the system. You also need a way to relieve residual fuel pressure, a fire extinguisher rated for flammable-liquid fires, eye protection, fuel-resistant gloves, and a well-ventilated area away from sparks, cigarettes, heaters, and running engines. A carbon-monoxide-safe space matters if you will later start the engine indoors.
Typical tools include a fuel-pressure gauge with the correct adapter if you will verify pressure, the specified fuel-line disconnect tools, a lock-ring tool or brass punch and hammer only if that is the published method, a battery-terminal wrench, drain pan rated for petrol, shop towels that you will treat as hazardous waste, and jack stands or a lift if the tank must come down. Plastic tanks and lock rings crack if you use steel chisels or excessive heat. Do not use ordinary electrical tape or worm-drive clamps in place of the original quick-connects and spring locks.
Service information for the exact vehicle, including depressurization, lock-ring, and torque steps; Matching pump or module, strainer, and single-use seals or lock-ring as specified; Fuel-line disconnect tools of the correct family (spring-lock, quick-connect, or threaded); Means to support the vehicle and, if required, the tank; Class B fire extinguisher, eye protection, fuel-resistant gloves; Approved container if fuel must be drained; observe local rules for storage and disposal
Hazards that apply to every step
Petrol vapour is heavier than air and ignites from a spark, static discharge, or hot exhaust. Keep dry-chemical suppression within reach. Disconnect the negative battery terminal before you unplug the pump so the pump cannot run dry or arc in vapour. Ground yourself and the vehicle before you open the tank so static does not jump to the filler neck. Open flame, grinders, and smoking are stop conditions at any point. Skin and eye contact with fuel requires immediate flushing; seek medical care for persistent irritation or if fuel is swallowed. Used fuel, soaked rags, and the old pump are hazardous waste under many local rules.
Steps to replace an in-tank electric pump
The sequence below is the general order used on in-tank electric modules. Each vehicle’s published procedure overrides this outline wherever they differ, especially on how pressure is relieved, whether an access panel exists, and how the lock ring is turned. Do not extrapolate a tank-drop method onto a vehicle that has a cabin access cover, or the reverse.
Park on a level surface, set the parking brake, and allow the exhaust to cool. Work outdoors or in strong ventilation. Have the extinguisher at the work area. Identify the pump location from the service information: cabin or boot access panel, under the rear seat, or through tank removal. Confirm you have the matching part before you open the tank. Relieve residual fuel pressure using only the method given for that vehicle. Common published methods include a service-port schrader on the rail, a scan-tool or fuse-pull prime disable followed by a crank, or a specified bleed valve. Catch fuel in a suitable container. Do not crack a high-pressure diesel or GDI rail as if it were a low-pressure schrader; those systems can inject fuel through skin. If the published method is unavailable to you, stop. Disconnect the negative battery cable and isolate it so it cannot spring back onto the terminal. If the tank must be dropped, reduce fuel volume first by running the tank down or by draining through the published drain point or pump opening. A full tank is heavy and will twist straps and fittings. Support the vehicle on stands at the specified points if you raise it. Support the tank independently before loosening straps. Remove any access cover, seat, or trim. Unplug the electrical connector. Disconnect vapour and fuel lines with the matching disconnect tool; pry clips only as the procedure shows. Cap open lines. Clean dirt from the lock-ring area so it does not fall into the tank. Release the lock ring or flange bolts in the specified direction and pattern. Lift the module straight out so the float arm does not bend. Note the module’s clocking marks and the routing of the strainer. Compare the new module with the old one: connector pin count, hose diameters, lock-ring diameter, float geometry, and strainer shape. Transfer only those parts the instructions say to transfer. Fit the new strainer. Replace the tank seal or O-ring with the specified dry or lightly lubricated condition; petrol-gel or the specified fluid only, never petroleum grease that swells the rubber. Seat the module on the alignment marks. Install the lock ring or flange to the published stop or torque. Reconnect fuel, vapour, and electrical connections until they click or torque as specified. Refit the access cover or raise and strap the tank to the published strap torque. Reconnect the battery. Prime the system with several key-on cycles, or as the manufacturer directs, before the first start. Inspect every disturbed joint for seepage. Start the engine and recheck. Verify there is no leak at idle and after a short loaded run. Confirm the fuel gauge reads and that no pump-circuit or evaporative fault remains.
Mechanical and in-line pumps
A mechanical engine-mounted pump is replaced after the residual pressure in any remaining lines is relieved and the battery is isolated if the vehicle also has electric components on the circuit. Remove the supply and outlet lines, unbolt the pump, and withdraw it so the actuating arm or pushrod is not lost or jammed. Fit the new gasket or O-ring dry or with the specified sealer only. Confirm pushrod projection or arm orientation against the service information before you tighten the fasteners to the published torque. An external in-line electric pump is isolated the same way as an in-tank unit: battery off, lines capped, flow-direction arrow pointing toward the engine, mounts aligned so the pump is not used as a hose support.
Completion check
The job is complete only when the engine starts and idles, fuel pressure or delivery matches the published specification if you have the means to measure it, the gauge sender reads, there is no fuel smell or wetness at the module, lines, and rail, and there is no stored pump-circuit fault after a drive cycle the manufacturer uses for that check. Wipe the area after the first heat-soak and inspect again; some leaks appear only after the tank and lines warm. A pump that is noisy, that cycles rapidly, or that will not prime after several key-on cycles is not finished work: recheck polarity, connector seating, strainer installation, and tank-empty or air-bound conditions.
Limits you should not cross
Do not run a new pump dry to “test” it on the bench in open air; many designs use fuel for lubrication and cooling, and vapour plus a running motor is a fire source. Do not bypass a failed inertia or cutoff switch as a substitute for repair. Do not raise fuel pressure with an unrated pump to chase a misfire. Do not reuse a crushed lock ring, a swollen gasket, or a cracked plastic flange. If at any step the tank is rusted through, a line is steel-pipe corroded, or a connector will not release without breaking, stop and have the system repaired as a unit.
Torque figures, residual-pressure values, rail test ports, lock-ring rotation, and scan-tool prime commands are vehicle-specific and are not given here because a wrong number is more dangerous than a gap. Use the workshop manual or equivalent OEM procedure for the vehicle in front of you. Where that document is missing, the correct next step is to obtain it or to have a technician who has it carry out the replacement.