Ford Transit Brake Warning Light: Causes and Checks
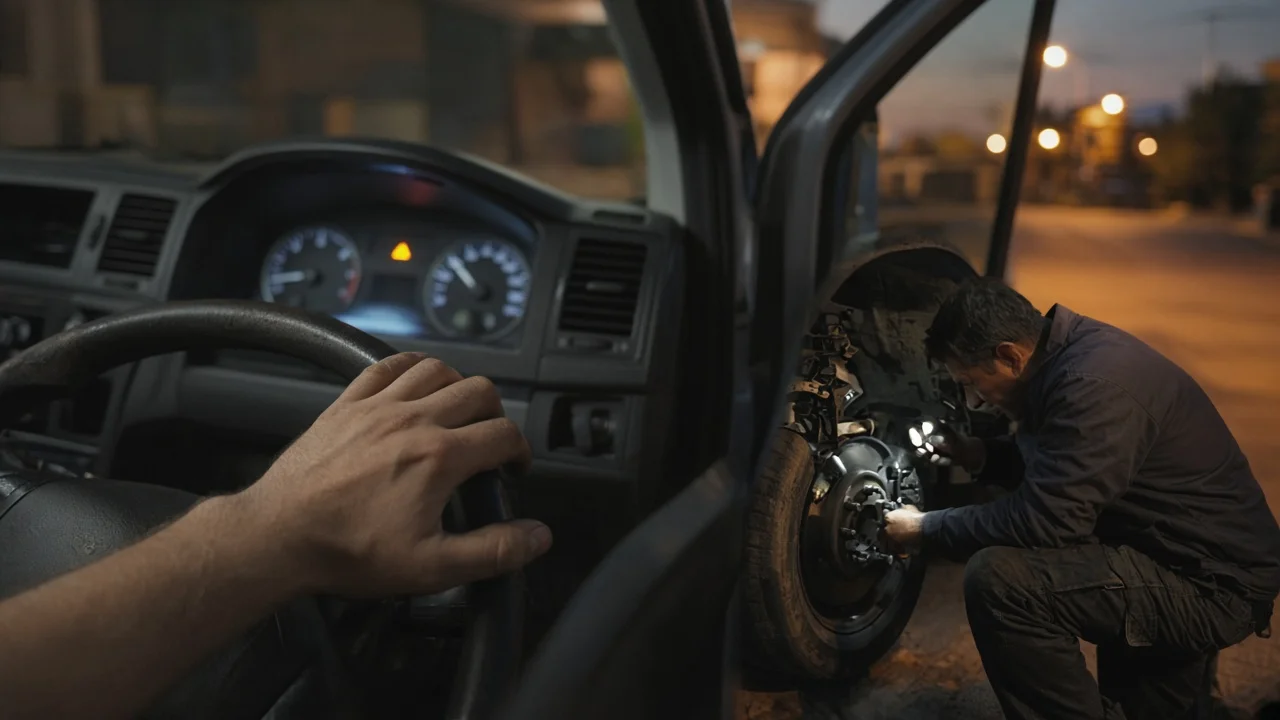
A brake warning light on a Ford Transit dashboard can mean something as minor as a parking brake that has not fully released, or something as serious as a fluid leak that reduces stopping power. One lamp can cover several conditions, so the sensible approach is to observe carefully, rule out the simple explanations and then decide whether the van should be driven at all. This guide explains how to narrow down the cause and what a technician will need.
Establish the symptoms
Start by identifying exactly which warning is lit. A red brake symbol, usually a circle with an exclamation mark or the word BRAKE, generally relates to the parking brake or the hydraulic system. An amber ABS lamp points to the anti-lock system, and some vans have a separate brake pad wear indicator or a text message in the instrument cluster display. The owner's manual for your model year shows which symbols your Transit uses and what each one means, so check it rather than assuming. If you can safely do so, photograph the cluster while the warning is showing.
Next, note when the light appears. Does it stay on from startup, come on only after driving for a while, flicker over bumps, appear when braking hard, or show up on hills and tight corners? Record any accompanying signs: a pedal that feels softer or travels further than usual, a pull to one side, grinding or squealing, a burning smell, or damp patches near a wheel. Finally, list recent changes such as new brake pads, a brake fluid service, wheel or suspension work, a battery disconnection or an unusually heavy load. These details often separate a nuisance warning from a genuine hydraulic problem.
Distinguish plausible causes
The most common explanation is the parking brake. On a manual lever, a switch that is out of adjustment or a lever not fully lowered can keep the lamp on. If your Transit has an electronic parking brake, a fault in that system can trigger a brake warning, usually alongside a related message. This cause is supported when the light behaves differently as you operate the parking brake, and weakened when operating it makes no difference.
Low brake fluid is the next major cause. As the friction material on brake pads wears, the caliper pistons move outward and the reservoir level drops gradually, so a low reading can simply reflect worn pads. A sudden or significant drop points instead to a leak at a caliper, brake line, hose, wheel cylinder or master cylinder. A light that flickers on corners or slopes suggests fluid sitting near the minimum mark and moving across the level sensor. A faulty level switch, float or wiring connection can also give a false warning even when the fluid level is correct.
Where a pad wear sensor is fitted, the warning may indicate pads near their wear limits or a damaged sensor wire, which is common after brake work. When the red brake light comes on together with the ABS lamp, an electronic fault affecting brake force distribution becomes more likely, and that combination deserves particular caution.
Checks in a useful order
Some observations are safe for any owner. Park on level ground, switch the engine off and confirm the parking brake is fully released or correctly applied according to its normal operation. Locate the brake fluid reservoir using the owner's manual and compare the level with the MIN and MAX marks without opening the cap unnecessarily, since brake fluid absorbs moisture and damages paint. Look for wetness on the inner faces of the tires, around each wheel, along visible brake lines and beneath the reservoir and master cylinder. If the wheel design allows, check whether the pads look thin and whether the brake rotors show deep grooves or a pronounced lip.
Other tests need tools, specifications or a qualified technician. Reading stored fault codes from the brake and ABS modules requires a diagnostic scan tool that can access those systems. Measuring pad thickness and rotor thickness accurately means removing wheels and comparing measurements against Ford's published wear limits for your specific van. Inspecting caliper slides and pistons, testing fluid condition, bleeding the hydraulic system and servicing an electronic parking brake, which may require a service mode, all belong in a workshop setting.
Interpret the findings
Low fluid with visibly worn pads and no sign of leakage is consistent with normal wear, but it still needs confirming by measurement. Topping up alone hides the reason for the drop, and adding fluid to a worn system can cause overflow once new pads push the pistons back. Low fluid with pads that appear healthy strongly suggests a leak, and the source must be found before the van is relied on. A correct fluid level with the light still on shifts suspicion toward the parking brake switch, the level sensor, wiring or an electronic fault, which fault codes help to confirm.
A warning shared with the ABS lamp generally needs a scan of the relevant modules before any parts are chosen. Remember that a dashboard light only tells you which circuit flagged a problem, not which component failed. Before ordering pads, rotors, a caliper or sensors, confirm the diagnosis and check vehicle fitment using the VIN, since Transit variants can differ in brake specification depending on model year, wheelbase, drive type and gross weight.
Urgency and next action
Stop driving and arrange professional help, including towing if needed, if the pedal feels soft, sinks toward the floor or needs pumping, if stopping distances have increased, if the van pulls under braking, if you hear metal-on-metal grinding, if fluid is visibly leaking or below the minimum mark, or if the red brake and ABS lights are on together with any change in braking behavior. There is no reliable way to say how far a van with an active brake warning can safely travel, so treat the light as a reason for prompt inspection rather than something to monitor over time.
To speed up the repair, give the technician the VIN or model year and version, photos of the warning symbols or messages, a description of when the light appears, the fluid level you observed, any leaks you noticed and details of recent brake or wheel work. If fault codes have already been read, pass those on as well. Clear information lets the workshop confirm the cause quickly and replace only the parts that genuinely need it.