Ford Transit ABS Reluctor Ring: Fitment Guide
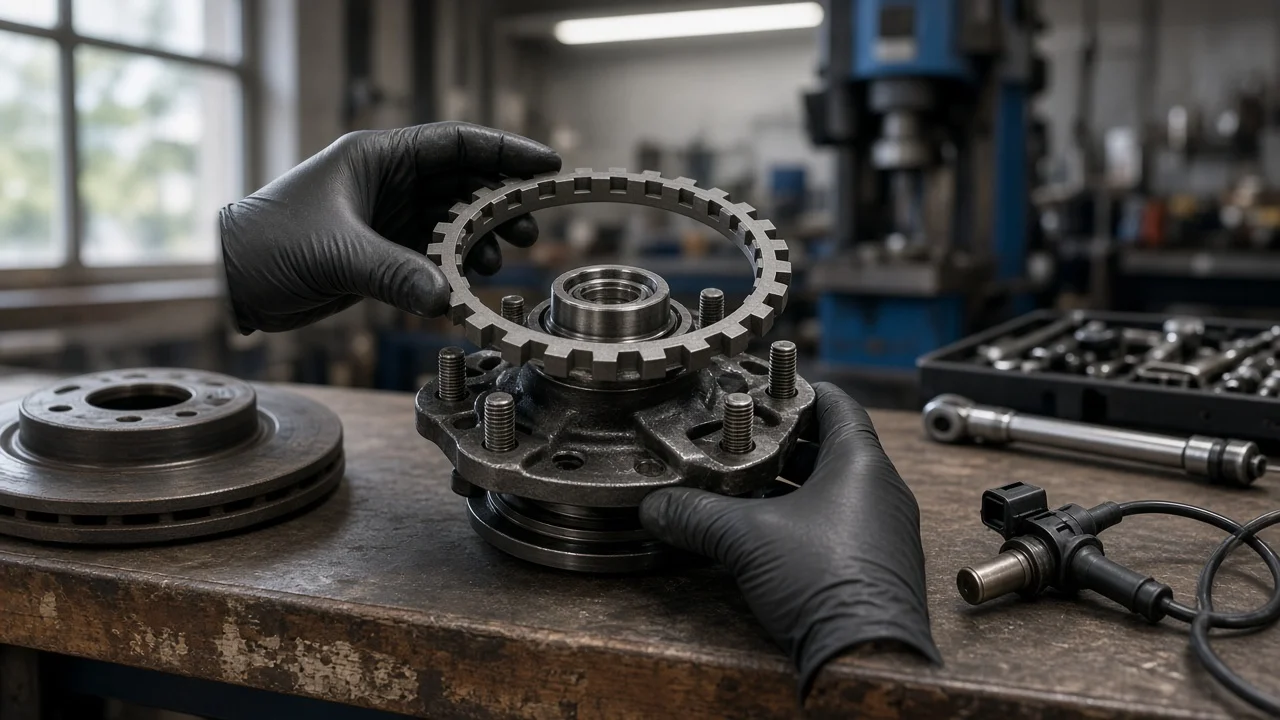
A cracked or rusted ABS reluctor ring is a common reason for ABS and traction control warnings on a Ford Transit, especially on vans that work hard in salt, slush and wet weather. Choosing a replacement is mostly a fitment question. Transit generations, drive layouts and axle types do not share one ring. This guide explains how to match a ring to your van and what to check before and after fitting it.
The short answer on fitment
There is no single reluctor ring that fits every Ford Transit. The correct part depends on the model generation, whether the ring sits at the front or the rear, the drive layout (front-wheel drive, rear-wheel drive or all-wheel drive) and the rear axle configuration, including single or dual rear wheels. A replacement has to match the original in tooth count, inner diameter, width and mounting method. A ring that slides onto the seat but has the wrong number of teeth will send an incorrect wheel speed signal, and the ABS module will flag a fault. The most reliable way to confirm vehicle fitment is a parts lookup by VIN, either through a dealer parts counter or a catalog that searches by VIN rather than by model name alone.
Also check whether your position uses a separate ring at all. Depending on the version, the toothed target may be machined into or pressed onto a CV joint, an axle shaft or a hub, or the wheel bearing may carry a magnetic encoder built into its seal. Where the target is integrated, the repair means replacing that driveshaft, hub or bearing assembly rather than buying a loose ring.
How the reluctor ring works with the ABS sensor
The reluctor ring, also called a tone ring, rotates with the wheel. A wheel speed sensor mounted close to it detects each tooth or magnetic segment as it passes and produces a signal whose frequency rises with wheel speed. The ABS module compares the signals from all four wheels. If one wheel slows much faster than the others during braking, the module reads it as an impending lockup and modulates brake fluid pressure to that caliper so the tire keeps rolling and the driver keeps steering control. Traction and stability control rely on the same signals, which is why one damaged ring can switch on several warning lights at once.
Pressed steel rings usually fail through corrosion. Rust builds up between the ring and its seat, swells and eventually cracks the ring or pushes it out of position. Teeth can also be chipped, filled with debris or bent during earlier repairs. Typical symptoms are an ABS or traction control light, a stored wheel speed sensor code, and the ABS pulsing through the pedal at very low speed just before the van stops, even on dry pavement. A faulty ABS signal normally leaves the base hydraulic brakes working, but without anti-lock function the wheels can lock under hard braking, so the fault should not be ignored.
What changes the right part
Generation comes first. Ford has used the Transit name on several generations of van, and the smaller Transit Connect is a different vehicle with its own parts. The full-size Transit sold in North America since the 2015 model year does not share ABS rings with older Transit generations, and parts listed simply as Transit are not automatically interchangeable. Mid-cycle updates within one generation can also change hubs, bearings or sensors, so the model year and build date matter.
Drive layout and axle type are the next filters. On front-wheel-drive versions the front target is commonly part of the outer CV joint on the driveshaft. On rear-wheel-drive versions the front wheels are not driven, so the target is usually associated with the hub or bearing. At the rear, the arrangement can differ between axle designs, between single and dual rear wheel vans and between payload ratings, and all-wheel-drive models add driven front axles with their own components. Two Transits from the same model year can therefore need different rear parts.
Sensor type also matters. Older systems often use passive sensors reading a steel toothed ring, while many newer designs use active sensors that may read either a toothed ring or a magnetic encoder in the bearing seal. The replacement must match what the original sensor was designed to read. When a bearing with a magnetic encoder is installed, the encoder side has to face the sensor; fitted backwards, it can leave the ABS without a usable signal.
What you can check and do
Start by confirming the fault. A scan tool that can read the ABS module will show which wheel position is reporting a problem, and live data lets you compare wheel speeds during a slow, safe test drive. A signal that drops out or reads erratically on one wheel points toward the ring, sensor, wiring or bearing on that corner. With the wheel off, inspect the ring for cracks, gaps between ring and seat, lifted sections, missing teeth or packed debris. Check the sensor tip for metal particles and the harness for chafing or corroded connectors.
Before ordering, record the VIN, model year, drive layout and rear wheel configuration, and compare the new part directly with the old one. Counting the teeth on the original, marking a starting tooth with paint, removes guesswork. During installation, clean all rust from the seat, press the ring on evenly to the depth given in the service information and avoid hammering it at an angle, which can distort it. Make sure nothing interferes with the sensor gap, reinstall the sensor with its specified fastener torque, then clear the codes and confirm on a test drive that the warning lights stay off.
While the corner is apart, check the rest of the brake. Measure the friction material on the brake pads and the brake rotors thickness against the wear limits for your van, confirm the caliper slides move freely, and look at the condition of the brake fluid. Keep grease and corrosion treatment off pads and rotor faces, never hang the caliper by its hose, and tighten the caliper, hub and wheel fasteners to the specifications for your model.
Limitations and when to get professional help
This guide cannot confirm fitment for an individual van. Catalog listings vary in accuracy, and only a VIN-based lookup or a direct comparison with the original part settles the question. Some rear ring replacements involve removing an axle shaft, pressing parts on and off and replacing seals or gear oil, which calls for the correct service procedure, tools and torque values. If the ring is part of a driveshaft or hub, replacing the whole assembly may be the practical route.
Stop using the van and have it inspected professionally if the pedal feels soft or sinks, the red brake warning light comes on with the ABS light, the van pulls under braking or you hear grinding from a wheel. If the ABS light returns after a new ring is fitted, the cause may be the sensor, wiring, bearing play or the module itself, and a technician with a capable scan tool can trace it. The sensible next step is to read the codes, identify the wheel position and confirm the correct part by VIN before buying anything.