Ford Ranger Parking Brake Cable Replacement Guide
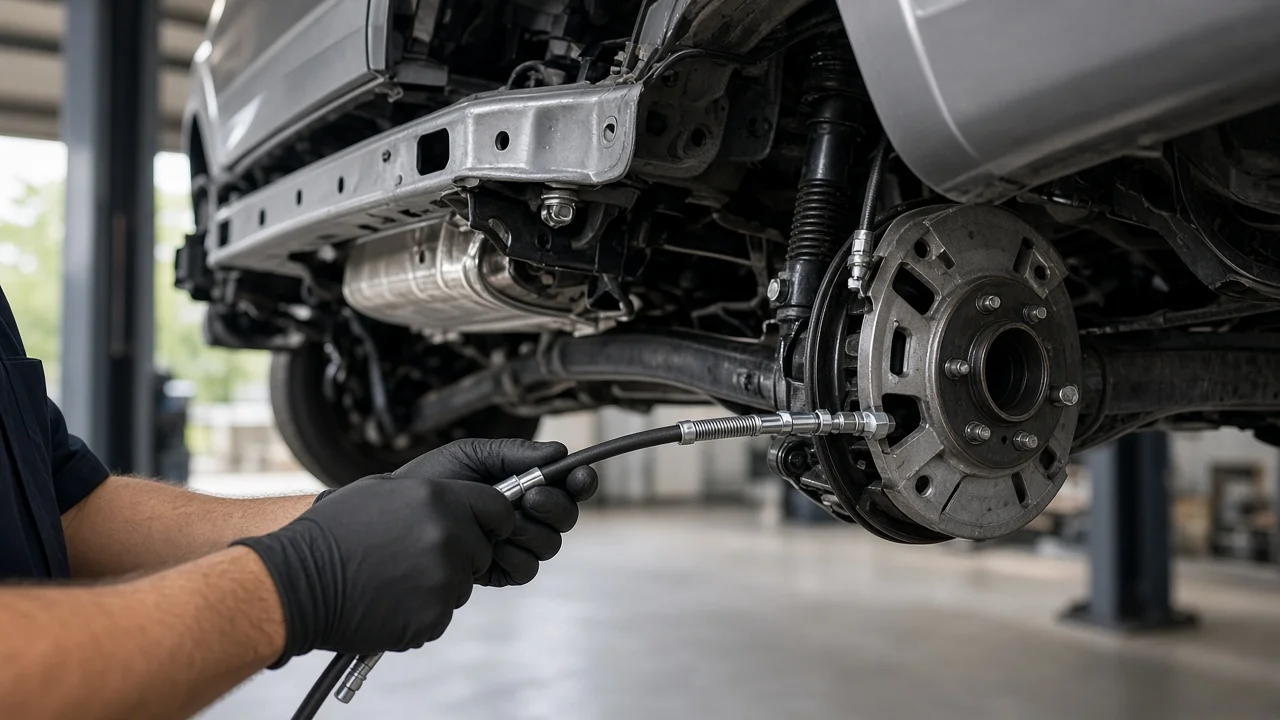
A frayed, seized or stretched parking brake cable is a common reason a Ford Ranger will not hold on a slope, or why one rear wheel keeps dragging after the lever or pedal is released. Replacing the cable is mostly bolt-on work under the truck, but it involves the rear brakes and a spring-loaded control, so the details matter. The steps below cover confirming the right part, safe preparation, removal, installation and the checks that prove the job is done.
Confirm the part and repair scope
Parking brake layouts on the Ranger vary by generation, drive type, cab style and wheelbase. On most cable-operated trucks, a front cable runs from the pedal or lever to an equalizer under the body, and separate rear cables run from the equalizer to each rear brake. Rear cable lengths often change with wheelbase and bed length, so ordering by model year alone can lead to a part that is too short or too long. Confirm vehicle fitment with the VIN, cab and bed configuration and 2WD or 4WD, then compare the new cable with the old one for overall length, conduit length, end fittings and retainer style before you start. If your Ranger applies the parking brake with a switch rather than a pedal or lever, it uses an electronic system with actuators at the rear brakes; there is no cable to replace, and a fault there calls for diagnosis with suitable scan equipment rather than this procedure.
Also make sure the cable is really the problem. A weak parking brake can come from worn or glazed shoes, friction material soaked by brake fluid from a leaking wheel cylinder, a seized lever on the brake shoe, poorly adjusted rear brakes or a worn ratchet in the control. A cable is the likely culprit when it is visibly frayed, the conduit is cracked or rusted, the strand will not slide back when the brake is released, or the control moves but nothing happens at the wheel. On versions with rear disc brakes, the parking brake may use small shoes inside the hat of the brake rotor or a lever on the caliper itself, so inspect that hardware too. If the shoes are near their wear limits or contaminated, plan to renew them in axle sets during the same job.
Prepare tools and safe access
Gather a floor jack, jack stands rated for the truck, wheel chocks, a lug wrench, metric sockets and wrenches, pliers, penetrating oil, brake parts cleaner, drum brake spring tools, a flashlight, eye protection and gloves. A small box-end wrench or a worm-drive hose clamp makes it easier to compress the spring fingers on cable retainers. Get the service information for your exact model year: it shows cable routing, the release or locking procedure for the parking brake control, the shoe and cable adjustment method and fastener torque values. Do not guess these figures. Brake dust should be wetted with cleaner and wiped, never blown off with compressed air.
Work on level, solid ground. Chock the front wheels, put an automatic transmission in Park or a manual in gear, release the parking brake and raise the rear of the truck onto stands at the supported lift points; once the cables are disconnected, nothing at the rear wheels will hold the truck. This job suits owners who are comfortable with drum brake service, because the rear cable end usually hooks to a lever on the brake shoe. If you have never reassembled a drum brake or are unsure how to secure a spring-loaded control, have a qualified brake technician do the work.
Remove without avoidable damage
Start at the control end. Some Ford pedal assemblies use a self-adjusting mechanism that keeps the cables under constant spring tension; the service information describes how to lock it before any cable is disconnected. Releasing that spring without locking it can let the mechanism unwind sharply and may require removing the control to reset it. With tension released, unhook the cable from the equalizer or control, then free the conduit from each bracket along the frame. Slide a box-end wrench or hose clamp over the retainer to squeeze its fingers together, push the retainer through the bracket and remove any clips. Photograph the routing before pulling anything loose, and keep the cable clear of fuel lines, brake lines, wheel speed sensor wiring and exhaust heat shields.
At the wheel, remove the wheel and the drum, or the brake rotor on disc-equipped versions. A drum that has worn a lip may need its shoe adjuster backed off before it will slide over the shoes. Unhook the cable end from the parking brake lever on the rear shoe; on many designs this means compressing the return spring on the cable end or partly removing the shoe. Then compress the retainer where the conduit passes through the backing plate and pull the cable out. Work on one side at a time so the other side remains a reference for spring and lever positions.
While the brake is open, check the drum or rotor surface, the friction material and the wheel cylinder. Wetness or a crust behind the dust boots means the cylinder is leaking brake fluid, which must be corrected before the job is finished. Do not let springs fly loose or stretch them beyond their normal travel, and replace any that are bent or weak.
Install and restore the system
Lay the new cable next to the old one to confirm orientation, then route it along exactly the same path. Feed the conduit through the backing plate until the retainer fingers snap fully into place, and attach the cable end to the shoe lever with the return spring correctly seated. Reassemble the shoes and springs, adjust the rear brakes to the drum as specified, then install the drum or rotor. Shoe adjustment comes first: parking brake cable tension should not be used to make up for shoes that are set too far from the drum. Seat each frame retainer and clip so the cable cannot rub on the driveshaft, exhaust or suspension through full axle travel.
Connect the cable to the equalizer or control and restore tension using the method in the service information, whether that means releasing the locked self-adjuster or setting an adjusting nut. Apply and release the parking brake several times to seat the cable ends. Many replacement cables come pre-lubricated and coated, so avoid adding oil unless the instructions call for it. Clean any fingerprints or grease from the friction surfaces with brake cleaner, refit the wheels and tighten the lug nuts to the specified torque in a crossing pattern.
Check the completed work
With the rear still raised and the brake released, spin each rear wheel by hand; both should turn freely without scraping or drag. Apply the brake partway and confirm both wheels resist about equally, then apply it fully and check that travel matches the specification. Release it again and confirm the wheels spin freely and the parking brake warning light goes out with the ignition on. Lower the truck, then test the hold on a gentle slope in a safe area with your foot ready on the service brake.
After a short drive, carefully feel near each drum or rotor for uneven heat, which points to a dragging shoe, and recheck the cable for slack, contact with nearby parts or a retainer that has backed out. Further diagnosis is needed if the truck will not hold, one side still drags, there is a burning smell, the control travel keeps growing or the warning light stays on. If the service brake pedal feels soft, the truck pulls under braking or brake fluid appears at a wheel, stop driving it until the fault has been inspected.