Ford Ranger Parking Brake Cable Diagram Guide
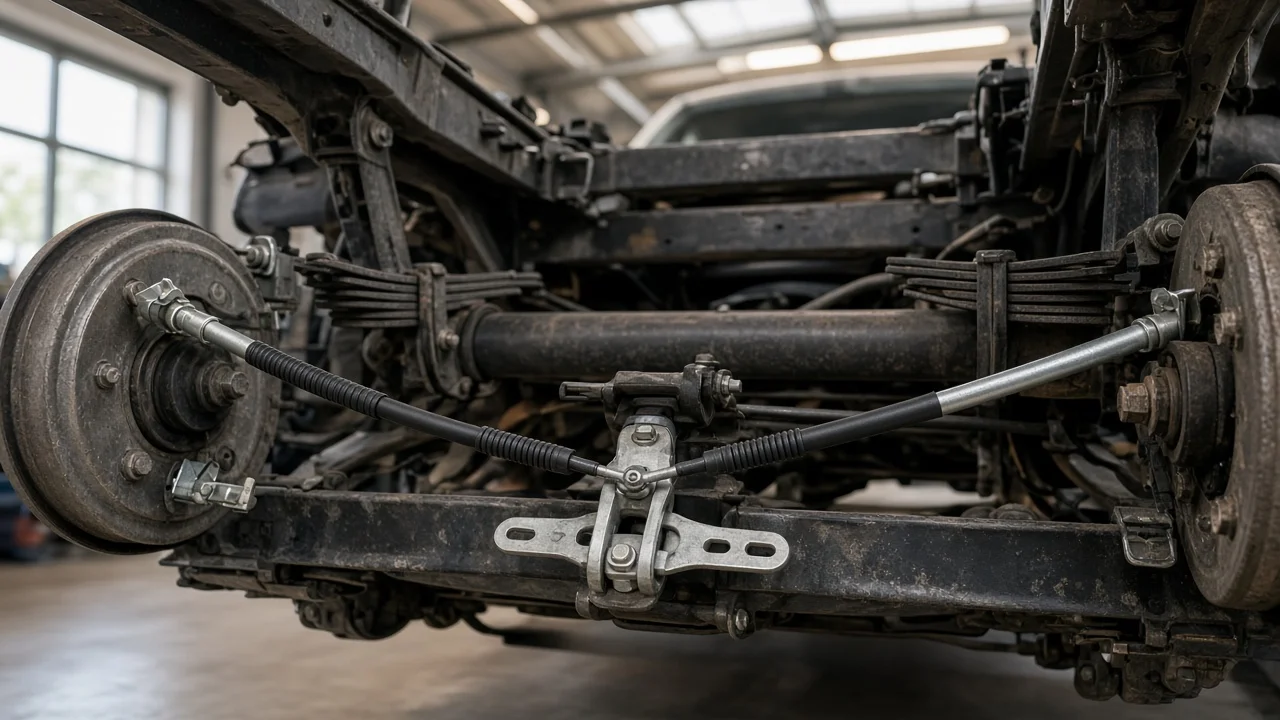
A Ford Ranger parking brake cable diagram shows how the pedal or hand lever connects to the rear brakes through a front cable, an equalizer, and separate left and right rear cables. The exact routing differs by model year, cab, wheelbase and drivetrain. Use this guide to understand the layout and identify parts, then confirm the details in service information for your specific truck before buying cables or adjusting anything.
The Short Answer: How the Cables Are Laid Out
On most Rangers with a mechanical parking brake, the system is a three-part cable assembly. A front cable runs from the parking brake control in the cab, either a foot pedal on many earlier trucks or a center console hand lever on others. It passes through the floor and runs back along the frame to an equalizer, a small bracket or yoke that splits the pull between two rear cables. Each rear cable runs to one rear wheel, passes through the brake backing plate and hooks onto the parking brake lever inside the drum. Some layouts route one rear cable across the chassis to reach the opposite wheel, so the two rear cables are often different lengths and are not interchangeable.
Described in order, a typical diagram reads: control assembly, front cable, guides and frame brackets, adjuster or tension limiter, equalizer, left and right rear cables, and the parking brake levers at the rear brakes. Clips and grommets hold the cables in place along the way. If the diagram for your truck shows a different order, trust the vehicle-specific version over this general description.
How the Ranger Parking Brake Works
Applying the pedal or lever pulls the front cable, which draws the equalizer rearward. The equalizer balances tension so both rear cables are pulled roughly evenly, even if one side has slightly more slack. At each wheel, the cable pulls a lever attached to a brake shoe. The lever pivots against a strut, spreading the shoes outward so their friction material presses against the drum. Because this happens mechanically, the parking brake does not rely on brake fluid or hydraulic pressure to hold the truck.
Where rear disc brakes are fitted, the parking brake is usually either a small drum-in-hat shoe set inside the rotor or a mechanism built into the caliper. The cable still supplies the pull, but the parts it acts on differ, and so do the inspection and adjustment steps. The service brake pads and brake rotors are a separate wear system; a parking brake that will not hold does not by itself prove the pads are worn, and worn pads do not necessarily mean the parking brake is faulty.
What Changes the Diagram for Your Truck
Model year and generation matter most. Earlier Rangers sold in the US commonly paired a foot-operated pedal with rear drum brakes, later trucks may use a hand lever, and some newer versions use an electric parking brake on certain trims. An electric system replaces part or all of the cable layout with a motorized mechanism and electronic controls, and service can require a scan tool to release it safely. A cable diagram does not describe those trucks in the same way.
Within a mechanical design, wheelbase, cab style, bed length and two-wheel or four-wheel drive can change cable lengths, bracket positions and routing around the transmission, transfer case, exhaust or fuel tank. Rangers built for other markets were also engineered differently from US models. This is why vehicle fitment for parking brake cables is normally listed by year, cab, wheelbase and drivetrain, and why matching only the model name is not enough when ordering a front or rear cable.
The adjustment arrangement varies as well. Some trucks use a threaded adjuster near the equalizer, others use a tension limiter or self-adjusting device, and the rear drum shoes have their own adjuster. Which one your truck has determines how slack is removed and in what order.
What You Can Check Yourself
With the truck on level ground, wheels chocked and safely supported on stands if you need to go underneath, trace the cables visually from the control back to each rear wheel. Look for frayed strands near the cable ends, cracked or missing outer sheathing, kinks, rust swelling at the conduit ends, cables hanging loose from their clips, and an equalizer that sits noticeably off center. Corrosion inside the sheath is a common reason a cable binds and leaves the brake partly applied after release.
Then check function. Note how far the pedal or lever travels before it holds compared with what you are used to, and whether the truck stays put on a gentle incline with the parking brake set. After release, a rear wheel that drags, smells hot or makes noise suggests a sticking cable or a shoe that has not returned. Note which side is affected, because that points toward the rear cable or brake assembly on that wheel rather than the front cable.
Adjustment and Replacement Points
If the cables are in good condition but travel is excessive, the cause is often rear shoe adjustment rather than cable stretch. The usual order is to adjust the shoes first and the cable second, because tightening the cable to make up for worn or poorly adjusted shoes can leave the brake partially applied. With the drums off, compare the shoes against the manufacturer's wear limits; worn or contaminated friction material will not hold well no matter how the cable is set.
When replacing a cable, photograph the routing, clips and brackets before removal and reproduce that path with the new part. Over-tightening is a common mistake that causes dragging, heat and premature wear. If your truck uses a tension limiter, follow the service information procedure for setting or replacing it rather than improvising.
Limitations and When to Get Professional Help
A written layout cannot replace the exact diagram, part numbers and adjustment specifications for your truck's year, configuration and market. Use factory service information or a repair manual matched to your vehicle, and confirm replacement parts by fitment rather than by appearance.
Stop driving and arrange a professional inspection if the parking brake will not hold on a slope, the rear brakes stay applied after release, the brake warning light stays on with the parking brake off, or you notice a fluid leak, grinding or pulling while braking. Those symptoms can involve the hydraulic system, a caliper, a wheel cylinder or other service brake parts, not just the cable. Electric parking brake systems, and any job where you are unsure of the routing or adjustment, are also good reasons to have a qualified brake technician do the work.