Ford Fusion Parking Brake Actuator: Fitment and 2013 Applications
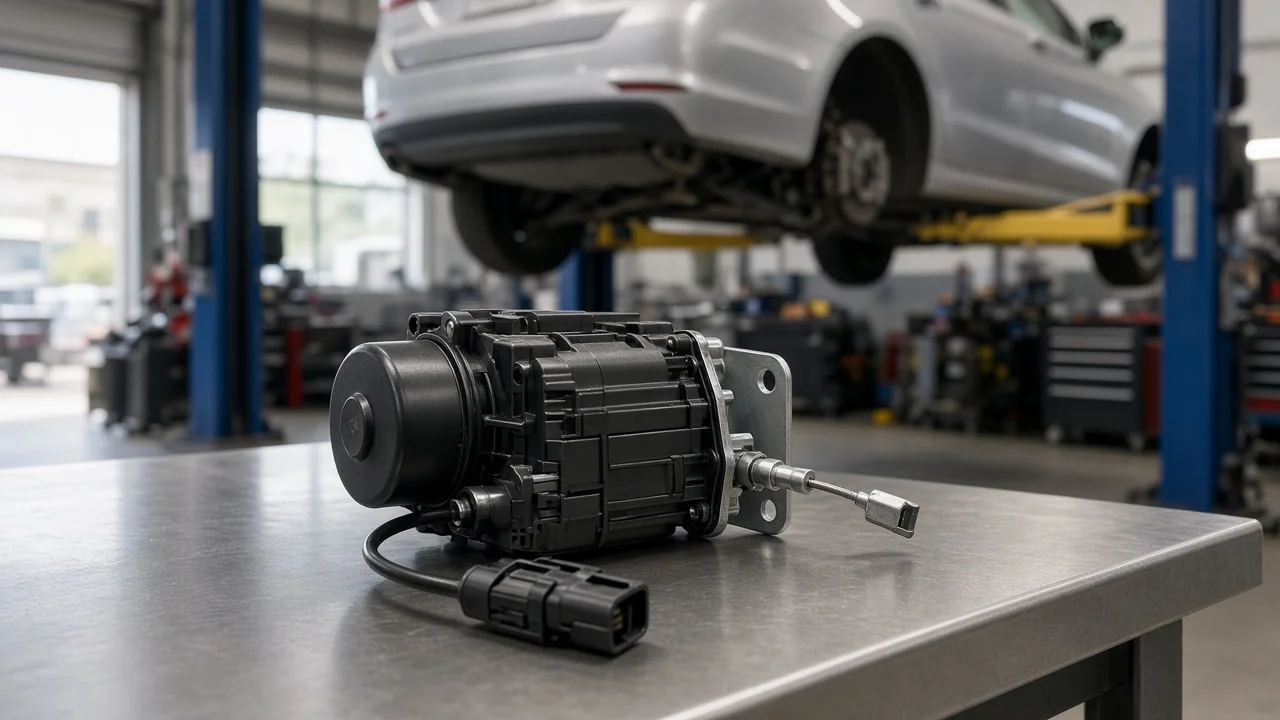
If your Fusion shows a parking brake fault, or a rear brake will not apply or release, the part in question is usually the electric motor and gear unit bolted to a rear caliper. Choosing the right replacement depends less on model year alone than on how the car is equipped, which side is failing and whether the actuator is actually at fault. This guide covers fitment for the 2013 model year and similar second-generation cars.
Which Fusions use a parking brake actuator
The second-generation Fusion, introduced for 2013, is generally equipped with an electric parking brake operated by a switch on the center console instead of a pedal or hand lever. On those cars, each rear caliper carries its own actuator: a small electric motor driving a gear set that pushes the caliper piston and clamps the brake pads. The earlier generation, sold through 2012, used a conventional cable-operated parking brake, so an actuator intended for a 2013 car will not suit it. Because equipment can differ between trims and powertrains, confirm the setup on your own car before ordering. A console switch marked with the parking brake symbol indicates an electric system.
For a 2013 Fusion, the correct actuator is matched by side, since left and right units are typically different parts, by caliper design and by the part number assigned to your VIN. Gasoline, hybrid and plug-in hybrid versions share the same body, but do not assume parts interchange between them or with later model years without a confirmed part number match. Some suppliers sell the motor on its own, while others offer it only as part of a complete rear caliper assembly.
How the electric parking brake works
Pulling the console switch sends a request to the control module, which powers both rear motors. Each motor turns a reduction gear that drives a spindle inside the caliper piston, pressing the pads against the brake rotors with mechanical force rather than hydraulic pressure. The module monitors motor current to judge when the clamp is complete, then cuts power. Releasing the brake reverses the motor. Normal stops still rely on brake fluid and hydraulic pressure; the actuator only adds a mechanical hold for parking.
This design matters during repairs. Because the piston is mechanically linked to the actuator, it cannot simply be pushed back with a clamp when fitting new pads. Forcing it can strip the gears or damage the spindle. The pistons must be retracted electronically, using a scan tool or the maintenance procedure in Ford service information, before pad or caliper work begins.
What changes the diagnosis and the part you need
A parking brake warning does not automatically mean a failed actuator. Other common causes include corroded or damaged connectors at the caliper, chafed wiring, a weak battery or low system voltage, a faulty switch, a control module fault and a seized caliper piston or slide. Heavily worn friction material or rotors near their wear limits change how far the motor must travel and can contribute to apply faults.
Fault codes narrow this down. A code pointing to an open circuit or excessive current on one side means something different from a module communication fault. Side matters too: if only one rear wheel fails to clamp, the problem is usually local to that caliper. If both sides fail at once, check power supply, the switch and the module before buying two motors.
Vehicle fitment is the other variable. Rear brake hardware can differ with brake package or production changes, so the caliper casting, motor connector and mounting points must match the original. When the caliper body is also corroded, leaking or sticking, a complete caliper assembly with actuator may be the more sensible repair than a motor alone.
What the owner can do
Start with a code scan using a tool that can read the brake and parking brake modules, not just engine codes, and note any messages on the instrument cluster. With the car safely secured, inspect the connector on each rear caliper for corrosion, broken locking tabs or green deposits, and check the harness for rub damage near the suspension.
Listen as the brake applies and releases. A normal cycle produces a brief, even whir from both rear wheels. Grinding, clicking, a motor that runs noticeably longer than the other side, or silence from one side points toward that actuator or its circuit. Measure pad thickness and inspect rotor condition against the specified wear limits while you are there.
When ordering, read the part number from the existing actuator if it is legible and cross-check it against your VIN with the parts supplier or dealer. Confirm side, connector shape and mounting bolt pattern before installation. After fitting, many cars need a calibration or initialization cycle with a scan tool before the system clears its fault and operates normally. If you are replacing pads at the same time, retract the pistons electronically first and follow the specified torque values for caliper and actuator fasteners.
Limitations and when to stop driving
This guide describes the general layout of the second-generation Fusion system. Exact procedures, torque specifications, part numbers and calibration steps vary and must come from vehicle-specific service information; nothing here replaces that information or a proper diagnostic test.
Some symptoms are a reason to stop using the car until it is repaired. If a rear brake stays applied after release, the dragging pad will overheat the rotor and can damage the caliper, pads and brake fluid. If the parking brake will not hold, leave the car in Park on level ground with the wheels chocked and do not rely on it on slopes. A change in pedal feel, fluid leaking at a rear caliper or warnings affecting the main braking system call for professional service before further driving. If you cannot retract the pistons or run the calibration, a brake specialist can complete the job without risking damage to a new actuator.