Ford F-350 Rear Axle Shaft Torque Specs: Identify the Correct Specification
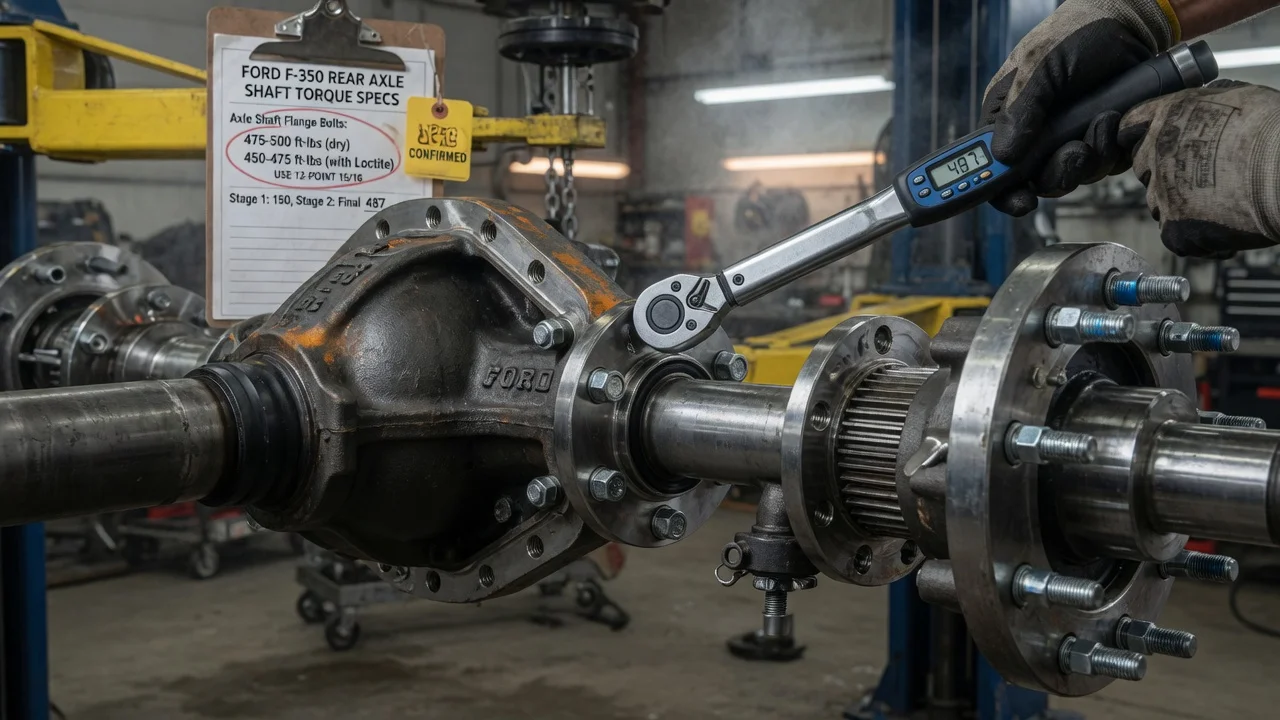
Searching for one torque number for the rear axle shaft on a Ford F-350 often turns up conflicting answers. Ford has fitted several rear axle designs to this truck over its generations, and the figure that matters depends on which fastener you are tightening and which axle is actually under your truck. This guide explains what the specification covers, how to identify your exact axle, where the correct value is published and how to apply it without guessing.
What the specification means
Torque specifications for axle fasteners are normally given in pound-feet (lb-ft) and newton-meters (Nm). Smaller fasteners, such as some cover or retainer bolts, may be listed in pound-inches (lb-in), and confusing lb-in with lb-ft is a common way to overtighten or undertighten a bolt by a factor of twelve. Some procedures also add an angle step, for example a set torque followed by a specified number of degrees of rotation. A specification may appear as a single value or as a range; either way, it assumes the conditions stated in the service procedure, such as clean threads, new fasteners or an applied thread locker.
The phrase rear axle shaft torque can refer to more than one fastener. On the full-floating rear axles used on most F-350 trucks, the shaft only transmits driving torque, while the vehicle weight rides on hub bearings mounted on the axle housing spindle. The shaft flange is held to the hub by bolts or nuts with their own torque value, and the hub is retained by an adjusting or spindle nut that sets bearing preload or endplay through a multi-step procedure rather than a single number. Lug nuts and differential cover bolts carry separate values again. Before looking anything up, decide exactly which fastener you are working on.
Identify the applicable version
The model name alone is not enough to select a torque value. Start with the model year and the vehicle configuration: pickup or cab-chassis, single rear wheel or dual rear wheel, drivetrain and gross vehicle weight rating. Different generations and even different configurations within the same year have used different rear axle families, and each family has its own hub, shaft and retention hardware. A specification taken from a neighboring year or from the other wheel configuration can be wrong for your truck.
Use the component identifiers on the truck itself. The Safety Compliance Certification Label on the driver door jamb includes an axle code that identifies the factory axle and ratio, and many Ford axles also carry a metal identification tag, typically attached under a differential cover bolt. Compare the two. If the service history shows an axle replacement, a used-axle swap or aftermarket hubs, the door label may no longer match what is installed, and the physical tag or housing markings become the more reliable reference.
Read the correct specification
The authoritative source is the Ford workshop manual for your exact model year, in the rear drive axle and differential section. That section usually contains removal and installation procedures for the axle shaft and wheel hub, with torque values written into the steps, plus a specifications table summarizing fastener values for the axle. Read the procedure, not just the table, because the steps tell you the tightening sequence, whether a fastener must be replaced and how the bearing adjustment is performed. The owner's manual generally covers lug nut torque but not internal axle hardware.
A Ford dealer service department can look up the procedure using your VIN, which removes much of the guesswork about configuration. If you installed aftermarket shafts, hubs or locking hub conversions, the component maker's installation instructions take priority for those parts. Be cautious with generic charts posted online: they often omit the model year, axle family or fastener they apply to, and a number without that context cannot be verified against your truck.
Apply the limits correctly
A torque value is only meaningful under the conditions the procedure assumes. Clean the threads on both the fastener and the hub, and check for damage or stretching. Follow the manual on whether threads should be dry, oiled or treated with thread locker, since lubrication changes how much clamping force a given torque produces. Replace any fastener, gasket, O-ring or locking device the procedure lists as single-use. Tighten flange bolts in a cross pattern in stages, and use a calibrated torque wrench whose working range suits the value instead of operating at the extreme end of its scale.
Treat the hub adjusting or spindle nut as a procedure. These steps commonly involve tightening while rotating the hub to seat the bearings, backing the nut off, setting a final value and engaging a lock, keeper or wedge. Endplay or preload may need to be confirmed with a dial indicator. Never substitute the flange bolt value for the spindle nut or vice versa. Incorrect bearing adjustment can lead to overheating, rapid wear or seal leaks, so after the job, inspect the hub seal area for gear oil, confirm the axle lubricant level and follow the manual's guidance on rechecking, especially if the truck sees towing or other demanding operating conditions.
A short verification checklist
Before buying parts or starting the service, confirm the model year, single or dual rear wheel configuration and drivetrain. Read the axle code on the door jamb label and compare it with the axle tag on the housing. Check the service history for any axle, hub or shaft replacement that could make the factory label unreliable. Decide which fastener you need: shaft flange bolts or nuts, hub adjusting nut, lug nuts or cover bolts.
Then confirm the source and conditions. Make sure the procedure comes from the manufacturer specifications for your exact model year and axle, or from the component maker for aftermarket parts. Note the units, any angle step, the tightening sequence, the thread condition required and which parts must be replaced. Have new seals, gaskets and locking hardware on hand, along with the correct axle lubricant and a calibrated torque wrench. Finally, plan the post-service inspection for leaks, hub temperature and fluid level, and record the work so the next technician knows exactly what was done.