Ford F-250 Locking Hub Replacement: Fitment, Removal, Installation and Checks
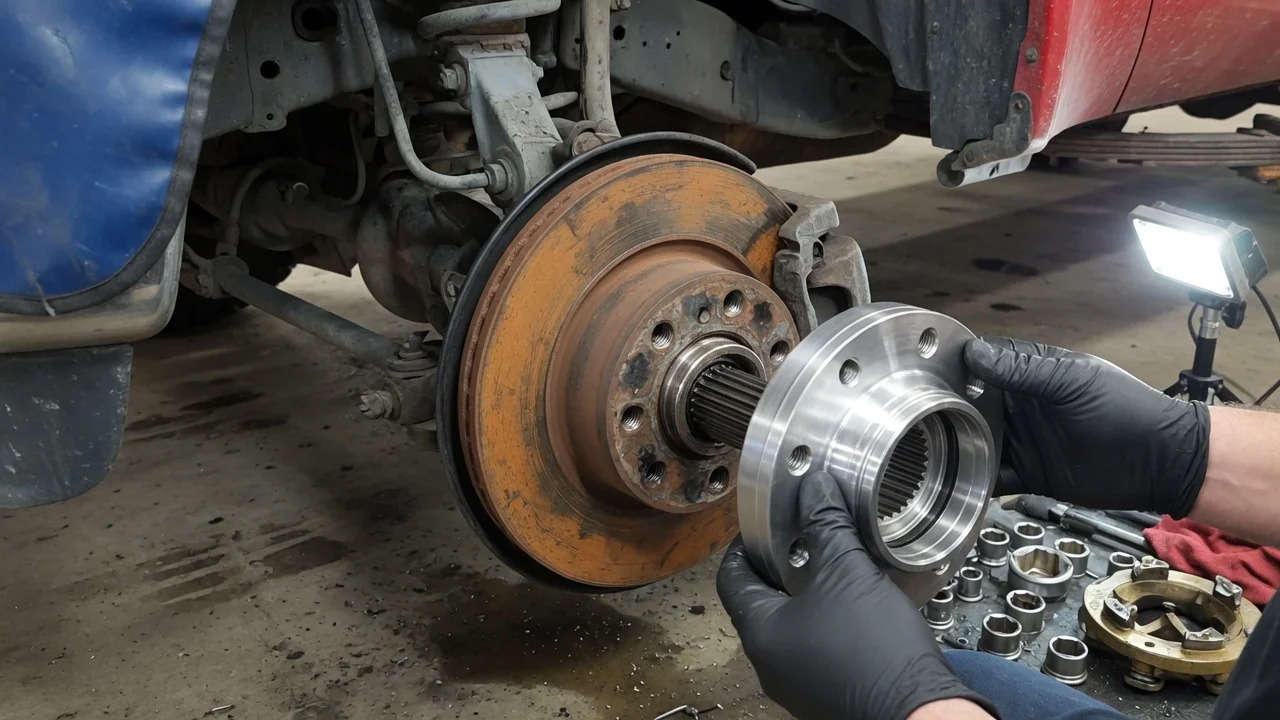
Locking hubs on a four-wheel-drive Ford F-250 connect the front wheels to the front axle shafts when you need traction and release them when you don't. When a hub slips, grinds, refuses to lock or leaks, replacing it is often a bolt-on job, but only if the new unit matches the truck and the hub is actually the failed part. This guide covers confirming fitment, preparing safely, removing the old hub, installing the replacement and checking the result.
Confirm the part and repair scope
The F-250 name covers several generations, including older light-duty trucks and the Super Duty line, and hub designs vary by model year, front axle and drivetrain option. Depending on the vehicle configuration, a truck may have manual dial hubs, automatic hubs or vacuum-actuated hubs, and these are not interchangeable. Identify your truck by VIN, build date and axle details, then compare the replacement with the original: bolt pattern, spline count, overall depth and whether a vacuum connection is present. If a previous owner already swapped hub types, the service history or a close look at the installed parts will tell you what is actually on the truck, which matters more than what the catalog assumes.
Before buying parts, make sure the hub is the real problem. If four-wheel drive fails on both sides at once, the transfer case, its shift mechanism or the vacuum supply is a more likely cause than two hubs failing together. Clicking or grinding while turning can come from worn universal joints, axle shafts or wheel bearings rather than the hub. A hub that will not stay locked, turns its dial without changing engagement, shows broken internal teeth or leaks grease contaminated with water is a stronger candidate for replacement. Some owners replace both sides so they operate the same way, but that is a judgment call, not a rule.
Prepare tools and safe access
Work on level, solid ground with the transmission in park or in gear, the parking brake set and the rear wheels chocked. Put the transfer case in two-wheel drive and set manual hubs to the free position. A heavy-duty pickup needs a jack and jack stands rated for its front axle load; never work under or beside a wheel supported only by a jack. Typical tools include a lug wrench or socket, the driver that fits the hub retaining bolts, a torque wrench, clean rags, a soft-faced mallet and a pick for old seals. Have the new gasket or O-ring that comes with the hub, and the grease or thread locker specified in its instructions, ready before you start.
Read the hub manufacturer's instructions and the factory service information for your exact truck, since torque values, lubrication requirements and disassembly steps follow manufacturer specifications rather than general rules. Treat the job as beyond a basic owner repair if it requires removing the spindle nut or wheel bearing, if the truck uses vacuum-actuated hubs with a sealed vacuum circuit you cannot test, or if inspection reveals a damaged axle shaft or bearing. Those situations call for experience, special tools or a shop.
Remove without avoidable damage
Loosen the lug nuts while the tire is on the ground, then raise the corner and support it on a stand. Depending on the wheel design, the hub may be reachable through the center opening, or the wheel may need to come off. Clean dirt and rust from around the hub before opening anything so debris does not fall into the bearing area. Remove the retaining bolts gradually and evenly. Some designs use an outer cap and an inner body, or a snap ring holding internal parts, so follow the sequence for your hub instead of forcing it apart.
Pull the hub straight off its splines. If it sticks, tap lightly around the body with a soft-faced mallet; avoid prying against the sealing face, which can damage the surface the new gasket must seal against. Note which side it came from, how it was oriented and whether any spacers or shims were fitted. Then take a moment for inspection: look at the axle shaft splines and drive gear for wear, check the wheel hub interior for metal particles or rust, and treat milky grease as a sign of water intrusion that may also affect the bearing. Cover the opening if the work pauses.
Install and restore the system
Clean the mating surface on the wheel hub until it is smooth and free of old gasket material. Fit the new gasket or O-ring supplied with the hub and apply lubricant only where the instructions call for it. Many instructions require setting the dial to a specific position before installation so the internal parts line up; follow that step, because installing a hub in the wrong position can make the splines bind. Slide the hub onto the axle shaft and, if it does not seat, rotate the wheel or shaft slightly until the splines align. Never pull the hub into place by tightening the bolts.
Tighten the retaining bolts in stages using a cross pattern, finishing at the torque listed in the hub instructions or factory service information, and use thread locker only if specified. On vacuum-actuated systems, reconnect every line, replace cracked or hardened hoses and make sure seals sit correctly, since a small leak can prevent engagement. Refit the wheel, tighten the lug nuts to the specified torque and lower the truck.
Check the completed work
Before lowering the truck fully, or with the wheel raised again, keep the transfer case in two-wheel drive and test the hub by hand. In the locked position the wheel should turn together with the front axle and driveshaft, which adds noticeable drag; in the free position it should spin independently. Both sides should match. Then road test at low speed: engage four-wheel drive on a loose surface where the tires can slip, confirm the front wheels pull, and listen for grinding, clunking or repeated clicking. Recheck the hub bolts after a short drive if the instructions recommend it, and on manual hubs return the dials to free when four-wheel drive is not needed.
Further diagnosis is needed if a hub will not lock or unlock, clicks under load, leaks grease, runs noticeably hot or causes new vibration. Those symptoms point toward the axle shaft, universal joint, wheel bearing, vacuum supply or transfer case rather than the new hub. There is no universal interval for hub inspection, so follow the maintenance schedule for your truck and check more often under harsh operating conditions such as water crossings, mud or road salt. Record the replacement, part number and date in the service history so future work starts from accurate information.