Ford F150 Parking Brake Cable Replacement Guide
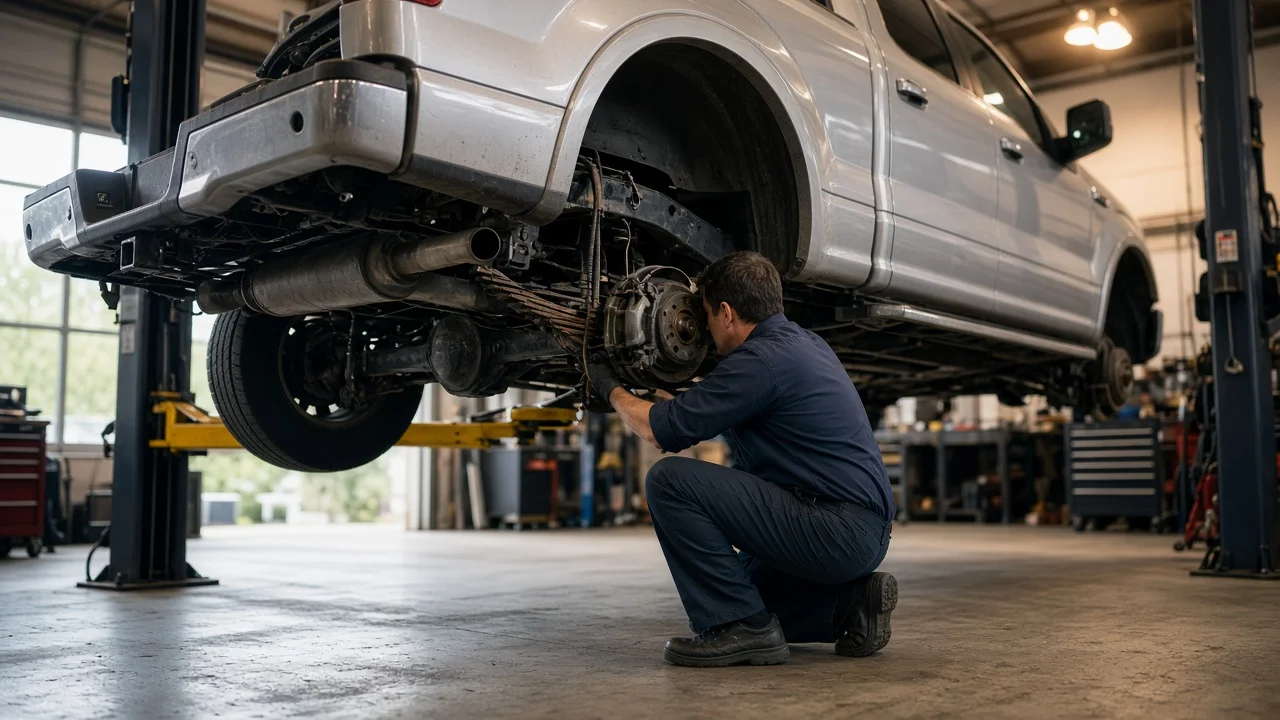
A parking brake that no longer holds, will not release, or lets the pedal sink to the floor often points to a stretched, seized or broken cable. On a Ford F-150 the job is mostly mechanical, but it sits close to the rear service brakes, so a careless removal can create a bigger problem than the one you started with. This guide covers confirming the fault, getting safe access, removing the old cable, fitting the new one and proving the brake works before the truck goes back into use.
Confirm the part and repair scope
Before ordering anything, confirm how your truck's parking brake is built. F-150s with a foot pedal typically use a front cable running from the pedal assembly to an equalizer underneath the truck, plus separate left and right rear cables that end at each rear wheel. Some layouts add an intermediate cable. Lengths and routing vary with model year, cab style, bed length, wheelbase and two- or four-wheel drive, so check vehicle fitment by VIN or full vehicle details rather than by appearance. If your truck uses an electronically controlled parking brake instead of a pedal, this cable procedure does not apply; that system has its own components and service steps.
Next, make sure the cable is actually the failed part. A weak parking brake can also come from worn or contaminated parking brake shoes, shoes that are out of adjustment, a seized actuating lever at the wheel, or broken return springs. On trucks with rear discs, the parking brake usually uses small shoes inside the hat section of the rear brake rotors, separate from the brake pads, and their friction material has its own wear limits. Inspect the cables underneath: frayed strands, a kinked or corroded sheath, a torn boot, or a cable that will not slide freely all justify replacement. If one rear cable is seized, check the other side and the front cable too, because they usually age together. If the truck also shows hydraulic symptoms such as a low or spongy service brake pedal, brake warning lights or fluid leaks, stop driving it and have the brakes professionally diagnosed; that is a separate and more urgent fault.
Prepare tools and safe access
Get the factory service procedure for your exact model year before you start. It identifies the cable sequence, how the pedal tensioner is handled, fastener torque values and any adjustment steps. Many Ford pedal assemblies include a spring-loaded self-adjusting tensioner, and the procedure typically has you lock it out before disconnecting a cable; letting it release unexpectedly can injure fingers or damage the mechanism. Typical tools include a floor jack, rated jack stands, wheel chocks, sockets and wrenches, a trim tool for kick panel or sill trim, penetrating oil, and something to compress the cable retainers. A correctly sized box-end wrench or a small hose clamp slipped over the retainer fingers is a common way to release them from their brackets.
Work on level, solid ground. Put the transmission in Park, chock the front wheels, then raise the rear and support it on stands at the points the service information specifies; never work under a truck held only by a jack. The parking brake will be released and partly disassembled, so the chocks are what keep the truck in place. If a rear cable attaches behind the rotor, expect to remove the wheel, caliper and rotor. That is not a beginner job: if you have not previously removed and refitted a brake caliper, torqued its bolts to specification and checked the brake hose afterward, have a qualified shop handle the wheel-end work.
Remove without avoidable damage
Start at the pedal end if the front cable is being replaced, or at the equalizer for a rear cable. With the parking brake fully released and the tensioner locked as the procedure directs, create slack at the equalizer and unhook the cable end. Compress the retainer fingers where the sheath passes through each bracket and push the housing out; prying on the fingers usually breaks them or the bracket. Photograph the routing, clips and any heat shields before removing anything. Cables that pass near the fuel tank, exhaust or frame crossmembers must go back along exactly the same path.
For a rear cable, remove the wheel, then the caliper as described in the service procedure. Support the caliper with wire or a hook so it never hangs on the flexible brake hose, and do not press the brake pedal while it is off. This job does not require opening the hydraulic system or disturbing the brake fluid. Remove the rotor; if it is held by a lip the parking brake shoes have worn into the drum section, back off the shoe adjuster rather than hammering the rotor. Disconnect the cable end from the actuating lever behind the shoes, release its retainer from the backing plate, and pull the cable out.
With the wheel end open, inspect what the cable connects to. Look at the parking brake shoes, springs, adjuster and lever for wear, corrosion or seizure, and check the inside of the drum section for scoring or contamination. Keep grease and fluids off all friction surfaces. Replace any part that is outside the wear limits in the service information instead of reusing it with a new cable.
Install and restore the system
Compare the new cable with the old one for length, end fittings and retainer style before routing it; a cable meant for a different wheelbase or drivetrain will not adjust correctly. Feed it along the original path, seat each retainer until the fingers snap fully into their brackets, and refit every clip and bracket you removed so the cable cannot rub on the exhaust or driveline. At the wheel, connect the cable end to the lever and confirm it sits correctly before reinstalling the shoes, rotor and caliper. Tighten the caliper bolts and lug nuts to the values in the service information, using new or treated fasteners where the procedure calls for them.
Reconnect the cable at the equalizer, then follow the procedure for setting tension. On self-adjusting systems this usually means removing the lockout so the tensioner takes up slack, then applying and releasing the pedal several times. On drum-in-hat brakes the shoes are adjusted separately at the star wheel so they just clear the drum; cable tension cannot make up for shoes set too loose, and overtightening the cable can make the shoes drag. Some procedures also call for burnishing new parking brake shoes. Before lowering the truck, pump the service brake pedal until it is firm so the caliper pistons push the brake pads back against the rotors.
Check the completed work
With the rear wheels still raised, apply the parking brake and try to turn each rear wheel by hand; both should be firmly locked. Release it and confirm both wheels spin freely without the scraping or resistance that signals drag. Check that the parking brake warning light comes on when applied and goes out when released. Lower the truck and test on a gentle slope with your foot ready on the service brake: the parking brake alone should hold the truck in neutral. Finish with a short low-speed drive, then carefully compare the rear hubs; one noticeably hotter than the other suggests a dragging shoe.
Some results mean the job is not finished. A pedal that still travels nearly to the floor, a brake that holds on only one side, wheels that drag after release, a warning light that stays on, grinding noises or a pull under braking all need further diagnosis. Recheck cable routing, retainer seating, shoe adjustment and the reassembly of the caliper and rotor. Until the parking brake holds evenly and releases fully, chock the wheels whenever you park.