Ford F-150 Catalytic Converter: Location, Symptoms and Replacement
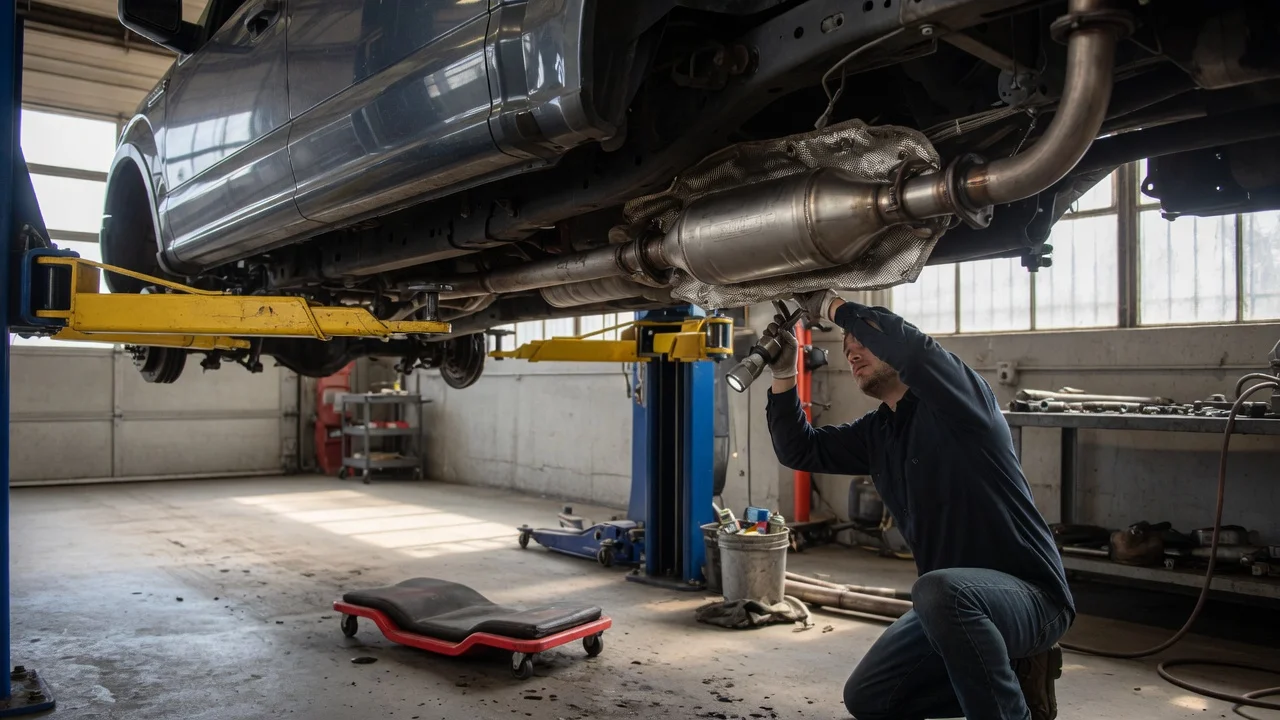
Before you start
Identify which converter you are working on before ordering parts or lifting the truck. Many Ford F-150 models have more than one catalytic converter, and the configuration can differ by engine, model year and emissions package. Confirm whether your truck has driver-side and passenger-side front converters, a rear converter, or an integrated manifold-converter assembly.
Replacement is a hands-on service job, not a software or media task. This article cannot be a substitute for verified service information for your exact VIN, engine and emissions system. Use your owner's manual, the underhood emissions label or a model-specific service source to confirm the converter count, oxygen sensor positions, gasket type and fastener requirements before disassembly.
Have the vehicle parked on level ground, the engine fully cooled, the keys removed and the battery disconnected if the procedure requires electrical or component isolation. Some converter positions expose hot surfaces, so allow adequate cooling time. Secure the truck with wheel chocks and properly rated jack stands if access requires lifting.
Plan for the fasteners before starting. Exhaust hardware is commonly rusted or heat-seized. Penetrating lubricant, a wire brush, six-point sockets and replacement studs, nuts, bolts, springs or gaskets are often more important than the converter itself. Confirm local parts availability for the converter type approved for your vehicle.
Step-by-step instructions
These steps describe a general removal and installation sequence for a bolt-in converter. Exact order, torque values and access points vary by F-150 generation, cab configuration and engine. Keep the old converter for comparison and follow local requirements for emissions-part disposal or core return.
1) Confirm the failed converter. Use a scan tool to read diagnostic trouble codes such as catalyst efficiency codes, and record live oxygen sensor data before replacing parts. A converter code alone does not prove the converter has failed; unresolved upstream misfire, exhaust leak or sensor faults can also set the code.
2) Inspect the converter visually. Look for external impact damage, bluish or darkened discoloration, cracks, leaks at the flanges or welds, and loose heat shields. Compare the suspected converter with the opposite bank when the truck has two front converters.
3) Disconnect the battery. Follow the recommended negative-terminal procedure for your model year, and avoid letting tools bridge the battery terminals.
4) Raise the vehicle safely if the converter requires underbody access. For some engines, especially trucks with manifold-integrated converters, access from above may be required instead. Do not place yourself under a vehicle supported only by a jack.
5) Remove obstructions in the service path. On some F-150 configurations this may include a skid plate, crossmember, heat shield or electrical connector bracket. Keep track of each item and its fasteners, and photograph the routing of any wiring that must be moved.
6) Disconnect the oxygen sensors when needed. Note each sensor position before removal: upstream and downstream sensors are not interchangeable. If a sensor is difficult to remove or will be reused, use the appropriate oxygen sensor socket and avoid damaging the harness or connector.
7) Remove the converter fasteners. Apply penetrating lubricant, clean exposed threads and use steady force with the correct size socket. Do not use an impact tool if the instructions for your model warn against it. Save any reusable springs, flanges and alignment sleeves.
8) Lower or lift out the converter. Be prepared for residual weight and support the assembly so a partially released converter cannot fall or strain the remaining joint.
9) Compare the new converter with the old unit. Check inlet and outlet flange orientation, sensor bungs, bracket positions and overall length before installation. Replace gaskets and any one-time-use hardware rather than reusing damaged seals.
10) Install the new converter in the reverse order. Start all fasteners by hand before tightening any of them, then tighten in stages using the specified pattern and torque. This helps avoid a misaligned flange or a damaged gasket.
11) Reinstall and connect every removed component. Recheck heat shields, brackets and wiring routing, then reconnect the battery when the work is complete.
Check the output
After installation, start the engine and listen for exhaust leaks at the joints. A leak may sound like a sharp tick, puff or hiss that changes with engine speed. Recheck each flange and sensor bung before driving.
Clear old diagnostic codes only after the repair, using a scan tool. Then complete the drive cycle required by your vehicle so the powertrain control module can run its monitors. A scan tool can show whether the catalyst monitor has completed and whether pending or permanent codes remain.
Watch for immediate symptoms to return, including rough idle, reduced power, higher fuel use, a sulfur-like smell or a check engine light. A replacement converter may be quiet and efficient when new, but a persistent exhaust odor or rattling usually indicates a loose component or an unresolved engine condition.
Understand the limitation of a visual inspection. A converter can be damaged internally without visible external signs, and a scan-tool catalyst monitor result is the relevant confirmation after a full drive cycle.
Common problems and next steps
A catalyst efficiency code that returns after replacement is often caused by an unresolved upstream problem. Check for misfires, oil or coolant consumption, leaking fuel injectors, exhaust leaks before the converter and contaminated oxygen sensors. Continuing to drive with those conditions can damage the new converter.
Rattling from the converter area may be a broken internal substrate or a loose heat shield. Confirm whether the noise changes when tapping the exhaust carefully while it is cool, and separate a shield rattle from an internal converter rattle before spending on parts.
Reduced power or a blocked converter symptom can appear after the vehicle has been driven with an untreated misfire or excessive oil consumption. If the new part produces a sudden loss of power or glowing exhaust components, stop driving and inspect for blockage or a severe fueling fault immediately.
Use diagnostic trouble codes as evidence, not as a parts list. A code such as P0420 or P0430 identifies the monitored bank but not the root cause. Confirm fuel trim, misfire history, oxygen sensor switching and any known model-specific calibration updates before condemning another converter.
If the repair exceeds your equipment or access limits, a qualified technician can perform a smoke test for exhaust leaks, pressure testing for converter restriction and model-specific diagnosis for the cause of failure.