Ford Expedition Transfer Case Shift Motor Identification
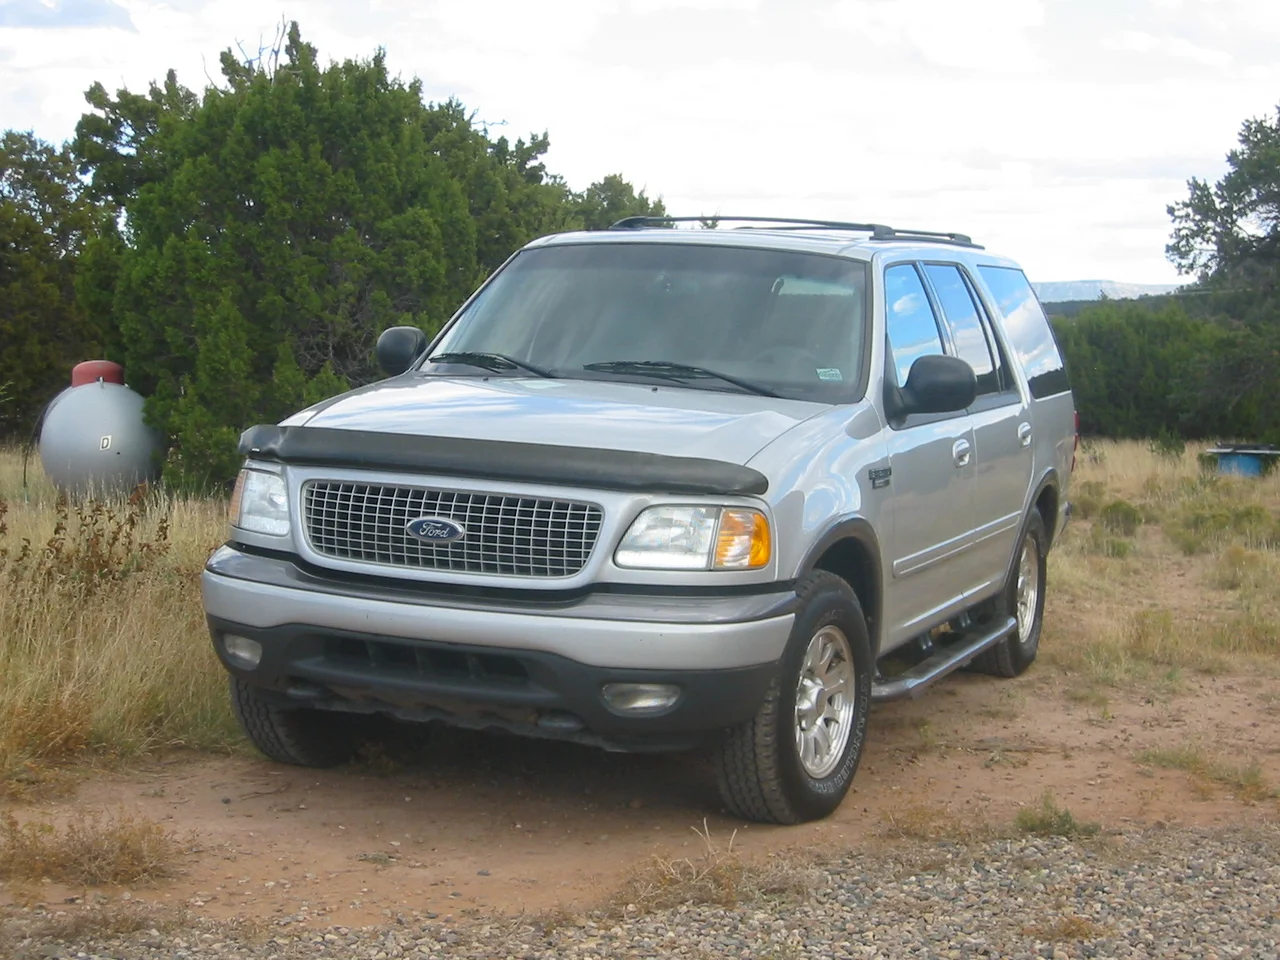
When the 4x4 indicator on a 1999 Ford Expedition flashes, the truck refuses to change modes, or it stays stuck in one range, the transfer case shift motor is a likely suspect. Before you buy a replacement, confirm which motor your truck actually uses. This guide explains how to identify the correct unit from the vehicle itself, why a part listed for a 1998 or 2003 model may not match, and when to get a confirmed part number.
The short answer for a 1999 Expedition
The 1999 Expedition belongs to the first generation of the model. Its four-wheel-drive versions use an electronically shifted transfer case controlled by a selector on the dashboard. The shift motor is the electric actuator bolted to the outside of that transfer case. Model year alone is not a reliable way to identify the right motor. Use the transfer case and the existing motor instead: the identification tag usually attached to the case, any part number marked on the current motor, and the positions printed on your dashboard selector. Parts catalogs often group 1999 with neighboring first-generation years. Treat any year-range listing as a starting point and check it against your own truck.
Before you shop, collect a few details: the full VIN, the build date from the door jamb label, the exact selector positions, the transfer case tag information, and clear photos of the old motor's label, connector and mounting bolt pattern. With these, a parts supplier can match your vehicle configuration instead of guessing from the year and model name.
How the shift motor works
The motor turns a shift shaft that passes into the transfer case. Rotating that shaft moves internal parts that select two-wheel drive, four-wheel drive and, where equipped, low range. The motor assembly typically includes a position sensor that reports the shaft's position to the four-wheel-drive control electronics. When you turn the dashboard selector, the control module powers the motor until the sensor reports that the requested position has been reached.
Because of this feedback loop, a fault does not always mean the motor itself has failed. If the module cannot confirm the motor's position, it may stop the shift and flash the indicator. Shifts into low range also have preconditions on these trucks, usually including a very low vehicle speed and the transmission in Neutral. A truck that will not enter low range may simply not have had those conditions met. The owner's manual describes the exact procedure for your vehicle.
What changes the answer
The selector positions tell you a lot about the system. A dial that includes an automatic four-wheel-drive setting indicates a transfer case designed to engage the front axle on demand. A dial with only two-wheel drive, four-high and four-low points to a part-time system. Different transfer case designs can call for different motors or connectors, so record exactly what your selector shows. Do not assume another truck's configuration matches yours.
Year boundaries matter too. A 1998 Expedition is from the same generation as a 1999 and often shares parts, but running production changes can occur within a generation or even within a model year. That is why the build date and the case tag are worth checking. The 2003 model year began a redesigned second-generation Expedition, so a shift motor listed for a 2003 should not be assumed to fit a 1999 unless a verified cross-reference says so.
Service history can also change the answer. A previous owner may have installed an aftermarket motor with different labeling, or replaced the whole transfer case with a used unit from another vehicle. In either case, the original factory listing for your VIN may no longer describe what is under the truck. Physical inspection of the installed parts outweighs any catalog assumption.
What the owner can do
Start with a safe inspection. Park on level ground, set the parking brake, and if you need to go underneath, support the vehicle on proper stands. Locate the motor on the transfer case, then read and photograph the case tag and the motor label. Check the connector for corrosion, moisture, bent terminals or a loose fit, since these components sit where road spray and debris reach them. Check the related fuses using the fuse panel diagram in the owner's manual. With the engine running and a helper turning the selector, listen near the transfer case for the motor operating.
Use what you observe to narrow the problem. If the motor runs but four-wheel drive does not engage, the fault may lie inside the transfer case or elsewhere in the front driveline rather than in the motor. If you hear nothing at all, power supply, ground, wiring, the control module and the motor itself are all possibilities. When ordering, match the case tag and motor number, compare the connector shape and mounting pattern with your photos, and ask the seller to confirm fitment by VIN.
If you replace the motor yourself, note the selector position before removing the old unit. The new motor has to engage the shift shaft in a matching position, so follow the service procedure for alignment instead of forcing the parts together. The shift motor is not a routine maintenance item, but transfer case fluid service follows the manufacturer's maintenance schedule. Keeping that service current, and the fluid in good condition, supports smooth shifting.
Limitations and next step
This guide cannot confirm a part number for your specific truck. Catalog data, production changes and earlier repairs vary too much for that. Exact fitment, connector details and test values should come from manufacturer specifications or a parts source working from your VIN. A shop with a capable scan tool can read stored four-wheel-drive fault codes and check whether the module is commanding the motor, which helps separate an electrical fault from a mechanical one. If the motor and wiring test good but engagement still fails, the transfer case or front driveline needs professional diagnosis.
The practical next step is to gather the VIN, build date, case tag details, motor label and connector photos, then confirm the match with a dealer parts counter or another reliable supplier before ordering. Also describe the operating conditions in which the fault appears, such as cold starts, wet weather or low-range shifts. Those details make the diagnosis more accurate and help ensure the replacement part solves the actual problem.