Ford Escape Serpentine Belt: Routing and Replacement Guide
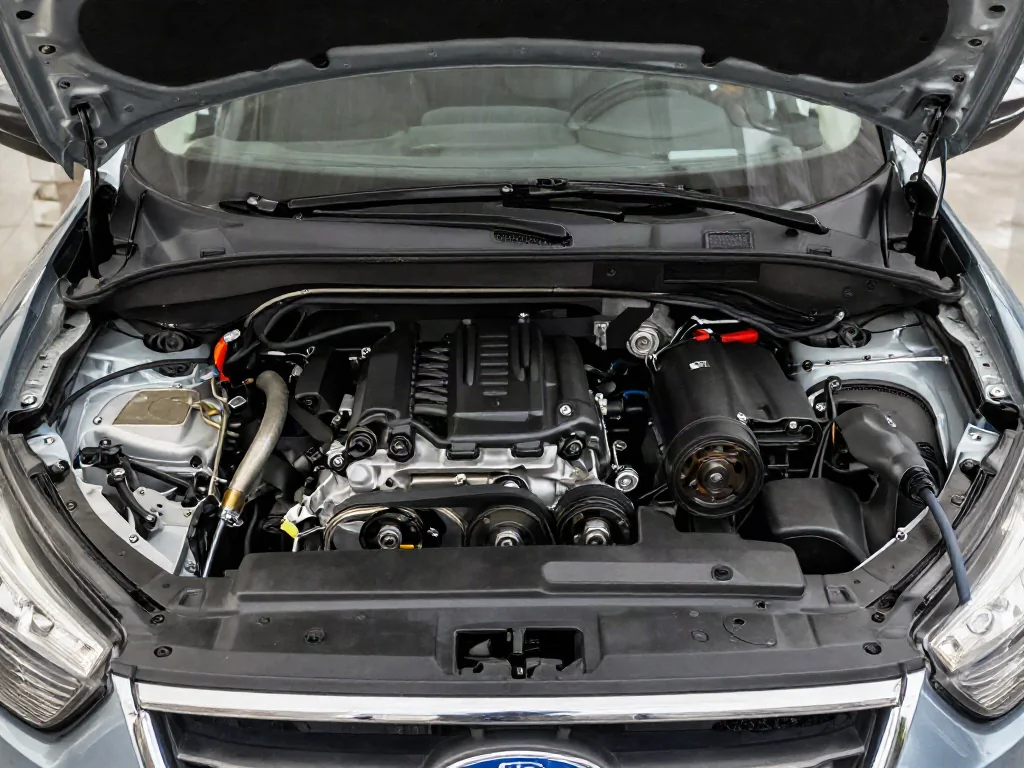
The Ford Escape serpentine belt drives accessories from the crankshaft through a single accessory drive belt on most engines. A serpentine belt Ford Escape owners replace or inspect must match the engine, model year, and powertrain, because routing, rib count, and tensioner layout are not interchangeable across configurations. Confirm the belt routing diagram and inspect belt wear, pulley alignment, and the belt tensioner before deciding on replacement.
Identify Your Escape’s Engine and Belt Configuration
Before you order a Ford Escape serpentine belt or follow any belt routing diagram, establish the model year, engine family, and powertrain type. Accessory drive layouts differ among common Escape gasoline engines, and a belt that fits one configuration can be the wrong length or rib count on another. Engine identification also matters because pulley count, idler pulley placement, and whether an air-conditioning compressor is belt-driven can change with equipment. Using the wrong diagram is a common reason a new belt will not seat or will walk off a pulley.
Confirm the configuration from more than one source. Owner's literature, an underhood emissions or routing label if fitted, and VIN-based parts information together reduce mixing engines that look similar under the hood. Hybrid Escapes may not use the same accessory belt arrangement as a comparable gasoline model; some hybrid systems drive accessories electrically or with a different belt circuit. If the identified powertrain does not use the accessory drive belt being discussed, obtain the correct service information rather than assuming a conventional serpentine belt Ford Escape layout applies.
Find and Read the Correct Belt Routing Diagram
Look first for a belt routing diagram on the vehicle, often a label in the engine bay, and confirm it matches the engine and model year you identified. If the label is missing, damaged, or for a different powertrain, use service information written for that exact Escape rather than a generic illustration. A correct diagram shows the crankshaft pulley, each accessory pulley, any idler pulley, and the belt tensioner path so the accessory drive belt wraps in the intended sequence. Following a diagram for a different engine can reverse wrap direction or skip a pulley.
Read the diagram for surface contact, not only the path. Ribbed belt surfaces typically engage grooved pulleys, while a smooth back side may ride on a flat idler or tensioner pulley when the verified routing calls for that contact. With the engine off and cool, photograph the installed belt as a reference, but the existing route may already be wrong. If the belt is off or the label is unreadable, obtain verified routing before replacement so the new belt is not guessed onto the wrong pulleys.
Recognize Belt Wear and Accessory Drive Symptoms
Inspect the Ford Escape serpentine belt only with the engine off and cool, looking along the full length you can see without reaching near moving parts. Fraying, missing belt ribs, glazed or cracked rib valleys, torn edges, and oil or coolant contamination are useful visual clues of belt wear or an adjacent leak. Edge damage can also suggest pulley alignment problems rather than age alone. Contamination can make a belt slip even when the remaining rubber looks intact, so note fluid on the belt, pulleys, or covers as part of the same inspection.
Squealing, chirping, or a charging, cooling, or steering complaint can originate in the accessory drive belt, the belt tensioner, an idler pulley, or a driven accessory. A noisy belt is a symptom to interpret, not proof that the belt is the only failed part. Appearance cannot prove remaining life; a belt can look serviceable and still slip, or look worn while a seized pulley is the real problem. Severe belt damage, related warning lights, overheating, or sudden accessory loss warrants stopping safely and arranging assistance rather than continuing to drive.
Confirm Replacement Belt Fit and Required Inspection
Select a replacement Ford Escape serpentine belt from vehicle-specific parts information using the confirmed year, engine, and equipment, matching length, belt ribs, and application rather than a look-alike belt from another Escape. Do not rely on a number taken from an old belt unless that application is verified, because prior incorrect parts are common. Before planning the work, identify how the belt is tensioned and whether the engine uses more than one belt circuit. A layout with a separate shorter belt or a different tensioner arrangement changes access, parts, and the routing you must follow.
A new accessory drive belt will not correct a damaged pulley, a sticking belt tensioner, pulley alignment error, or a leak that soaks the ribs. Inspect those items with the engine off before installing the replacement so the new belt is not immediately glazed, chewed, or thrown. Findings, not a default parts list, should decide whether an idler pulley, tensioner, or cover hardware needs attention. Replacing extra components automatically without inspection can miss the actual fault and still leave the serpentine belt Ford Escape drive misaligned or contaminated.
Understand the Replacement Process and Its Safety Limits
Replacement stays a sequence of confirmed steps rather than improvisation. Confirm the verified belt routing diagram, assess whether covers, mounts, or engine position allow safe access, then replace the Ford Escape serpentine belt using the service procedure that applies to that engine and tensioning system, and verify the belt is fully seated in every pulley groove. Stored spring or hydraulic tension, tight packaging, and hybrid or start-stop precautions can make professional service the appropriate choice when the required tools or clearances are not available.
All observation and belt handling belong with the engine off, cool, and protected against unintended startup, including the vehicle's power-down steps on a hybrid. Never reach toward a moving accessory drive belt, and do not release a loaded belt tensioner, work under an unsupported vehicle, or substitute improvised tools for the required procedure. A tensioner stores energy, and a running belt can pull clothing or hands instantly. If access or the specified method is unclear, stop and have the work done with the correct support and tooling.
Verify the Repair and Address Recurring Problems
Before the engine is started, confirm the installed Ford Escape serpentine belt follows the documented route and that every rib is seated in its pulley, with the smooth side only on pulleys the diagram assigns. A belt that is one groove off, twisted, or resting on a pulley flange can walk off as soon as the crankshaft turns. After startup, operational checks for tracking, chirp, and accessory function belong to someone who can observe from a safe distance; stay clear of the moving belt, tensioner, and idler pulley during that inspection.
Recurring squeal or rapid belt wear after a recent replacement is a reason to diagnose pulley alignment, tensioner travel, seized accessories, and leaks, not to install another belt on the same uncorrected drive. Repeated replacement without that inspection often reproduces the same edge damage or glazing. Maintenance timing should follow the Escape's applicable schedule and what inspection actually shows, rather than a single universal interval that does not exist across engines and climates. If the accessory drive belt still slips or throws after a correct route is confirmed, the fault is likely elsewhere in the drive.