Choosing a Ford E-350 Shift Interlock Solenoid
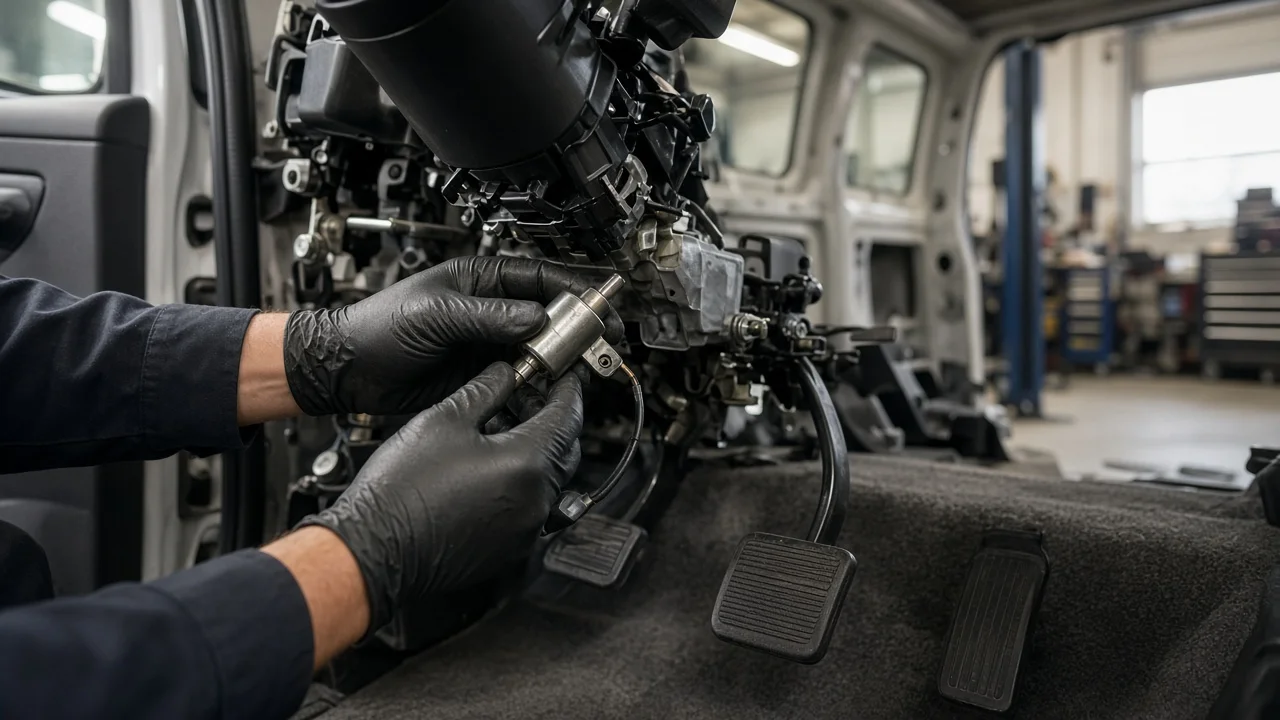
When a Ford E-350 refuses to leave Park, the brake shift interlock solenoid is a common suspect, but it is not the only one. Before buying a replacement, confirm what the part actually does on your van, which version your model year and column use, and whether the symptom points to the solenoid or to the circuit that feeds it. This guide covers how to narrow down the right part and avoid paying for one that does not solve the problem.
Define the job the product must do
On column-shift Econoline vans, the brake shift interlock is a safety device in the steering column. It holds the shift lever in Park until the ignition is on and the brake pedal is pressed, then releases when it receives a signal through the brake pedal switch circuit. It is a mechanical lock, not a part of the transmission's hydraulic control. That distinction matters because searches for a shift solenoid often turn up the internal electronic shift solenoids inside the transmission, which control gear changes and have nothing to do with getting out of Park.
Start with the symptom you actually have. A lever that stays locked in Park with the brake pressed, a lever that moves out of Park without the brake, or an intermittent release are all consistent with an interlock problem, but they can also come from a failed brake lamp switch, a blown fuse, damaged wiring, or a worn shifter linkage. If your brake lamps do not light, fix that first; the interlock often shares the same signal. Treat a symptom as a lead, not a confirmed failed part, and use your service history to rule out recent column or brake work that could have disturbed a connector.
Check compatibility
Fitment depends on more than the E-350 badge. The E-Series ran for decades in van, wagon and cutaway chassis forms, with column designs and interlock hardware that changed over the years. Note your exact model year, body style, and whether the column is tilt or fixed. Also record the transmission type, such as E4OD, 4R100, 5R110W or a later six-speed in recent cutaways. The interlock does not live in the transmission, but catalogs often split listings by drivetrain and production date, and the transmission tells you which shifter and column package the van was built with.
The most reliable match comes from the VIN and the original part number, which may be printed on the existing solenoid once the column shrouds are off. Compare the connector shape and pin count, the mounting bracket, the plunger length and direction of travel, and any included pigtail. A part that looks similar but has a different plunger stroke or connector will not lock reliably or will not plug in without modification, which is a poor trade for a safety device.
Features that affect the choice
Most replacement options fall into two groups: genuine Ford parts sourced by part number, and aftermarket units listed by application. A genuine part removes most fitment doubt but usually costs more and may be harder to find for older vans. Aftermarket solenoids vary widely. Useful evidence includes a listed OEM cross-reference number, clear photos of the connector and mounting points, stated voltage, and a warranty with a defined return process. Labels such as heavy duty or premium say little unless the seller explains what changed, such as the coil, housing or plunger material.
Check whether the listing is for the solenoid alone or an actuator assembly that includes the bracket and linkage. An assembly can simplify installation if your original hardware is worn or broken, while a bare solenoid is cheaper when the surrounding parts are sound. Some kits include a new connector pigtail, which helps when the original plug is brittle or heat-damaged but requires splicing. Decide based on what you find when the column is opened, not on what the listing promises.
Limitations and ownership costs
Replacing the interlock usually means removing the steering column shrouds and working close to airbag and clock spring wiring. Follow the factory procedure for your year, including any battery disconnect and wait time it specifies before working near supplemental restraint components. Expect to need basic hand tools, possibly trim tools, and patience with tight access in the column. If the van has a manual shift lock release, learn how it works for your model so you can move the van if the interlock fails again; this is a temporary workaround, not a repair.
A new solenoid cannot fix a faulty brake lamp switch, a broken wire, a corroded ground, or a worn shift cable or column detent. It also will not cure hard shifts, delayed engagement or other shift behavior problems that come from the transmission itself, its fluid level or fluid specification. The interlock circuit often does not store diagnostic codes in the powertrain module, so a scan tool may show nothing; voltage and ground checks at the connector with the brake pressed are typically more informative. If those checks pass and the plunger still does not move, the part is a stronger suspect.
Weigh repair options honestly. A shop visit adds labor but brings a proper wiring diagnosis, which can save the cost of a part you did not need. A do-it-yourself replacement is reasonable for owners comfortable with column trim and basic electrical testing. Keep the old part until the new one is confirmed working, since it helps with returns and part number matching.
Build a practical shortlist
Before comparing listings, write down the model year, body style, column type, transmission, VIN and any part number on your existing unit. Then confirm the diagnosis: brake lamps work, the relevant fuse is good, the solenoid receives power and ground with the pedal pressed, and the plunger fails to release or retract. Only then does a replacement part become the logical next step.
For each candidate, check that it lists your exact application or OEM cross-reference, matches your connector and mounting, states whether it is a solenoid or full assembly, shows clear photos, and carries a usable warranty and return policy. Rank options by fitment certainty first, then by condition of your surrounding hardware, and finally by price. A slightly more expensive part that matches your original number is usually the better choice than a cheaper universal unit that needs modification to fit.