Finding the Correct Ford Brake Proportioning Valve
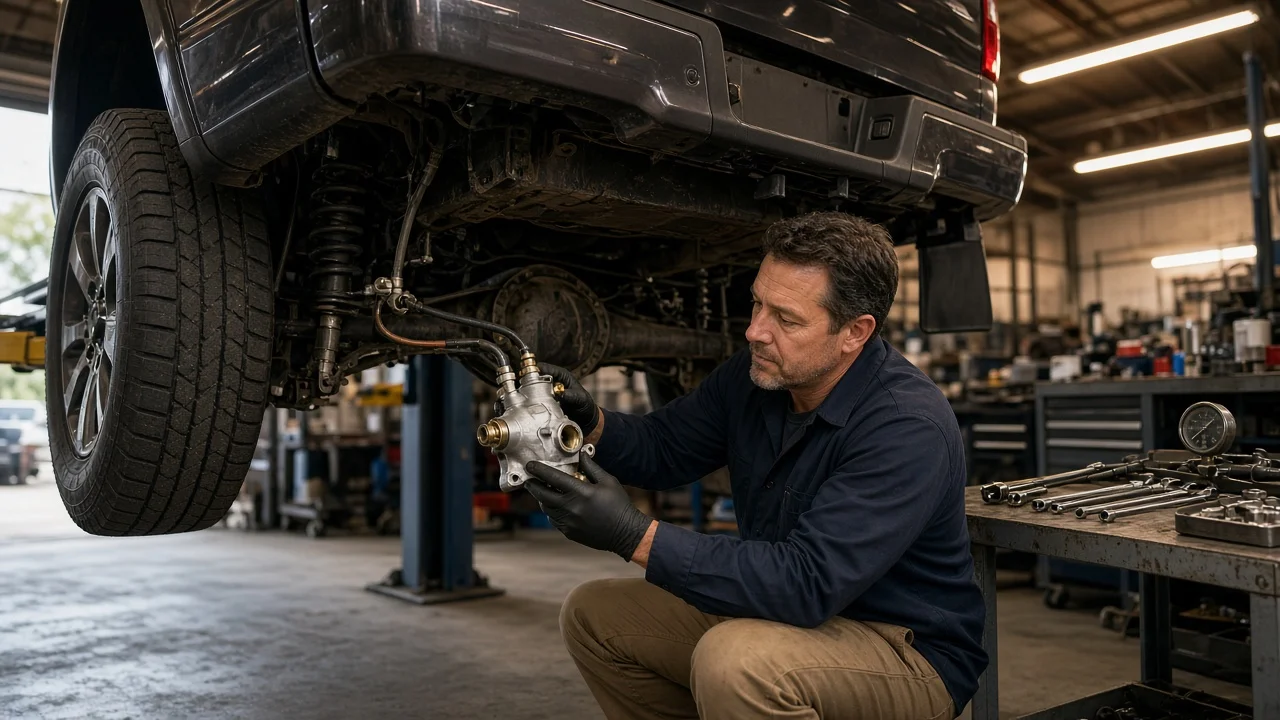
The right Ford brake proportioning valve depends on your vehicle's exact brake configuration, not just the model name. Ford has used several designs. Many older cars have a combination valve near the master cylinder, and many trucks have a height-sensing valve at the rear axle. Newer vehicles often have electronic brake force distribution built into the ABS system and no separate valve at all. This guide explains how each design works, what determines fitment, and how to confirm you are buying the correct part.
The short answer
The correct proportioning valve is the one specified for your vehicle's VIN, build date and brake setup. Two Fords of the same model and year can need different valves. One might have rear drums and the other rear discs, one might have a heavier payload rating, or one might use a different ABS arrangement. Start with a VIN-based parts lookup from a Ford dealer or a reputable parts catalog. Then compare the replacement with the original part in hand: mounting style, number of lines, thread sizes and fittings, and any numbers stamped or tagged on the housing.
Before ordering anything, confirm that your vehicle actually has a separate valve. Many later Ford cars and trucks with four-wheel ABS balance front and rear braking electronically. On those vehicles, the hardware you are looking for may be a simple junction block, or nothing at all. Replacing a part will not change brake balance there. A balance complaint points instead toward the ABS system, its sensors or the basic brake components.
How a proportioning valve works
When you brake hard, weight shifts forward, so the rear tires can handle less braking force before they lock. A proportioning valve sends full master cylinder pressure to the rear brakes up to a set point. Above that point, rear pressure rises more slowly than front pressure as you press harder on the pedal. In a hard stop, the front brakes do most of the work while the rear wheels keep enough grip to stay stable.
On many older Fords, this function sits inside a combination valve. The same housing may also contain a metering valve and a pressure differential switch. The metering valve slightly delays the front disc brakes so the rear drum shoes can engage. The switch turns on the brake warning lamp if one hydraulic circuit loses pressure. The height-sensing valves used on many Ford pickups and vans go a step further. A linkage to the axle changes the split point as ride height changes, allowing more rear braking when the bed is loaded and less when it is empty.
Configurations that change the answer
Rear brake type is the biggest variable. Disc/drum and disc/disc systems need different pressure curves, and a combination valve with a metering section is generally intended for disc/drum setups. Converting to rear discs, or fitting larger front calipers or brake rotors, changes the balance the original valve was designed for. That is why conversion kits often include or recommend an adjustable proportioning valve instead of the factory part.
On trucks and vans, several factors affect vehicle fitment: payload rating, wheelbase, two-wheel or four-wheel drive, and whether a height-sensing valve is fitted. Many Ford light trucks from the late 1980s into the 1990s used rear-wheel ABS, which has its own valve and module arrangement, different from four-wheel ABS. Ride height changes also matter. Lift kits, lowering kits, overload springs or air bags can push a height-sensing valve outside its intended range even when the part itself is correct.
Mid-year production changes are also common. Check the build date on the door jamb label as well as the model year. A valve listed for one part of a model year may not fit or calibrate correctly on a vehicle built in the other part.
How to confirm the right part
Find the existing valve first. Combination valves are usually mounted on or near the frame rail or inner fender below the master cylinder, with brake lines running to the front and rear circuits. Height-sensing valves are usually mounted on the frame near the rear axle, with an arm or link connected to the axle housing. Photograph the part, the line connections and any tags or numbers before removing anything.
Then cross-check in this order: a VIN-based lookup, the build date and options on the certification label, and a physical comparison of the new valve with the old one. Count the ports, match the fitting type and thread size, and check the mounting holes and bracket orientation. Also confirm whether the old valve has a warning switch connector and whether the new one matches your wiring harness. If a listing covers a broad range of years with no notes on brake type or payload, treat it as unconfirmed. Ask the seller or a parts counter to verify fitment against your VIN.
Signs the valve may be the problem
A failing or incorrect valve usually shows up as poor brake balance. Too much rear pressure can cause the rear wheels to lock early on dry pavement, make the rear end step out in a firm stop, or let an unloaded truck skid its rear tires easily. Too little rear pressure can show up as front brake pads and rotors wearing much faster than expected while the rear friction material barely changes. A brake warning lamp that stays on after bleeding can mean the pressure differential switch is off center.
These symptoms overlap with other faults, so rule those out before buying a valve. Any of the following can upset brake balance: contaminated or glazed friction material, a sticking caliper, rear drum shoes out of adjustment, leaking wheel cylinders, old or contaminated brake fluid, or pads and rotors worn past their wear limits. On height-sensing systems, a bent, seized or disconnected linkage is a common cause, and it is cheaper to fix than the valve.
What the owner can do
Most owners can handle the inspection. Check fluid level and condition, look for leaks at the valve fittings, and make sure any height-sensing linkage moves freely and is attached at both ends. Measure pads and rotors against the specifications in the service information for your vehicle. Note when the rear lockup happens, such as loaded or empty and wet or dry, so a technician has useful information if you need one.
If you replace the valve yourself, use line wrenches on the fittings, keep fluid off paint, and bleed the entire system using the procedure specified for your vehicle. Some Ford combination valves require the metering valve stem to be held open during pressure bleeding. ABS-equipped vehicles may need a scan tool to cycle the hydraulic unit. A height-sensing valve must be set to the factory adjustment given in the service information, which often depends on a specific ride height or gauge. Test the brakes at low speed in a safe area before normal driving.
Limitations and the next step
This guide covers how Ford proportioning valves are generally designed and selected, not the exact part or setting for your vehicle. Valve calibration, adjustment specifications and bleeding procedures vary by model, year, axle and option package. Only vehicle-specific service information can confirm them. A wrong valve can look and fit like the right part and still cause rear lockup in an emergency stop.
Stop driving the vehicle and have the brake system inspected by a qualified technician if any of these happen: it pulls hard, the pedal sinks, the warning lamp stays on with no clear cause, or the rear wheels lock unexpectedly. The same applies after brake conversions or suspension modifications, where setting up an adjustable valve correctly usually requires testing on the actual vehicle.