How to Replace a Ford Brake Booster Vacuum Hose
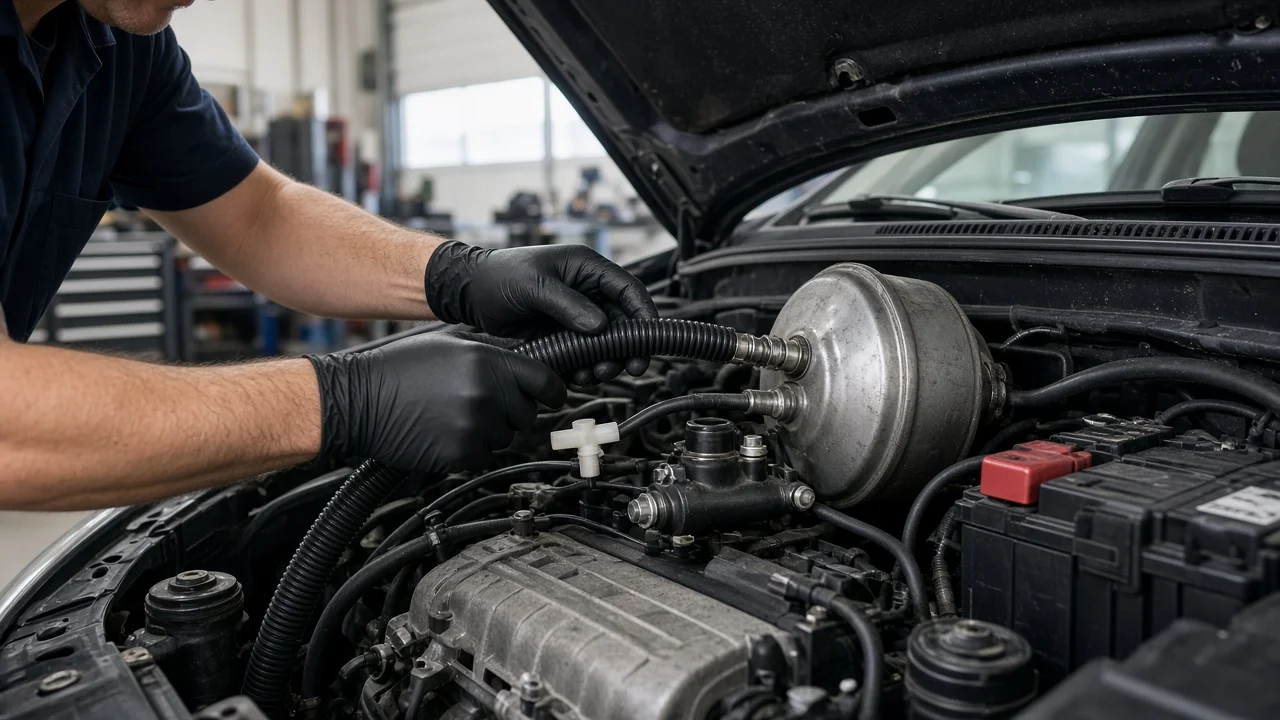
A cracked or collapsed brake booster vacuum hose can make the brake pedal hard and heavy. It can also create a vacuum leak that upsets idle quality. On many gasoline Ford cars, trucks and SUVs, replacing the hose is a manageable job, but it still affects a safety system. This guide covers confirming the diagnosis, removing the old line, fitting the new one and checking that power assist is restored.
Confirm the part and repair scope
Ford uses several brake assist designs. Most gasoline engines feed a vacuum booster from the intake manifold through a hose with a one-way check valve. That valve may sit inline in the hose or be pressed into a grommet on the booster shell. Some diesel and turbocharged engines add a mechanical or electric vacuum pump. Heavy-duty diesel trucks may use hydraulic boost from the power steering system. Hybrid and electric models commonly use an electronic brake booster with no vacuum hose at all. Before ordering, confirm what your vehicle has using its model year, engine and VIN, because hose routing, fitting styles and integrated check valves vary between otherwise similar models. Accurate vehicle fitment matters more here than finding a generic hose of the right length.
Next, make sure the hose is actually the fault. Typical signs include a hard brake pedal, a hissing sound near the booster or firewall when the pedal is pressed, a rough or high idle, and lean fuel trim codes. Look for cracks, swelling, oil soaking, a collapsed section, broken quick-connect tabs or a loose fit at either end. Other faults can produce similar symptoms, and a new hose will not fix them: a failed check valve, a leaking booster diaphragm, low engine vacuum or a faulty vacuum pump. If the pedal sinks or feels spongy, or the brake warning light is on, the problem is more likely hydraulic. That points to brake fluid, the master cylinder or a caliper, and needs separate diagnosis. Worn brake pads or brake rotors do not affect boost assist and should be judged against their own wear limits.
Prepare tools and safe access
Get the service information for your exact vehicle from a factory repair manual or a reputable repair database. Note the hose routing, any clips or brackets, and which components must be moved for access. On some models the hose can be reached from the top of the engine. On others, an air intake duct, engine cover or other parts must come off first. The tools are usually basic: hand tools, a trim tool or small flat screwdriver for quick-connect releases, hose pliers for spring clamps, and a flashlight. A hand vacuum pump or vacuum gauge is useful for testing the check valve and confirming the repair.
Park on level ground, set the parking brake, and work with the engine off and cool. Exhaust components can stay hot for some time, and on some vehicles the cooling fan can start unexpectedly. Follow the manual closely if access requires removing intake plumbing on a turbocharged engine or disturbing sensors and wiring near the throttle body. The same applies if the hose connects to a vacuum pump. If you are not comfortable confirming the diagnosis and verifying brake operation afterward, leave this job to a professional. A vehicle with a hard pedal or reduced braking assist should not be driven until it is repaired.
Remove without avoidable damage
Before disconnecting anything, photograph the hose routing and note which end goes to the booster and which goes to the intake manifold or vacuum source. With the engine off, pump the brake pedal several times to use up the vacuum stored in the booster. Remove any parts blocking access and keep their fasteners organized.
At the booster, many Ford hoses use either a quick-connect elbow or a fitting that pushes into a rubber grommet containing the check valve. Twist the fitting gently and pull it straight out. Prying sideways can tear the grommet or crack the plastic port, and either kind of damage creates a new leak. At the engine end, quick-connect fittings usually release when you press or slide a locking tab. Check the manual for the correct release method rather than forcing the fitting, because ports on plastic intake manifolds can break. Plain rubber sections may be held by spring or screw clamps. Release any clips holding the hose to brackets or other lines, then remove the hose along the photographed route. Inspect the grommet, the ports and the check valve. Replace the grommet as well if it is hardened or cracked.
Install and restore the system
Compare the new hose with the old one. The length, bends and fittings should match, and so should the presence and location of any inline check valve. The check valve must let air flow only from the booster toward the engine vacuum source. Many valves are marked with an arrow or label. If yours is not, test it with a hand vacuum pump or by gently blowing through it. Air should pass in one direction only, and that direction should point toward the engine. A valve installed backward leaves the booster without assist.
Route the hose exactly as the original was routed. Keep it away from exhaust parts, sharp edges and moving components, make sure it has no kinks or twists, and secure it in every clip. Push quick-connect fittings on until they click, then tug them to confirm they are locked. Seat the booster end fully into its grommet. On sections with clamps, position each clamp over the barb. If the grommet needs lubricant, use only what the manual recommends, because petroleum-based products can damage some rubber. Reinstall any intake ducts, covers and sensor connectors you removed for access. Replacing a vacuum hose does not normally require bleeding the brake fluid or any programming. Still, follow your service information if it lists additional steps for your vehicle.
Check the completed work
Start with a static booster test. With the engine off, press the pedal several times until it feels firm, then hold moderate pressure and start the engine. The pedal should drop slightly as vacuum builds. Next, let the engine idle for a minute, switch it off and wait a short time before pressing the pedal again. The first applications should still feel assisted, which shows the check valve is holding vacuum. With the engine idling, listen around the hose and booster for hissing and confirm the idle is steady. To confirm that vacuum is reaching the booster, tee a vacuum gauge into the line and compare the reading with the figure in your service information.
Then do a careful road test at low speed in a safe, open area. Check that pedal effort feels normal and that the vehicle stops straight. Clear diagnostic codes only after the repair is confirmed, and make sure any lean codes do not return. Further diagnosis is needed if the pedal stays hard, the booster still hisses, the pedal sinks under steady pressure, the brake warning light stays on, or the vehicle pulls while braking. These signs point to a fault in the booster, check valve, vacuum source or hydraulic system. Do not drive the vehicle until a qualified technician has inspected it.