Fluid Near the Driveshaft: How to Locate the Leak
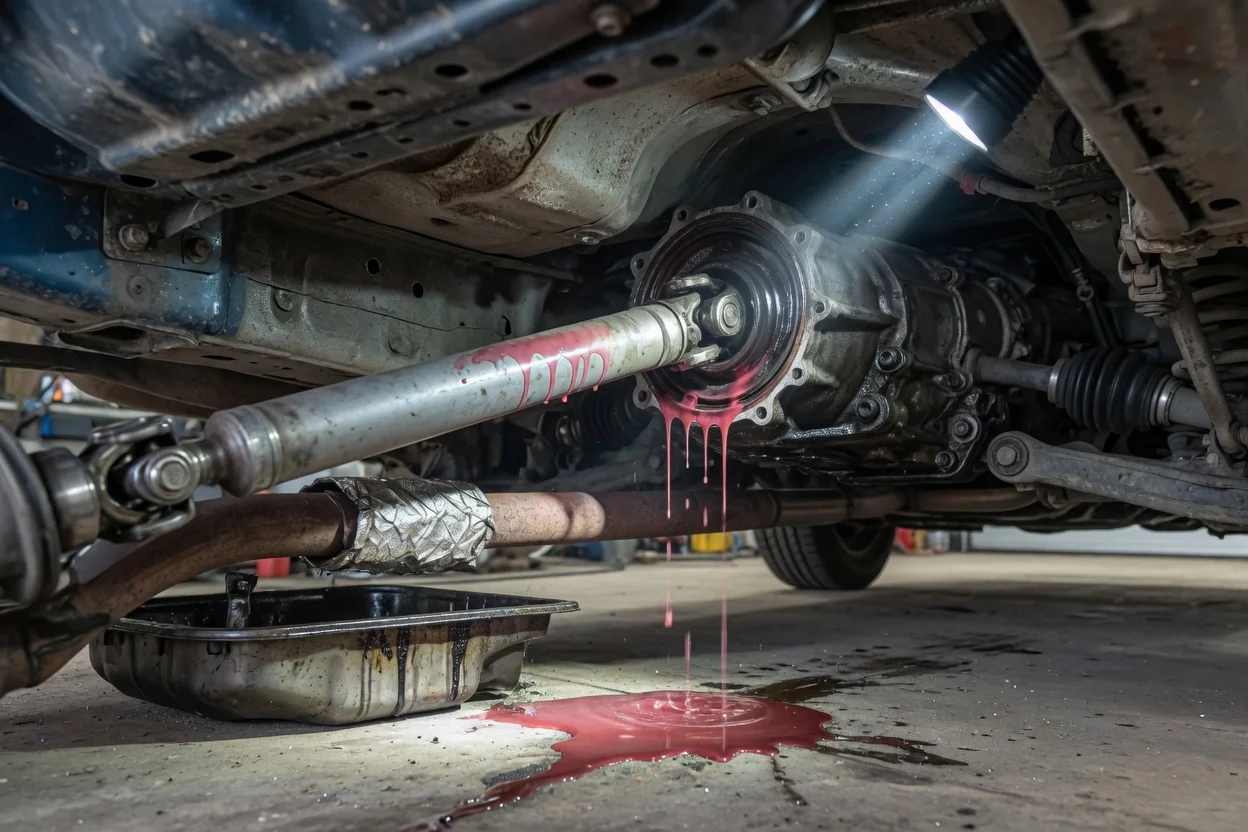
When a driveshaft looks like it is leaking, the shaft itself is rarely the source. A driveshaft is a tube with a joint at each end. It carries torque, not a fluid supply. The wetness usually comes from a seal at one of its ends, a component mounted nearby, or a line routed through the same tunnel. Airflow and the spinning shaft spread fluid away from where it started, so the wet spot is a clue rather than an answer. This guide shows how to trace it in a sensible order.
Establish the symptoms
Write down what you actually see before anything is cleaned or disturbed. First, note where the fluid is: at the front of the shaft near the transmission or transfer case, along the tube, or at the rear near the differential. Second, note its form. It may be drops on the ground after parking, a damp film on the underside, or streaks flung outward in a ring. Third, dab a fresh sample onto a white paper towel and record its color, texture and smell.
Timing matters too. Does the spot appear only after highway driving, after towing or other demanding operating conditions, after sitting overnight, or only when parked on a slope? Note any associated signs. These include vibration that rises with road speed, a clunk when shifting between drive and reverse, a whine from the rear, delayed or harsh shifts, a burning smell after stopping, or a warning light. Finally, review the service history. A fluid change, a new driveshaft, U-joint replacement, transmission or differential service, or exhaust work in the area often explains why a leak started when it did.
Distinguish plausible causes
Start with your vehicle configuration. On most rear-wheel-drive cars and trucks, the front of the driveshaft slides into the transmission tailshaft, which is sealed by a rear output or extension housing seal. The rear end bolts to the differential pinion flange, which is sealed by a pinion seal. Four-wheel-drive and many all-wheel-drive vehicles add a transfer case with its own output seals, and often a front driveshaft running to a front differential. Some driveshafts use constant-velocity joints with rubber boots instead of U-joints. Front-wheel-drive vehicles normally have axle shafts with CV joints rather than a long central driveshaft, so wetness near those joints points to different parts. Knowing exactly what is fitted narrows the list quickly.
The fluid itself is the strongest clue. Automatic transmission fluid is typically red or pink when fresh and darkens with age. It has a thin, oily feel. If fluid like this appears at the front of the shaft, the transmission output seal or the transfer case is the likely source. Gear oil is thicker, amber to dark, with a sharp sulfur-like odor. Gear oil at the rear of the shaft supports a pinion seal leak. Thick grease thrown in a spray pattern suggests a split CV boot or a joint purging grease. Brown or black engine oil that tracks rearward may be coming from higher on the engine and only collecting on the shaft. Manufacturers specify different fluids for different units, so confirm what your transmission, transfer case and differentials actually contain before drawing a conclusion.
Some fluids do not belong to the drivetrain, and finding them points away from the driveshaft area. Thin, slippery fluid that is clear to amber near a rear axle or frame-mounted line may be brake fluid. A gasoline smell indicates a fuel line or tank problem. A sweet-smelling green, orange or pink liquid is more likely coolant. Clear water that dries without residue is often air conditioning condensation that has drifted rearward. Each of these changes both the urgency and the repair.
Checks in a useful order
Do the simple, safe checks first. Park on level ground with the engine off, the parking brake set, and the transmission in park or in gear. Slide clean cardboard under the full length of the shaft overnight. Where the drips land, toward the front or the rear, shows which end is active. Look from the side with a flashlight rather than reaching underneath. Never get under a vehicle supported only by a jack. Use properly rated stands on solid ground, or have the inspection done on a lift.
Next, check fluid levels where the manufacturer specifications allow an owner check. Engine oil is usually straightforward. Transmission procedures vary considerably. Some use a dipstick read at a set temperature. Others have no dipstick and require a fill plug check with the vehicle level and the fluid at a specified temperature. Differentials and transfer cases are typically checked at a fill plug. If you are unsure of the correct procedure, record what you can see and leave the level check to a technician. An incorrect check can lead to overfilling or underfilling.
To pinpoint the source, a technician will often degrease the area, drive the vehicle, and then reinspect to see where fresh fluid appears first. Fluorescent dye added to the suspected system and viewed under ultraviolet light can confirm which unit the fluid comes from. On a lift, the technician can also check several related parts: play at the U-joints, slip yoke movement in the tailshaft, wear on the yoke or flange sealing surface, and whether the vent on the transmission, transfer case or axle is blocked. This inspection requires proper support, tools and the service information for your exact vehicle.
Interpret the findings
An old, dirt-caked film with no fresh drips on the cardboard suggests seepage rather than an active leak. It still deserves monitoring, but on its own it does not justify replacing parts. A strong case needs three things together: fresh, clean fluid at one end; a low level in the unit at that end; and a dye trace leading to its seal. If the fluid type does not match what the nearby unit contains, the source is probably elsewhere and the shaft is only collecting runoff.
Before a seal is replaced, find out why it failed. Several faults can ruin a new seal quickly. These include a worn bushing in the transmission or transfer case, a grooved or rough yoke or flange surface, a vibrating or out-of-balance driveshaft, worn U-joints, or a blocked vent that pushes fluid past the seal lip. Overfilling during recent service can also force fluid out. A good diagnosis names the source, the evidence that ties the leak to it, and the underlying cause, so the repair addresses all three.
Urgency and next action
Some findings mean the vehicle should not be driven until it is inspected: • any fuel smell or fuel wetness; • suspected brake fluid or a soft brake pedal; • fluid dripping onto the exhaust or producing smoke; • slipping or flaring shifts; • a transmission or drivetrain warning light; • grinding or loud whining from a differential; • a clunk combined with heavy vibration; • a fluid level too low to register on the dipstick or at the fill plug; Running a transmission or differential low on fluid can damage internal parts, and a failing driveshaft joint can cause loss of drive. No one can reliably say how far a leaking unit will last, so do not plan around a mileage guess.
For a slow seep with normal driving behavior, book an inspection and bring useful information. Include the year, make, model, engine, transmission and drivetrain type, the current odometer reading, and recent service history. Add your notes on when the fluid appears and how it looks and smells. Photos of the wet area before cleaning, and of the drip pattern on the cardboard, help the technician confirm the source quickly. Until the repair is done, keep checking levels using the correct procedure, and top up only with the fluid the manufacturer specifies. Once the leak is fixed, return to your normal maintenance schedule for fluid service.