Fix a leaking windscreen
What a leaking windscreen actually is
A leaking windscreen means water is reaching the cabin along a path that starts at, or is blamed on, the front glass. The usual repair is not automatic glass replacement. Water can pass through a crack or chip, around a failed urethane bond between glass and body, under a damaged moulding or cowl, or from clogged scuttle drains that overflow and look like a glass leak. The fix follows the real path, not the first wet patch on the dash.
Scope matters. “Windscreen leak” covers bonded laminated front glass on most modern cars, older rubber-gasket installs on some classic or commercial vehicles, and aftermarket glass that was recut or resealed. It does not automatically include a sunroof, door glass, or heater-box leak, even when those faults wet the same carpets. Vehicle, body style, and whether the glass is original or replaced change which joints exist and how they should be tested. Those details are model-specific and are not universal.
What you are seeing versus what might cause it
Wet carpets, a damp A-pillar trim, misting at the top of the dash, or a musty smell after rain are observations. They locate where water arrived, not which joint failed. A single drip line can travel along adhesive, wiring, or the HVAC (heating, ventilation and air conditioning) plenum before it shows. Do not treat the wet spot as proof that the glass or the urethane bead must be replaced.
Fault codes are rarely part of this diagnosis. A leaking windscreen is a body-and-glass water-path problem. Unless a related system has its own warning (for example an airbag light after a pillar trim was disturbed, or a demist complaint from a soaked HVAC intake), there is no diagnostic trouble code that proves the glass seal has failed. Code definitions and operating-condition criteria for engine or body modules do not confirm a leak path. Physical water tests do.
Likely leak paths
Broken or starred laminated glass: water can track through a crack or a poorly filled chip, especially at the edge. Failed or incomplete urethane bond: the adhesive bead that holds bonded glass to the painted aperture flange can have a void, a thin section, a dirty flange, or a cut from a previous removal. Damaged reveal moulding, cowl, or A-pillar trim: clips, foam, or a rubber lip can let water under the edge even when the bond is sound. Clogged scuttle or cowl drains: leaves and silt block the channels under the bonnet-side plastic; water then overflows onto the bulkhead, HVAC intake, or inner A-pillar and appears as a windscreen leak. Sunroof or roof-rail drains (if fitted): blocked tubes can dump water at the A-pillar or footwell and be blamed on the glass. Aftermarket glass or accessories: a recut screen, camera bracket, antenna pad, or badly seated moulding can leave a gap the original install did not have. Look-alike cabin leaks: a porous bulkhead grommet, a wet HVAC case, or a door-mirror/A-pillar joint can wet the same trim.
Checks that separate the causes
Work from the cheapest, most common overflow paths inward to the glass bond. Keep the test gentle. A high-pressure jet can force water through joints that never leak in rain and will not tell you which path is real. Have a second person inside with dry paper, a torch, and a view of the top of the dash, both A-pillars, and the footwells. Note the first place water appears and how long it takes.
Inspect the glass in good light for edge cracks, unrepaired chips, and gaps in the black ceramic band. A through-crack at the perimeter supports a glass repair or replacement; an intact pane does not. Open the bonnet and clear the scuttle/cowl drains. Pour a modest amount of water into the channel. If it backs up or appears in the cabin only when the drains are blocked, the glass bond is not yet proven. If a sunroof is fitted, wet the roof panel and watch the A-pillars and footwells before wetting the windscreen. Overflow from roof tubes supports a drain service, not a new screen. Run a slow hose along the roof above the glass, then along each A-pillar, then across the lower cowl, pausing between zones. A drip that starts only when the top edge is wetted supports an upper bond or moulding leak. A drip only from cowl wetting supports drains, the lower bead, or the bulkhead. From inside, look along the visible urethane or gasket line with a torch. Voids, a shiny unbonded patch, or water beading on the flange support a reseal. A continuous, fully wetted bead with no tracking leaves the bond unresolved until the outside test is repeated. Lift or ease the interior A-pillar and top-dash trims only as far as is safe for that vehicle, watching for curtain-airbag modules and pretensioner wiring. Water behind trim after a top-edge hose test supports a glass or moulding path; dry glass surround with a wet HVAC intake supports a cowl or plenum path. Check recent glass or camera work. A new screen that leaks at first rain often points to primer, bead height, or moulding seating on that install, which is vehicle- and installer-specific.
Each result narrows the field. Blocked drains that then flow freely, with a dry cabin, leave the glass unproven as the source. Water that appears at the inner top edge only while the roof-to-glass joint is wetted, with clear drains, supports a bond or moulding fault. A visible crack to the edge supports glass repair or replacement regardless of the bead. A wet footwell with a dry glass surround leaves HVAC, bulkhead grommets, and roof drains unresolved. A fault code, if any module sets one at all, does not by itself justify replacing the windscreen.
What to do once the path is identified
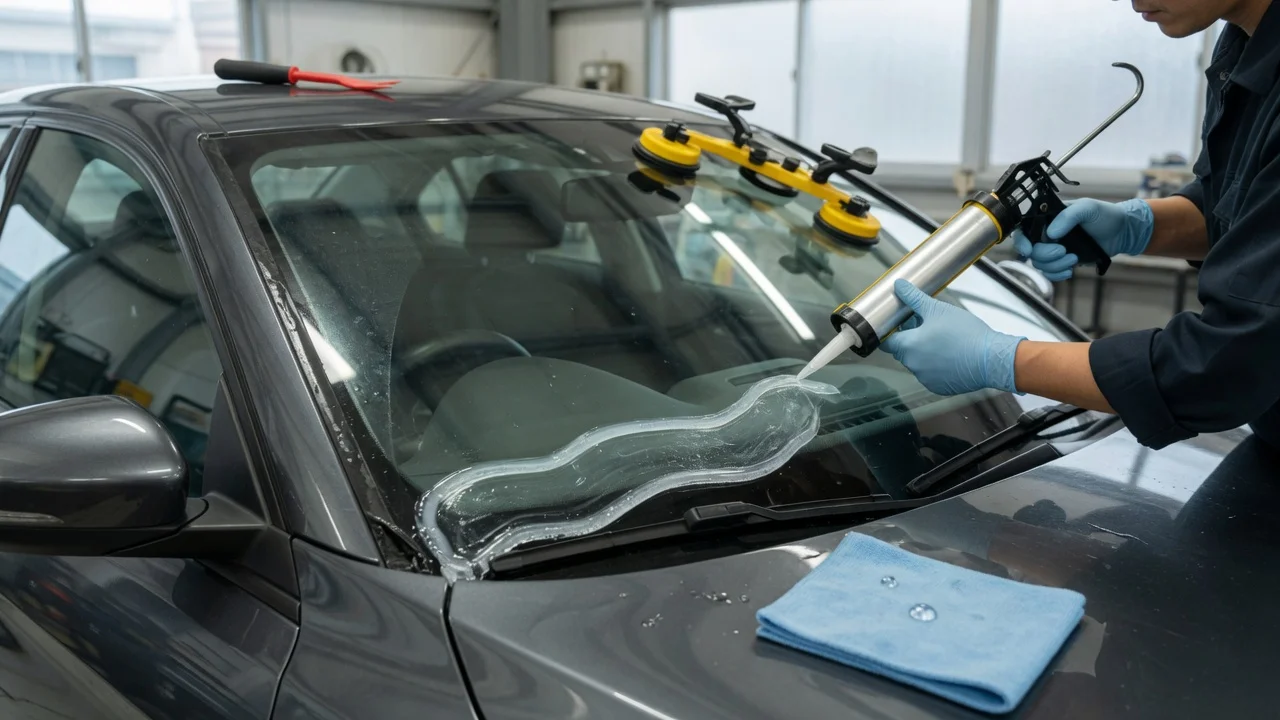
Clear and confirm drains first when they overflow. Replace or reseat a cracked moulding or cowl clip when the hose test isolates that lip and the bead looks continuous. A confirmed void in the urethane usually needs the glass released, the flange cleaned to a sound painted surface, and a new bead applied to the method specified for that body. That work is structural on bonded screens: the windscreen is part of the shell’s stiffness and the base for a rain sensor, camera, or head-up display on many later cars. Recalibration of forward cameras after glass-out is required on vehicles that have those systems; the need is configuration-specific.
Repair a chip only when it does not reach the edge and the leak test then stays dry. Replace the laminated pane when a crack has opened a path through the interlayer or the edge. Rubber-gasket screens, where fitted, are resealed or re-gasketed rather than re-bonded; do not apply a bonded-glass method to a gasket aperture unless that vehicle uses both. Interior drying, carpet lift, and a check for corrosion on the flange matter after any confirmed leak. How long the flange can stay wet before it is unsafe to rebond is not a universal figure; a corroded or poorly painted aperture needs body repair before new adhesive.
What remains uncertain without the vehicle in front of you
No single drip map fits every body. Bonded versus gasket glass, the presence of a rain sensor or camera bracket, sunroof plumbing, and the exact cowl drain layout all change the test order and the repair. Adhesive cure time, flange primer, and camera calibration procedures are specified per model, year, and glass kit; they are not quoted here. If the hose test is mixed—water at both the cowl and the upper bead—or the aperture paint is blistered, a glass or body specialist should open the joint rather than injecting sealant over a hidden void. Surface sealant on the moulding can hide a failed bead and does not restore a structural bond.