Faulty EV Charging Cable: Symptoms, Safe Testing, Repair and Replacement
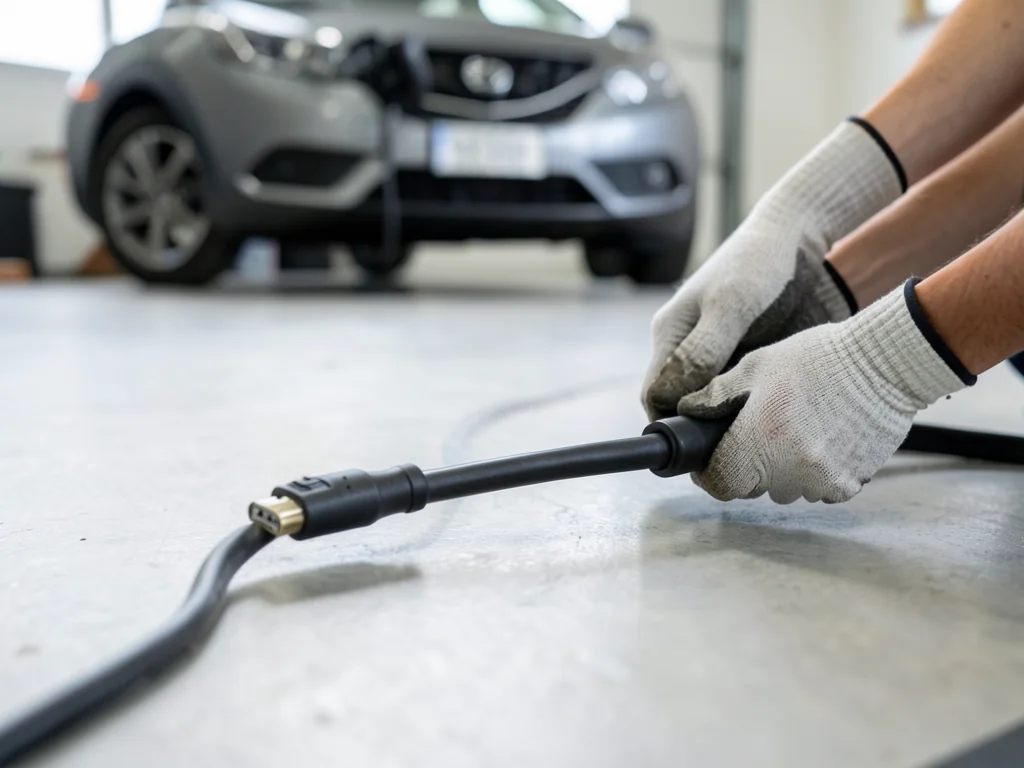
An EV charging cable is a critical safety link between grid power and your vehicle’s high-voltage battery. When that link degrades, you may see warning signs long before total failure: intermittent charging, heat at connectors, or visible jacket damage. This guide explains how to identify a faulty cable, safely test it, decide whether repair is ever appropriate, and avoid counterfeit or unsafe replacements. Understanding these symptoms helps you act before a damaged cable becomes a shock or fire hazard.
Common EV Charging Cable Problems and the Warning Signs of a Faulty Cable
A faulty EV charging cable often announces itself through inconsistent behavior. The vehicle may begin charging and then stop minutes later, or charge at a much slower rate than usual. An in-line control box—the brick on many portable cables—may flash a fault light or beep, while the car’s dashboard could show a charging error. Because portable cables and tethered wall chargers put the control electronics in different places, the same underlying problem can appear as a red light on the cable, a fault on the wall unit, or a message inside the car. Any repeated interruption warrants attention.
Physical clues are just as telling. The cable jacket may show cuts, crushing, or sharp kinks from being run over or pinched in a door. Connector pins can become discolored, loose, or corroded after exposure to water or humidity, and the latch that secures the J1772 or NACS plug may no longer click firmly. A worn seal around the connector lets moisture reach live contacts. Damage at strain reliefs—where the cable enters the plug or control box—is a common failure point. If you see any of these signs, stop using the cable until it can be properly assessed.
Bulges, Swelling, Hot Spots and Burn Marks: When to Stop Using the Cable
A bulge or swelling along the cable jacket is a serious warning sign. It can indicate internal conductor damage that creates a high-resistance hot spot, or it may mean the outer insulation has been compromised and moisture has wicked inside. In either case, the bulge is evidence that the cable is no longer able to safely contain its electrical load. The same concern applies to any melted, deformed, or discolored plastic at the plug, the in-line control box, or the wall charger connector. A burning smell or visible scorch marks confirm overheating, not just cosmetic wear.
If you notice a bulge, melt, or burn mark, unplug the cable at the wall outlet or charger only if you can do so without touching damaged areas and without forcing a swollen plug from a hot socket. Then take the cable out of service permanently. Never wrap tape around a damaged section or try to seal a cracked jacket; that hides heat buildup and increases the risk of electric shock or fire. Also inspect the wall outlet or charger for heat damage, because a worn receptacle can melt the plug and be the true source of the problem.
EV Charging Cable Not Working: Is It the Cable, the Car or the Charger?
When a cable simply stops charging, start with the simplest mechanical and software checks. Make sure the connector is fully inserted and the latch has clicked into place; a half-seated plug will not close the control pilot circuit. Check the vehicle’s charge settings, scheduled charging timers, and any charging limit that might be preventing a session. Confirm that the outlet or wall charger has power, and test the outlet with another device if necessary. A portable cable’s control box should show a ready light or standby state before you plug into the car.
To localize the fault, swap components one at a time. Try the same cable on a different known-good outlet or charger, or use a different cable on the same vehicle. If the problem follows the cable, it is the likely culprit; if it follows the car or the charger, focus there. Pay attention to the exact error lights or app messages, and consult the cable manufacturer’s and vehicle manufacturer’s documentation, because specific blink patterns and codes vary widely. A tripped GFCI or circuit breaker can be triggered by a cable fault, an outlet problem, or an onboard charger issue, so repeated tripping should be investigated by a qualified electrician rather than ignored.
How to Test an EV Charging Cable Safely
A safe home test begins with the cable completely unplugged from both the vehicle and the power source. Examine the entire length of the jacket, the strain reliefs at both ends, the in-line control box, and the wall plug. Look for cuts, abrasions, bulges, discoloration, or melted areas. Inspect the connector pins for straightness, corrosion, or debris, and operate the latch to confirm it moves freely and springs back. Gently flex the cable near the connectors while listening for crackling or feeling for soft spots; this can reveal hidden internal breaks.
A controlled functional check is the next step: use the cable on a known-good outlet and vehicle, and monitor the session for interruptions, error lights, or unusual warmth at the plug, connector, or control box. However, a cable that charges normally in this test can still have degraded insulation or a broken protective earth conductor that only an insulation resistance test or earth continuity test will reveal. Professional EVSE test adapters can simulate vehicle and supply states safely. If your cable has been crushed, submerged, overheated, or has caused more than one GFCI or breaker trip, stop guessing and have it professionally tested.
EV Charging Cable Repair: When It Makes Sense and When to Replace
DIY repair of an EV charging cable is not advisable. These cables carry up to 80 amps at 240 volts in Level 2 use, far beyond what typical electrical tape or solder can safely handle. Opening an in-line control box or splicing the main conductors breaks the factory sealing and voids the safety certification, even if the repair appears to work. A failed connector, damaged strain relief, or compromised jacket cannot be made safe with consumer tools. For issues like a cracked connector housing or a damaged holster on a tethered wall charger, contact the manufacturer; some components are replaceable by an authorized service provider under warranty.
The only sensible repair path for most failures is a warranty claim through the cable or vehicle manufacturer. If the cable is under warranty, the maker may replace it outright or authorize a specific repair center. Damage from being run over, pinched, or soaked is often excluded, but it is always worth asking before spending on a new cable. For cables out of warranty, any sign of conductor damage, a bulging jacket, heat damage, or a dead control box means replacement, not repair. Splicing or rewiring a cable can void the warranty and may affect your insurance coverage if the altered cable causes a fire or injury.
How to Spot a Fake or Counterfeit EV Charging Cable
Counterfeit EV charging cables are a real and growing hazard. Red flags include a price dramatically lower than comparable products, a seller with no verifiable physical address, misspelled brand names, blurry or uneven printing on the cable or control box, and flimsy packaging that lacks proper documentation. These cables are often made with undersized conductors for their claimed amp rating and thin insulation that fails quickly. A very light cable for its stated current capacity is a strong warning, because copper is heavy; a 40-amp cable cannot weigh as little as a 16-amp one.
Never trust a safety mark on sight alone. Genuine NRTL listing marks, such as UL or ETL, can be verified by entering the file number on the listing organization’s public database. A cable with no such mark, or with a mark that cannot be verified, has not been independently tested for overheating, shock, or fire resistance. Counterfeit cables may lack a functioning ground fault interrupter in the control box or a proper protective earth path, leaving you exposed to lethal current. Purchase from your vehicle maker, established charger brands, or authorized retailers, and keep the receipt.
Buying a Replacement or Used EV Charging Cable: What to Check
A replacement cable must match your vehicle’s charging inlet exactly. In North America, that is typically a J1772 connector, but newer vehicles may use the NACS (Tesla-style) connector. An adapter may be possible in some cases, but the owner’s manual is the final authority. Also match the cable to the power source: a portable cable must match the outlet type you use, whether 120-volt Level 1 or 240-volt Level 2, and the current rating must be supported by both the cable and the circuit breaker. Using a 32-amp cable on a 40-amp circuit is fine; using it on a 50-amp car will overload it.
For a used cable, inspect every inch before buying. Check the jacket for cuts, flattening, or discoloration, and examine the pins for wear or corrosion. Ask about the cable’s age, how it was stored, and why it is being sold. Request the original documentation and verify the listing mark. Be aware that a used cable carries no warranty and may have hidden damage from being run over or soaked that is not visible. Even if it looks clean, arrange for professional insulation and earth-continuity testing before relying on it. If your vehicle maker offers an official replacement, that is often the safest choice.