Exterior Car Detailing Explained: Wash, Decontaminate, Polish and Protect
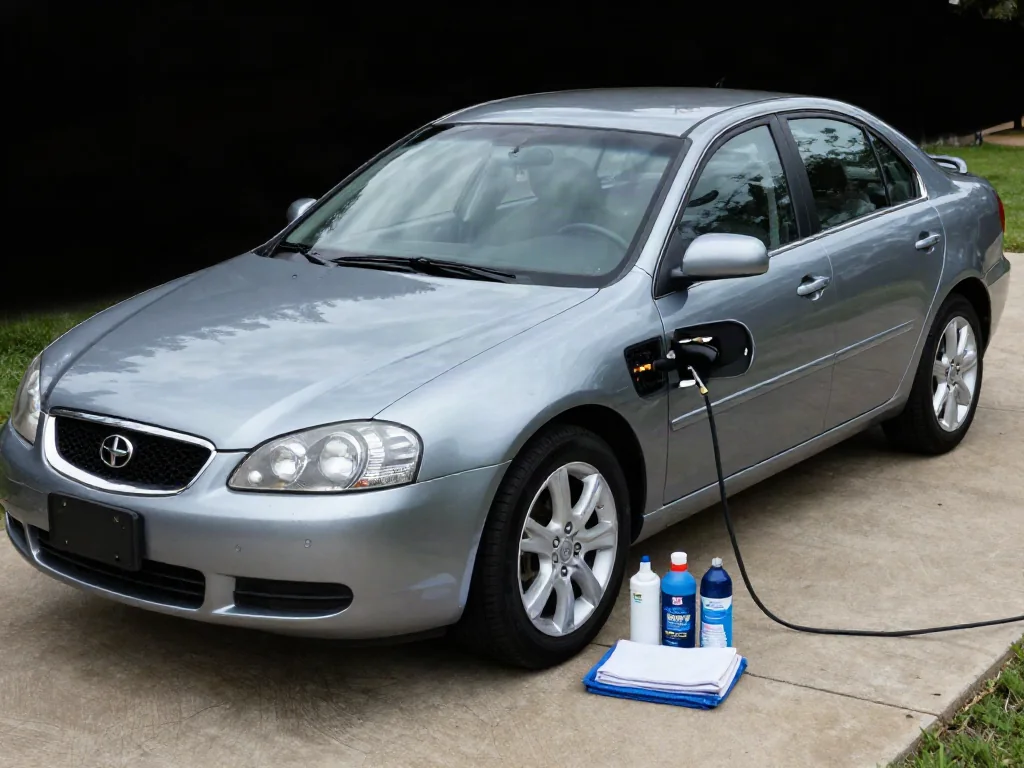
Exterior car detailing goes beyond a quick wash. It is a staged process for cleaning car paint, glass, trim, wheels, and tires, then refining and protecting those surfaces so they look better and stay cleaner longer. If you understand each stage, from safe washing through decontamination, polishing, and protection, you can decide what your vehicle actually needs. You are also less likely to damage the finish while trying to improve it.
What Exterior Detailing Includes
Car exterior detailing covers every surface you see as you walk around the vehicle. That includes the painted panels and their clear coat, the exterior glass, plastic and rubber trim, the wheels, and the tires. A thorough detail follows a logical order. It starts with an inspection in good light and moves on to washing. Next comes a check for remaining contamination, then polishing if defects justify it, and finally surface protection. Following this order keeps one stage from undoing another, such as polishing over grit.
Detailing a car exterior doesn't mean working through the same checklist every time. A well-kept finish that was protected recently may need only a careful wash and a fresh coat of protection. A neglected daily driver might need decontamination and paint correction. Keep your expectations realistic. Detailing removes dirt, restores gloss lost to film and fine defects, and helps preserve the surfaces. It can't reliably erase deep scratches, chips down to primer, or permanent etching. Those may need refinishing instead.
Wash and Dry Without Adding Swirls
Most swirls from washing are caused by grit rubbing against the paint. When dirt sits on the surface and a wash mitt drags it along, it cuts fine scratches into the clear coat. Under sunlight or streetlights, these show up as a circular web around reflections. Dirty wash mitts, mitts that have been dropped, stiff brushes, and rough drying all add to the problem. To clean car paintwork safely, limit how much dirt touches the surface and keep every tool that contacts it clean.
Wash on cool panels in the shade so shampoo and rinse water don't dry into spots. Rinse thoroughly first to lift loose dirt before anything touches the paint. Use a dedicated automotive shampoo diluted as the label directs, and rinse your mitt often so you don't put grit back on the paint. Wheels collect brake dust and heavy grime, so give them their own brushes, mitts, and a cleaner made for their finish. Dry gently with clean microfiber drying towels, blotting or gliding rather than scrubbing.
Assess Contamination and Surface Etching
A car can look clean and still feel rough. Bonded contamination such as industrial fallout, road tar, tree sap, and hard-water minerals can stay stuck to the finish after washing. It dulls reflections and gives the paint a gritty texture. Identify what is there before choosing a remedy. Tar removers target tar, iron removers target iron particles, and water-spot products target mineral deposits. Make sure the treatment is safe for the surface, follow its label, and test it in an inconspicuous area first.
When chemical cleaning leaves roughness behind, mechanical decontamination with a clay bar or clay mitt may be the next stage. Clay technique is covered in a separate article. Some marks aren't contamination at all. Bird droppings, insect residue, and dried water deposits can chemically attack the clear coat and leave etching that stays after cleaning. A mark that remains tells you the surface has changed. It doesn't tell you how deep the damage goes or whether polishing can correct it.
Clean Glass, Trim, Wheels, and Tires
Exterior glass, coated surfaces, plastic trim, rubber seals, and wheels each tolerate different chemicals. Use a glass cleaner made for exterior use that is safe for any tint or coating. Match wheel products to the wheel finish, because polished, painted, powder-coated, and chrome wheels don't all react the same way. Wipe the glass with clean towels you use only for glass. Then check visibility from the driver's seat in different light, because streaks that look minor from outside can cause glare while driving.
Exterior trim care starts with checking that the product is safe for the surface, then applying it carefully. Put trim products on an applicator rather than spraying them near paint or glass, because overspray can leave residue that is hard to remove. Keep tire dressing on the sidewalls only, away from the tread and the brakes, where a slippery film could reduce grip. If trim is peeling, a wheel finish is flaking, or rubber is cracked, have a professional assess it rather than hiding the damage.
Understand Polishing and Paint Gloss
Gloss depends on how evenly a surface reflects light. Clean, smooth paint gives a sharp, uniform reflection. Film, contamination, and fine scratches scatter the light and make the finish look dull or hazy. That's why gloss in car detailing depends on the condition of the surface first and the products second. Polishing is controlled abrasion. A compound or polish on a pad removes a very thin layer of finish, which can remove or reduce shallow defects such as light swirls and haze.
Every polishing step removes some clear coat, so polishing shouldn't be part of routine maintenance. Looking at the paint also has limits. A scratch that catches your fingernail, deep etching, paint thinned by earlier correction, or clear coat that is clouding or peeling may not be safe to correct. A professional evaluation is sensible in those cases. Matte paint, vinyl wraps, and paint protection film need advice specific to that finish. Standard polishing can add unwanted shine or damage those surfaces.
Apply Protection to Prepared Surfaces
Protection products add a layer between the environment and the finish. It makes cleaning easier and helps shield the paint from sun, contamination, and weather. Wax usually gives a warm gloss but doesn't last as long. A paint sealant is a synthetic product generally designed to last longer. A ceramic coating forms a harder layer that resists chemicals better. None of them makes paint scratch-proof or protects it permanently. Each still needs careful washing, and each wears down with exposure and use.
Protection bonds best to clean, decontaminated surfaces with no leftover residue. Applying it over dirt or polishing oils can shorten its life or seal in flaws. Follow the product's application and curing instructions, including how long the car must stay dry afterward. Check that the product is approved for the surface, because not every paint protectant suits trim, glass, or wheels. Water beading doesn't prove the paint is clean or that protection remains, and beaded droplets can still leave water spots when they dry.
Plan Detailing Around Exposure and Condition
How often you wash should depend on exposure, not the calendar. A garaged weekend car may need attention far less often than a daily driver parked under trees, near the coast, or used on salted winter roads. Watch how quickly dirt builds up and adjust. Remove bird droppings, insect residue, and sap promptly and gently. Soften them first with a suitable detailing spray or with water, then lift them off. Scrubbing dried deposits can scratch the paint, and waiting gives etching time to develop.
Schedule decontamination and polishing only when an inspection finds roughness or defects that justify them. Renew protection based on the product's guidance and on what you see, such as water no longer running off cleanly or dirt clinging more easily. Consult a detailer or refinishing professional if stains persist after proper cleaning, scratches are deep, or clear coat is peeling. Do the same if you don't know whether the car has been repainted or polished heavily before, because aggressive work is riskier on an unknown finish.