Exhaust Repair Kits: Choosing a Kit for the Damaged Section
The short answer
The right exhaust repair kit depends mainly on where the exhaust is damaged and how the section is loaded. Surface pinholes or small rust perforations in a straight pipe or muffler body can often be sealed with a wrap, bandage or exhaust paste. A cracked, split or heavily corroded joint needs a repair sleeve, clamp or replacement connector, while a broken hanger or failed flange is usually a separate repair rather than a job for a general sealing kit. The condition that changes the answer most is structural strength: if the metal around the hole is thin, soft or crumbling, a sealant alone will not make a safe long-term repair.
Match the kit to the damaged section
Exhaust repair kits are sold for different failure types, and choosing the wrong one usually leads to a short-lived fix. Before buying, identify the section and the damage rather than relying on the kit's general naming.
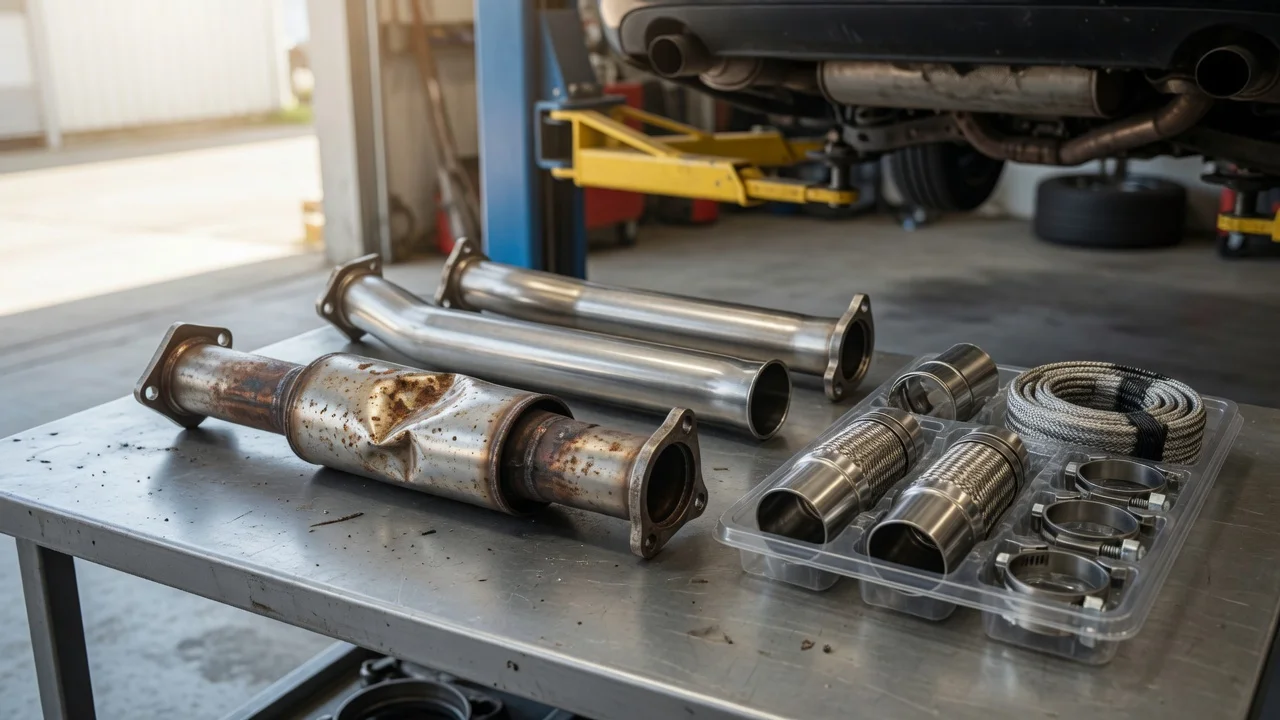
Pipe or muffler pinholes and small rust holes: repair bandages, fiberglass or silica wraps, and high-temperature sealing pastes are the common options. Straight pipe splits and larger holes: a wrap with a metal sleeve or a split repair clamp gives better support than paste alone. Joint or flange leaks: use a gasket, sealing compound rated for the joint temperature, or a replacement connector; a wrap may only cover the leak temporarily. Broken brackets, hangers or rusted flanges: these are structural problems. Replace the bracket, hanger or flange section instead of trying to glue or wrap it.
Check the failure before committing
The most important check is the condition of the metal next to the damage. Remove loose rust and inspect whether the surrounding pipe is still firm. If the area flexes easily, flakes away or has several adjacent thin spots, a repair kit may fail quickly because there is not enough sound material to bond to. The second check is the pipe diameter or part shape: wraps and sleeves are sized to fit a specific range, so measure the outside diameter of the damaged section before ordering. The third check is accessibility and surface preparation. A kit needs a clean, dry, rough surface and enough room to apply the wrap or clamp correctly; a leak in a difficult position may be easier to repair with a replacement section or a two-piece clamp.
Total cost should include the surface preparation, any required high-temperature curing or sealant, and the value of the remaining metal. An inexpensive kit can cost more in practice if the section is too far gone and the repair has to be redone. Advertised kit prices are not comparable to a completed repair until you include these preparation and compatibility requirements, and the quoted figures in this article should be treated as general ranges rather than current local offers.
Comparing the main repair approaches
Each repair type trades ease of application against durability and the amount of sound metal required.
Option | Best use | Main limitation; Repair bandage or wrap | Small holes where the surrounding pipe is still firm | Needs clean, dry metal and proper curing; Exhaust paste or sealant | Pinholes, seams and minor joint seepage | Not a structural repair; may crack under flexing or vibration; Split repair sleeve or clamp | Straight pipe cracks and larger openings | Must be sized to the measured pipe diameter; Replacement connector or section | Failed joints, flanges or badly corroded areas | Requires cutting and fitting; often the more durable choice
For a small leak on a solid straight pipe, a quality wrap or bandage is usually the least invasive option. For a crack that carries exhaust pressure or flexes with the engine, a sleeve or clamp is the better choice because it adds mechanical support. If the damage is in a joint, flange or heavily rusted section, replacement is generally the more predictable repair, even though it is more involved than a kit.
Reading exhaust symptoms correctly
A louder exhaust note, a ticking or puffing sound, or a visible soot mark can mean a leak, but the cause is not always a simple hole. A leak at a gasket, a cracked manifold or a failed flex section may produce similar noise while requiring a different fix. Before buying a repair kit, locate the source with the engine running and the vehicle securely supported, then mark the exact spot once it cools. If the sound comes from a flange or flex joint, or if you see black soot around a gasket, do not assume a wrap will cure it. Stop running the engine for extended diagnosis if you suspect a manifold or catalytic converter leak, because these areas run hotter and a leak close to the engine can be a safety concern.
A diagnostic code or generic "exhaust leak" description is not proof that a particular pipe section needs replacing. Codes related to oxygen sensors or catalyst efficiency can appear when a leak admits air ahead of a sensor, but the code alone does not identify the hole. Confirm the physical leak location before choosing the repair.
Application matters as much as the kit
Most repair kit failures come from preparation, not from the material itself. The damaged area must be wire-brushed or sanded to remove rust and loose coating, cleaned, and dried before applying the wrap, paste or sleeve. Follow the kit's curing instructions and do not start the engine before the compound has set if the instructions require it. On a corroded system, a repair can create a new leak at the next weak spot, so inspect the rest of the exhaust when the damaged section is accessible.
Gaps in the supplied evidence
This article does not quote current market prices, currency or included costs because no verified pricing evidence was supplied. Kit compatibility also varies by pipe diameter, material and model year, so use the manufacturer's sizing information for the specific vehicle and section rather than treating any kit as universal.