EVAP Check Engine Light: How to Identify the Fault
Before you start
An EVAP check engine light means the vehicle has stored a diagnostic trouble code related to the evaporative emission control system. This system keeps fuel vapor from escaping the fuel tank and routes it to the engine under controlled conditions. Many EVAP faults are caused by a loose or damaged fuel cap, a small vapor leak in a hose or seal, or a failing purge or vent valve. Work on the vehicle when the engine is cool and the ignition is off unless a procedure specifically requires otherwise.
Diagnosis is vehicle-specific, but the main tools are the same across most models: a diagnostic scan tool, a flashlight, and enough workspace to inspect the fuel cap area, charcoal canister, and underbody vapor lines. Reading a stored code does not require removing parts. Clearing codes can erase readiness monitor data, so avoid clearing until diagnosis is complete if the vehicle needs an inspection soon.
Step-by-step instructions
First, read the stored engine code with a scan tool. Connect the tool to the vehicle diagnostic connector, switch the ignition on, and follow the tool prompts to view stored and pending codes. Write down every code and whether the tool marks it as current, pending, or history. EVAP codes commonly include ranges for small or large leaks and for purge or vent valve operation, but the exact definition depends on the vehicle year, make, and model.
Second, inspect the fuel cap. Remove the cap and check its rubber seal for cracks, cuts, dirt, or distortion. Reinstall the cap and make sure it clicks or tightens to the stop according to the owner information for that vehicle. A cap that is loose, cross-threaded, or missing its seal can trigger a leak code without any other repair being necessary.
Third, look for obvious vapor-system damage. With a flashlight, inspect accessible EVAP hoses and the charcoal canister, usually located near the fuel tank or in the engine compartment depending on the model. Look for cracked, disconnected, cracked, or collapsed lines, damaged connectors, and signs of rodent chewing. Also look for a purge valve or vent valve that is visibly damaged or no longer attached.
Fourth, use live data or bidirectional controls only if the scan tool supports them and the vehicle instructions describe the test. Some tools can command the purge or vent valve closed or open, but commands should match the vehicle-specific service information. Do not guess at menu paths or values. If the tool does not provide a supported test, stop at inspection and code reading and use the remaining clues to narrow the fault.
Check the output
A useful diagnostic result is a stored code that you can match to a known vehicle-specific definition and a basic inspection finding that points to the same area. For example, a small leak code plus a damaged fuel cap seal is a stronger clue than the code alone. Compare the freeze frame data if the scan tool shows it: engine temperature, vehicle speed, and fuel level can help show the conditions when the fault was recorded.
EVAP monitors use specific pressure and vacuum conditions, so a one-time or intermittent code may not appear again immediately. The absence of an active test command or visible damage does not prove the system is fault-free. If the vehicle has an inspection deadline, it may need a drive cycle or readiness-monitor check using the manufacturer procedure before you know whether a repair has completed the monitor.
Common problems and next steps
The most common reversible issue is a loose fuel cap. If you find one, tighten it correctly and drive the vehicle through normal use; the light may turn off after the required monitor runs, but the stored code may remain until it clears on its own or is removed with a scan tool. Do not clear the code if the vehicle must pass an inspection and the readiness monitors need to complete.
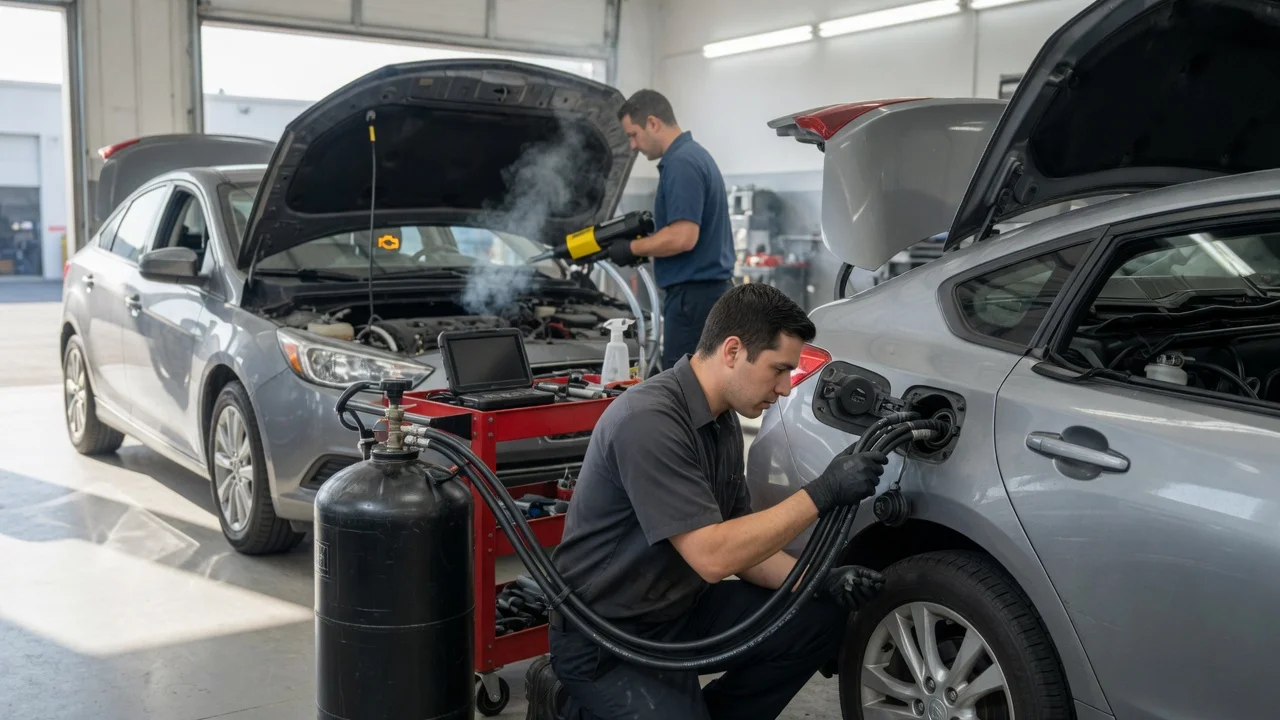
If the cap is tight and the code returns, the leak may be in a line, purge valve, vent valve, canister, or fuel tank seal. A smoke test or similar leak-detection procedure can locate small leaks, but it requires equipment and, on some systems, access to the service port or specific valve states. Without that equipment, the next practical step is a professional diagnosis that can test the EVAP system under pressure or vacuum.
Do not keep replacing EVAP parts by code alone. A purge valve code may be caused by wiring or a stuck mechanical condition, and a leak code may have several sources. For vehicles with common purge-valve or vent-valve failures, confirm the wiring and mechanical test results before buying a replacement. Keep the repair reversible where possible by reinstalling hoses and connectors in their original locations and photographing the area before removal.
After a repair, use the vehicle-specific drive cycle if the maker provides one. A change in fuel level, a new fuel cap, or a repaired hose may still require several trips and specific temperature or fuel-level conditions before the monitor runs again. Until the EVAP monitor completes, the vehicle may not be ready for an emissions inspection even if the check engine light is off.