EVAP Check Engine Light: How to Diagnose the System
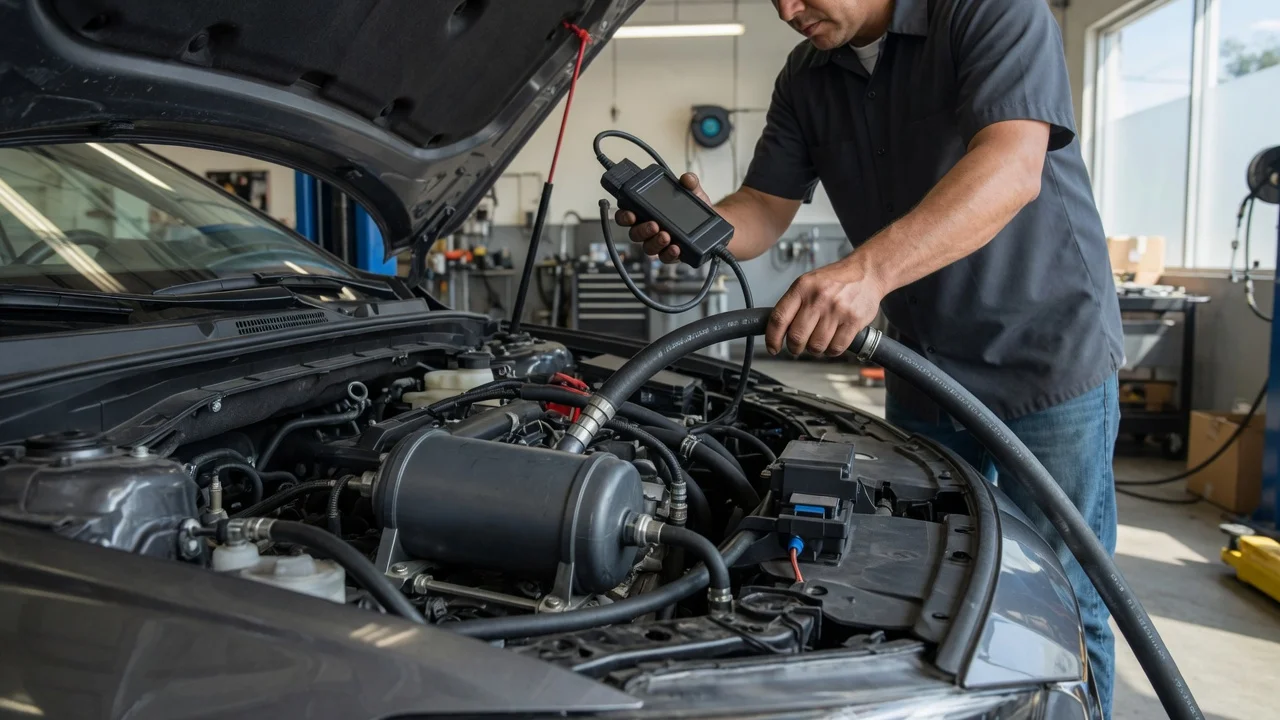
What the light is telling you
An evaporative emission control (EVAP) related check engine light means the vehicle’s onboard diagnostics found that fuel vapor is not being contained or routed the way the powertrain control module expects. The EVAP system stores gasoline vapors from the fuel tank in a charcoal canister and later draws those vapors into the engine to be burned. The malfunction indicator lamp is an emissions warning. It is not a confirmed identification of a failed part.
The highest-yield first finding is a loose, missing, cross-threaded, damaged, or incorrect fuel-filler cap. Other faults include leaks at the filler neck or vapor hoses, a purge valve or canister vent valve that is stuck or electrically open, a cracked or saturated charcoal canister, and a fuel-tank pressure sensor that reports implausible values. Monitor logic, leak-size thresholds, valve layout, and even whether the vehicle uses a conventional cap or a capless filler vary by make, model year, market, and powertrain. Treat another vehicle’s procedure, tightness spec, or replacement list as inapplicable until the service information for that configuration agrees.
An EVAP fault often leaves drivability unchanged. That observation does not establish that continued driving is acceptable in every case. Strong fuel odor, visible liquid fuel, a damaged tank or line, or additional powertrain codes change the risk. Those conditions call for stopping use and qualified inspection. A leak that does not affect how the vehicle drives can still fail an emissions inspection and will usually keep the lamp on until the fault is repaired and the EVAP monitor completes.
What you are seeing versus what might cause it
Keep observations separate from causes. The lamp, a stored diagnostic trouble code, a fuel smell, or a tank that is hard to fill are observations. A code that names a large leak, small leak, incorrect purge flow, or vent-control circuit names a test the module failed. It does not identify the failed component until supporting checks agree. Manufacturer-specific code text can differ from generic OBD-II labels in the P0440 through P0457 range, so record the exact code and definition from the scan tool and from that vehicle’s service information.
These patterns support a next check. They do not close the diagnosis on their own:
Lamp soon after refueling, especially with a tighten-fuel-cap message: supports an unseated cap or filler-neck seal problem. Inspect the cap and neck before replacing valves or the canister. Lamp with no change in how the vehicle runs: consistent with many vapor leaks and with a purge path that stays closed. It does not rule out a purge valve stuck open, which on some calibrations can lean the mixture at idle. Fuel odor at the filler, tank, or underbody: supports a vapor or liquid leak. Treat odor as a fire and inhalation hazard until the source is found. Do not keep driving as a diagnostic method when odor is strong. Nozzle that keeps clicking off while filling: often supports a restricted tank-vent path through the vent valve, canister, or vent hose, rather than a simple cap leak. Pending versus confirmed codes, plus freeze-frame data such as engine temperature, vehicle speed, and fuel level: show the conditions when the monitor ran. Many EVAP monitors run only after a cold start, within a fuel-level window, and after a specified drive pattern. A short trip with no new code does not prove the system is healthy.
Prioritize by safety first, then by diagnostic value. Fuel odor, wet fuel, or damaged tank and lines are a stop condition. The cap and filler neck are the next check because they cause a large share of EVAP lamps and require no disassembly. Recorded codes and freeze frame then direct the rest of the work. Visible hoses, the canister, and electrical connectors come before commanded valve tests or leak testing with shop equipment.
Do not treat a leak-size code as a parts list. A small-leak result can come from a cap seal, a hairline hose crack, or a valve that does not close. A large-leak result can come from a missing cap, a disconnected hose, or a vent path stuck open. A circuit code points first to wiring, connectors, and the solenoid, then to the valve. Replacing the charcoal canister, purge solenoid, or tank because a code is stored is not a diagnosis.
How to diagnose it in order
Work outdoors or in a well-ventilated area away from ignition sources. Let the engine and exhaust cool before you handle nearby components. Park on level ground with the parking brake set. Use the owner’s manual for cap type and any manufacturer note about a fuel-cap warning. You need a scan tool that reads generic OBD-II emissions codes, pending codes, and freeze-frame data. A tool that displays live fuel-tank pressure, if the vehicle reports it, and that can command EVAP valves is more useful; many inexpensive readers cannot.
Have a flashlight, gloves, a notebook, and the correct replacement cap if the original is damaged. Smoke machines, nitrogen leak testers, and bidirectional valve tests are shop equipment. Do not check for leaks with an open flame or by putting compressed air into the tank. Gasoline vapor is flammable and can ignite from sparks, cigarettes, or hot exhaust. Do not smoke. Do not disconnect fuel lines or the tank unless you are trained for fuel-system work. Do not overtighten a cap or put sealant on the cap gasket unless the manufacturer specifies that repair. If you find liquid fuel, stop and have the vehicle serviced.
1) Record the conditions before you change anything: whether the lamp came on after filling, whether a fuel-cap warning appeared, whether you smell fuel, whether the tank is hard to fill, mileage, and approximate fuel level. 2) Inspect the fuel cap. Remove it and check the gasket for flattening, cracks, or debris. Confirm it is the type specified for the vehicle. Seat it and tighten it the way the cap and owner’s manual describe; many click-style caps are turned until they click. A missing, wrong, or damaged cap is reason to replace the cap and recheck. It is not proof that nothing else is leaking. 3) Connect a scan tool with the ignition in the position the tool requires. Record every stored and pending code and the freeze-frame snapshot. Do not clear codes yet. Clearing erases freeze frame and can reset monitors that take many correctly conditioned drive cycles to run again. Codes from misfire, fuel trim, or oxygen sensors are not explained by EVAP alone and may need attention first or in parallel. 4) With the engine off and cool, inspect EVAP hardware you can see without raising the vehicle unsafely: the filler neck, visible vapor hoses, the charcoal canister (often near the tank or in a fender well), the purge valve (usually in the engine bay), the vent valve (often at the canister), and their electrical connectors. Look for cracked, collapsed, or disconnected hoses, broken plastic nipples, rodent damage, and corrosion. A disconnected line is a strong explanation for a large-leak code. Confirm the repair with a later scan rather than assuming the job is finished. 5) If the only finding is a loose or replaced cap, there is no fuel odor, and no hardware is damaged, many vehicles will turn the lamp off after the EVAP monitor completes its required drive conditions. The number of cycles and those conditions are vehicle-specific; the owner’s manual or service information is the authority. If the lamp stays on, or pending EVAP codes return, continue diagnosis rather than repeating cap replacement. 6) Isolating purge flow, vent control, and leak size requires that vehicle’s test sequence. Shop steps typically include commanding the purge and vent valves, watching tank-pressure sensor response, and introducing smoke or a measured tracer into the EVAP circuit with the system sealed as specified. Those steps use calibrated equipment and clamp or torque procedures that differ by vehicle. They are qualified-service work if you do not have the procedure and tools for that configuration. 7) Completion check: you have a written list of codes and freeze-frame data, a documented cap and visual-hose result, and a decision. Either the cap or an obvious disconnected line has been corrected and you will allow the monitor to run as specified, or the vehicle will be smoke-tested and component-tested to that model’s workflow.
Stop and seek qualified service if you smell strong fuel, see liquid leaks, cannot access the canister or tank safely, lack a scan tool that can read the stored data, or if circuit, sensor, or small-leak codes persist after the cap and visible lines check out. Hybrid and some sealed EVAP designs add high-voltage and pressurized-system constraints that sit outside a general visual check. Clearing the lamp without a confirmed repair does not complete the diagnosis; the monitor will usually fail again under the same conditions.
What a general guide cannot specify
Leak-size cutoffs, valve command values, tank-pressure sensor ranges, hose routing, and the exact drive cycle that runs the EVAP monitor are not interchangeable across vehicles. Those figures belong in the manufacturer’s service information for the model year, market, and powertrain in front of you. This guide does not supply a universal “safe to drive” threshold, a substitute for a smoke test, or a parts replacement order based on a code alone. If the cap and visible lines are sound and the lamp or pending codes remain, the appropriate next step is a model-specific leak and component test, not a guess at the canister or solenoids.