EGR Valve Replacement: Removal, Installation, and Reset Checks
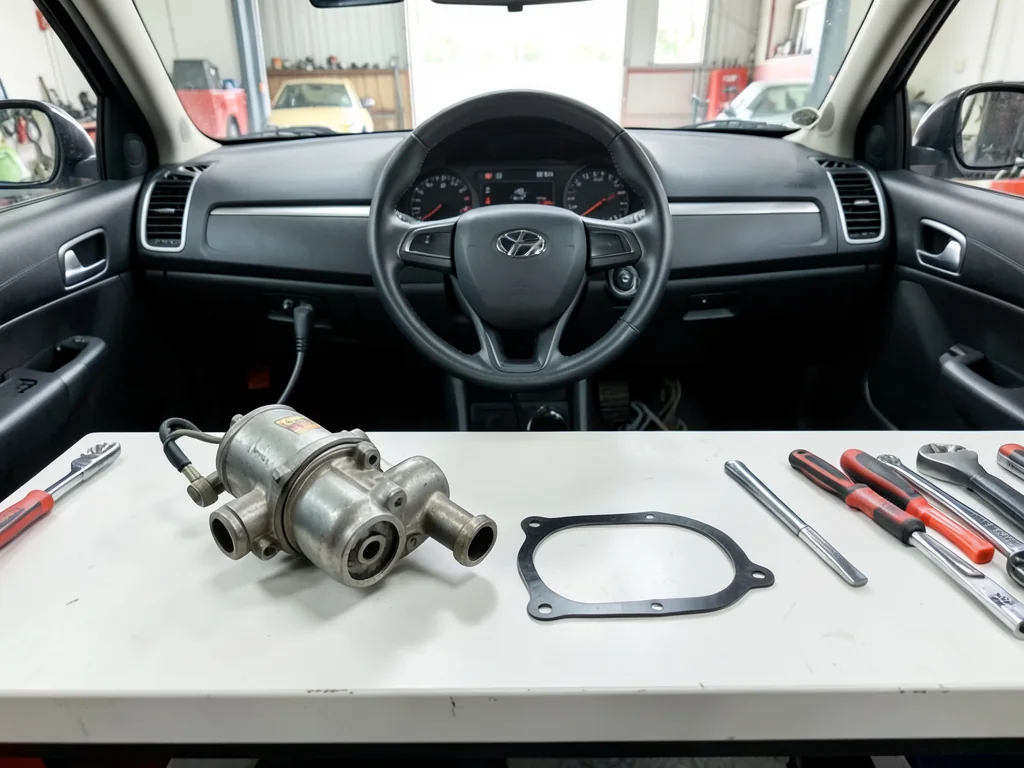
Swapping an EGR valve can look like a simple unbolt-and-replace job, but the most important work happens before and after you pick up a wrench. Confirming the diagnosis, sourcing the correct valve and seals, knowing when to stop during removal, and handling codes and relearns properly all decide whether the new part fixes the problem or just adds to the repair bill.
Confirm Why the EGR Valve Needs Replacement
The exhaust gas recirculation valve meters a controlled amount of exhaust back into the intake to lower combustion temperatures and limit nitrogen oxide formation. When it sticks open, an engine may idle roughly, hesitate, or stall. When it stays shut or flows too little, some engines develop spark knock or fail an emissions test. Those symptoms overlap with misfires, vacuum leaks, and fuel delivery faults, so rough running, hesitation, or a lit warning lamp on its own never proves the valve has failed.
Carbon-clogged passages, a chafed harness, a cracked vacuum line, a faulty position sensor, or a failing control solenoid can all cause EGR-related complaints while the valve itself works. Before clearing anything, record every stored code and any available freeze-frame data, which shows engine conditions at the moment the fault set. Look up code definitions for your specific vehicle, because meanings can vary by manufacturer. If the codes point to a flow problem, or the evidence is unclear, professional flow and signal testing usually costs less than guessing with parts.
Identify the Correct Replacement Valve and Seals
Confirming fitment starts with the vehicle identification number, model year, and exact engine designation. The same model can use different valves depending on engine, emissions package, or production date. Enter those details into the applicable parts catalog, or ask a dealer parts counter, instead of trusting a listing that claims to fit a broad range. A valve that bolts on but has a different flow calibration or control strategy can set new codes or run poorly even when nothing looks wrong.
A matching connector shape or a similar-looking body doesn't prove compatibility, because internal electronics and sensor outputs can differ. Check which gaskets, O-rings, seals, and mounting hardware the procedure calls for, and confirm whether they come in the box. Many procedures treat gaskets and certain fasteners as single-use. Before starting, get the vehicle-specific service instructions, including tightening specifications and any documented adaptation or relearn step, so you know in advance whether finishing the job will require a capable scan tool.
Assess Access and Prepare for the Job
The size of the job depends mostly on where the valve is mounted. Some sit on top of the intake with one connector and a few bolts. Others are tucked behind the intake manifold, sit close to the turbocharger, or attach to a coolant-fed EGR cooler. You may have to remove engine covers, air ducts, brackets, or heat shields first. Read the entire procedure before loosening anything so you understand the full scope, which nearby parts you'll disturb, and how long the work will realistically take.
Work only on a parked vehicle on level ground with the parking brake set and the engine fully cooled, since exhaust components stay hot long after shutdown. If the service information calls for disconnecting the battery or following a specific electrical isolation procedure, follow it exactly. Photograph hose routing, connector positions, and bracket locations before taking anything apart. If the job means opening coolant connections, reaching exhaust fasteners in cramped spaces, fighting seized hardware, or removing major components, it's sensible to hand it to a professional.
Understand the Valve Removal Sequence and Stop Points
At a high level, removal means identifying everything attached to the valve, disconnecting it in the order the vehicle procedure specifies, and lifting the valve out only when nothing is still holding it and access is safe. Electrical connectors usually have a locking tab or a secondary slide lock that must be released first. Pull on the connector body, never on the wires. Vacuum lines and plastic fittings can turn brittle from heat, so ease them off gently and note any that crack so you can replace them.
With the valve out, inspect the old gasket and the accessible mounting area for carbon buildup, erosion, or signs of an earlier leak. Cover the open ports so loose carbon or dirt can't fall into the intake. Stop if a fastener rounds off or snaps, if corrosion has fused parts together, if a connection can't be reached without major disassembly, or if the passages are packed with deposits. These situations call for deeper system service or professional tools, not prying, heating, or forcing parts free.
Install the Valve and Check Every Connection
Before installing anything, compare the new valve and seals with the old parts and the documented application, checking the mounting pattern, port shape, and connector. The mating surface must be clean, flat, and free of old gasket material. Use only the cleaning or preparation method the service information specifies, because aggressive scraping or abrasive discs can gouge soft aluminum and create leaks. Confirm the gasket orientation, since many gaskets have ports or tabs that line up only one way. Don't add sealant unless the procedure specifically calls for it.
Tighten the fasteners in the documented sequence to the specified torque using a torque wrench, not a universal value. Uneven or excessive clamping can warp a flange or crack a housing. Then reconnect everything and check each connection on purpose. Connectors should be fully seated with their locks engaged, and vacuum lines should sit on the correct ports without kinks. Brackets and heat shields should be back in place, with wiring clear of hot or moving parts. Compare the result with your photos, and make sure no tools or rags are left in the engine bay.
Handle Code Clearing, Relearns, and Post-Repair Checks
Clearing stored fault codes and performing an EGR adaptation are separate steps. Clearing erases the fault history, while a relearn teaches the engine control module the new valve's position or flow characteristics. Whether you need a relearn depends on the vehicle, and some procedures require a suitable scan tool or dealer-level software. Disconnecting the battery is not a universal EGR reset and can wipe other learned values and settings, so follow the documented method rather than assuming a power cycle will handle the adaptation.
After starting the engine, stay clear of hot and moving parts while you watch for warning lights, an unstable idle, unusual ticking or hissing, and any exhaust or coolant leak. Clearing codes also resets the emissions readiness monitors, which must complete again through normal driving before an inspection. A quiet dashboard doesn't prove the repair worked. If symptoms or codes come back, start the diagnosis over. Stop driving immediately if you smell exhaust fumes, see a leak, or the engine runs very rough.