Duramax Transmission Limp Mode: Identifying the Transmission and Diagnostic Checks
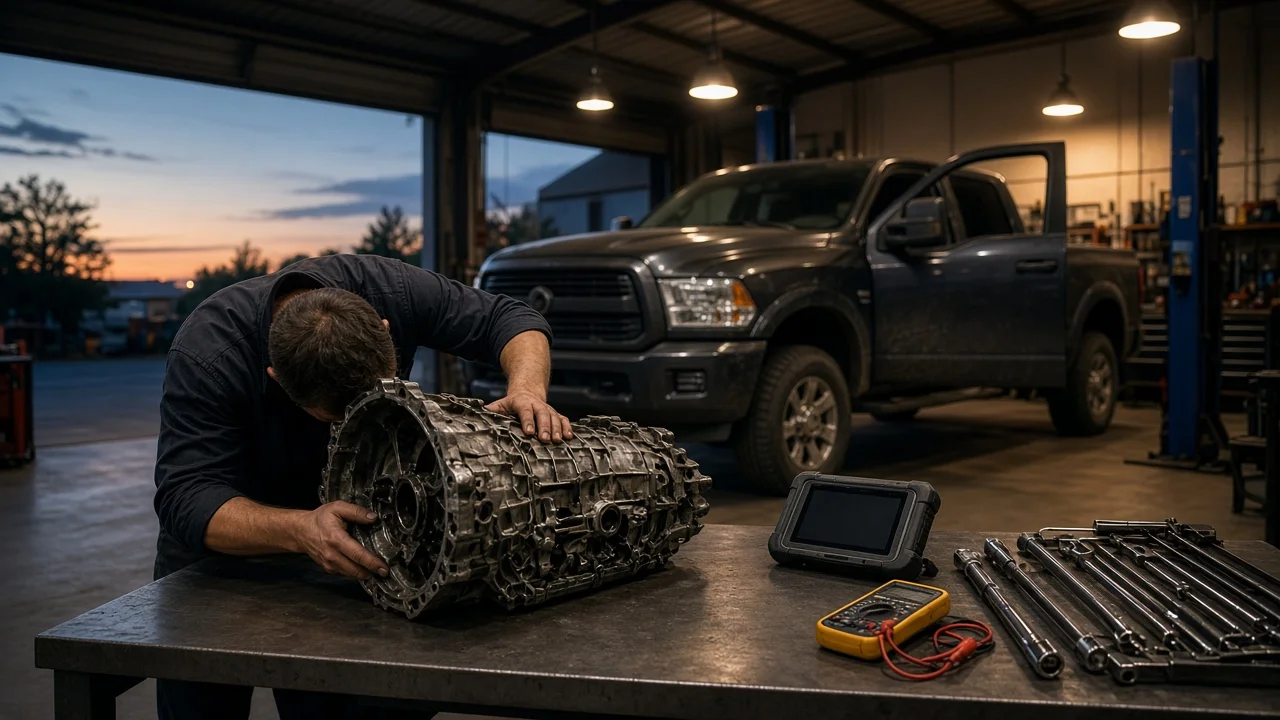
When a Duramax truck suddenly holds one gear, refuses to upshift and lights a warning, the transmission controller has usually commanded a protective default mode. Limp mode is a response, not a diagnosis. The useful path is to identify which transmission sits behind the engine, record how the fault appears, read the stored codes, and confirm a cause before anyone replaces a solenoid, sensor or the whole unit.
Identify which transmission you have
Duramax is an engine family, not a transmission. Heavy-duty pickups with the 6.6-liter Duramax have used Allison-branded automatics with five, six and, in later model years, ten forward speeds. The 3.0-liter light-duty Duramax is paired with a GM ten-speed automatic, and the 2.8-liter diesel in midsize trucks uses its own GM automatic. These units differ in control strategy, fluid specification, fluid check procedure and the diagnostic codes they set, so a fix described for one transmission type may not apply to another.
Confirm fitment from the VIN, the service parts label with option codes that is often found in the glove box, or the original vehicle documents. Note the model year, engine, cab and drive configuration, and whether the truck tows, plows or carries upfitted equipment. Gather the service history as well: when the fluid and filters were last changed, which fluid was used, and any recent battery, wiring, programming, tuning or tire size changes.
Establish the symptoms
Typical signs of transmission limp mode include being stuck in a single forward gear, harsh engagement into drive or reverse, no upshifts at any speed, and a check engine light, wrench light or transmission message in the cluster. On many trucks the condition clears after the engine is shut off and restarted, then returns once the controller detects the same fault again. Write down exactly when it happens: on a cold start, after a long hot tow, climbing a grade, over a bump, after rain or a pressure wash, during one particular shift, or after the truck has been parked for a while.
Note any associated shift behavior before or during the event, such as engine flare between gears, slipping, delayed engagement, shudder at light throttle, a burnt smell, fluid spots under the truck or a high transmission temperature reading. Also note other warnings, especially battery or charging messages. Separate an engine power derate from a transmission default gear: an engine derate, for example from an emissions or DEF fault, reduces power while the transmission usually keeps shifting, whereas transmission limp mode locks the gear selection itself.
Distinguish plausible causes
Fluid level, fluid condition and overheating are common starting points. A low level, a visible leak, recent service with an uncertain fluid, or limp mode that appears only after heavy towing in heat all support this group. It becomes less likely when the level is correct at the specified temperature, the fluid looks and smells normal, and the fault appears on cold, unloaded drives.
Electrical faults are equally frequent. Low system voltage, corroded grounds, loose connectors, chafed harnesses near the transmission, and failing speed or temperature sensors can all make the controller distrust its inputs and default to a safe gear. Intermittent events tied to bumps, moisture or startup, several unrelated codes at once, or voltage-related codes point this way. A single code that repeats under identical driving conditions with clean wiring weakens the electrical case.
Hydraulic and mechanical problems include a sticking valve or solenoid, worn clutches and torque converter clutch faults. Slip felt before the warning, gear ratio codes tied to one specific gear, and debris in the pan support this group. Keep in mind that a ratio code can also come from a bad speed signal, and aftermarket tuning or a changed tire size can confuse calculations, so a ratio code alone does not prove internal damage.
Checks in a useful order
Start with safe observations an owner can make. Photograph the cluster messages. Read diagnostic codes with a scan tool, including pending and history codes; a basic reader may only show a generic code such as P0700, which simply indicates that the transmission controller has stored its own fault, so a tool that reads the transmission module directly is far more useful. Record freeze frame data before clearing anything. Check battery terminals and grounds, look for leaks and damaged wiring around the transmission, and check the fluid only if your truck has a procedure you can follow, since many versions require a specific temperature and some use a check plug rather than a dipstick.
Further steps need proper tools, factory specifications or a qualified technician. These include recording live data on a road test, such as input, output and turbine speeds, commanded versus actual gear, fluid temperature and solenoid commands; pinpoint electrical tests of circuits named in the codes; a fluid level check by the correct procedure on a level lift; line pressure testing; and checking for software updates or service bulletins that apply to the exact transmission and model year.
Interpret the findings
A diagnostic code identifies the circuit or condition the controller judged out of range, not necessarily the failed part. An output speed sensor code can be caused by the sensor, its connector, the wiring or the reluctor it reads. A gear ratio code means measured speeds did not match the expected ratio, which can result from slipping clutches, low fluid or a faulty speed signal. Voltage codes call for checking charging output, battery health and grounds before suspecting any transmission component.
Fluid findings narrow the picture without closing it. A low level points to a leak that must be found, while burnt fluid or significant metallic material in the pan or filter suggests internal wear that a technician should evaluate. Clean fluid at the correct level does not rule out a solenoid, sensor or wiring fault. Before replacing parts, confirm the suspected component with pinpoint testing, rule out simpler causes in the same circuit, and plan to verify the repair by recreating the conditions that originally set the fault. Some repairs also require an adaptive relearn procedure.
Urgency and next action
Limp mode is meant to get the truck to a safe place, not to finish a trip or a tow. Stop driving and arrange transport if the truck loses drive, slips severely, shows an overheating warning, leaks fluid heavily or onto hot exhaust parts, produces smoke, grinding or clunking, or fails to hold properly in park. Towing a load in a fixed gear adds heat and strain, and repeatedly clearing codes to keep driving can hide the pattern a technician needs. No safe remaining distance can be promised for a truck in this condition.
For the repair visit, bring the VIN and transmission identification, the full list of codes with freeze frame data, your written notes on when the fault occurs, the service history including fluid type, and details of any modifications, tuning or tire changes. Repair options range from a wiring or connector repair, sensor replacement, software update or fluid service to valve body or solenoid work, rebuild or replacement. The right choice should follow a confirmed diagnosis rather than the first code on the screen.