Choosing a Brake Proportioning Valve for Drum Brakes
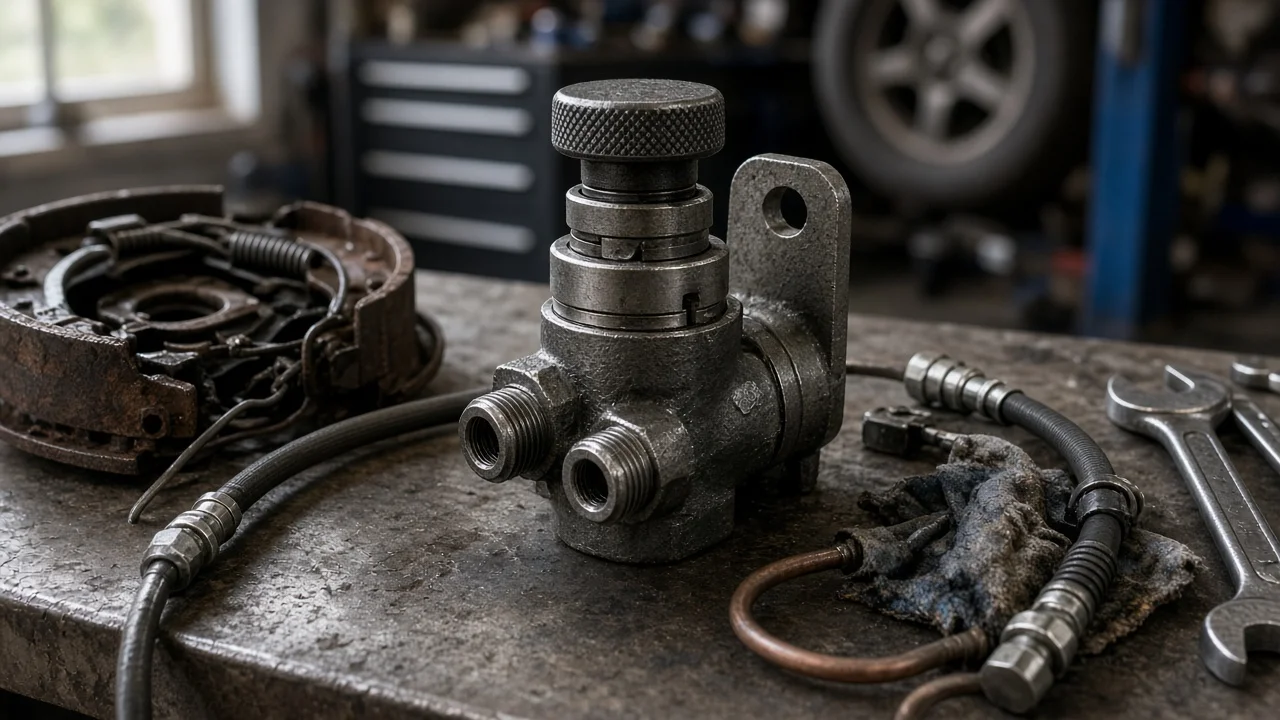
A proportioning valve limits hydraulic pressure to the rear brakes so they do not lock before the fronts during a hard stop. On drum brake systems, and especially on a drum/drum setup, the right choice depends on what the factory hardware already does, how the vehicle is loaded and whether any parts have been changed. This guide explains how to decide whether you need one, what must match your vehicle and how to compare options without relying on marketing claims.
Define the job the product must do
When you brake hard, weight shifts toward the front axle and the rear tires lose grip. If the rear brakes keep receiving full line pressure, they can lock first, and a vehicle with locked rear wheels can slide sideways. A proportioning valve prevents this by passing full pressure to the rear brakes up to a set point, often called the split or knee point, and then letting rear pressure rise more slowly than front pressure. On many factory drum/drum systems, however, brake balance was built in through wheel cylinder bore sizes, shoe width and drum diameter, and no separate proportioning valve was fitted. The first question is therefore whether your vehicle used one originally, and if so, what type.
Owners usually shop for a drum brake proportioning valve for one of a few reasons: replacing a corroded or leaking original during a restoration, correcting rear wheels that lock early or brake weakly, or rebalancing a system after changes such as different rear wheel cylinders, a new tire size, altered ride height, regular towing or a different master cylinder. Pickups and vans with rear drums often use a load-sensing valve connected to the axle by a linkage, which raises rear pressure as cargo weight increases. On those vehicles, a fixed or adjustable aftermarket valve is not a direct substitute; replace it with the specified type unless you fully understand the change.
If a front disc conversion is planned, choose for the system you will actually run. Calipers, brake rotors and brake pads change the front-to-rear balance, and a disc/drum layout usually calls for a valve designed for that combination rather than one intended for an all-drum setup.
Check compatibility
Start with vehicle fitment: year, model, drivetrain, master cylinder type and how the hydraulic circuits are split. Early single-circuit systems, front/rear split dual systems and diagonally split systems each place the valve differently. On a front/rear split, one valve normally sits in the line feeding the rear axle. Diagonally split systems need proportioning in each circuit, which is often handled by valves built into the master cylinder or by two separate inline units. Installing a valve designed for one layout in the other can leave one rear wheel unproportioned or reduce pressure to the wrong brake.
Next, match the hydraulic connections. Domestic vehicles commonly use inch-size inverted flare fittings with double-flared lines, while many imports use metric fittings with bubble flares. The flare style at the valve port must match the line end exactly; a mismatched seat may seem tight on the bench and still leak under hard braking. Count the ports, confirm whether a brake warning light switch is part of the assembly, and check the mounting bracket, orientation and space for line routing. If the replacement has a different port layout, plan for new hard lines rather than forcing old ones into place.
Finally, check how the valve works with the rest of the system. Drum brakes are commonly paired with residual pressure valves that keep light pressure on the wheel cylinder cups; these are often inside the master cylinder outlets, so adding a second one inline is usually unnecessary. A combination valve built for disc/drum cars may include a metering section that delays front pressure for calipers; on an all-drum vehicle that hold-off is generally not wanted unless the manufacturer specifies it. Also confirm the seals suit the brake fluid type your vehicle uses, since glycol-based and silicone fluids should not be mixed.
Features that affect the choice
The main decision is fixed versus adjustable. A fixed valve has a preset split point and reduction rate, so it behaves predictably and cannot be knocked out of adjustment. It suits a stock vehicle when it matches the original specification or part number. An adjustable valve lets you move the knee point with a knob or lever, which helps after modifications, but its value depends on careful tuning through repeated test stops in a safe area. Remember that any proportioning valve can only reduce rear pressure; it cannot add braking capacity that the rear hardware lacks.
Treat labels such as universal, performance or fits all drum brakes as marketing rather than evidence. Useful information includes the intended system type, the stated split point and slope, thread and flare specifications, port count, warning switch details, body material and corrosion protection, installation instructions and a cross-reference to the original part where one exists. If a seller cannot say which brake layout a valve is designed for, leave it off your list.
Before buying anything, rule out problems that mimic poor brake balance. Shoes contaminated by grease or fluid, mismatched friction material between sides, glazed or out-of-round drums, misadjusted shoes and leaking wheel cylinders can all cause rear lockup or pulling. A new valve will not correct any of them.
Limitations and ownership costs
Installing a valve means opening the hydraulic system. Expect costs beyond the valve itself: fittings, possibly new hard lines, a proper flaring tool if lines must be made, fresh brake fluid and a complete bleed of every wheel. Some assemblies with a pressure differential switch can shift during bleeding and trigger the warning light; follow the service information for centering or holding the piston. If you are not confident making leak-free flares and bleeding the system, paying for professional installation is part of the real cost.
Ongoing care is modest but real. The valve contains internal seals that degrade if old, moisture-laden fluid stays in the system, so follow the fluid change interval in your service information. An adjustable valve may need retuning when tires, shoes, ride height or typical load change. Load-sensing valves have a linkage and spring that must be inspected and set to the specified ride height whenever suspension parts are replaced.
No valve can compensate for worn parts. Shoes worn to their wear limits, drums machined beyond the maximum diameter marked on them, a weak master cylinder or air in the lines must be fixed first. If you notice a sinking pedal, a lit brake warning light, strong pulling or rear wheels locking during normal stops, stop using the vehicle and have the brakes inspected by a qualified technician.
Build a practical shortlist
Narrow the options with a short checklist rather than a ranking. Confirm whether your vehicle originally had a proportioning valve and which type. Identify the brake layout as drum/drum, disc/drum or a planned conversion, and the circuit split as single, front/rear or diagonal. Record the port count, thread sizes and flare style, and note whether residual pressure valves are already in the master cylinder. Decide between fixed, adjustable or load-sensing based on how the vehicle is used. Check for a warning switch if your system needs one, mounting and routing fit, fluid compatibility and clear documentation of the intended application.
Keep only candidates that satisfy every point, then compare the remaining details: body material, included fittings or brackets, and how well the instructions explain installation and adjustment. After fitting, check every joint for leaks, bleed fully and make gradual test stops in a safe, empty area before building up to firmer ones. The rear wheels should not lock before the fronts. If they do, or if braking feels inconsistent, recheck the installation and the vehicle-specific specifications before driving further.