Dorman Air Suspension Compressor Selection Guide
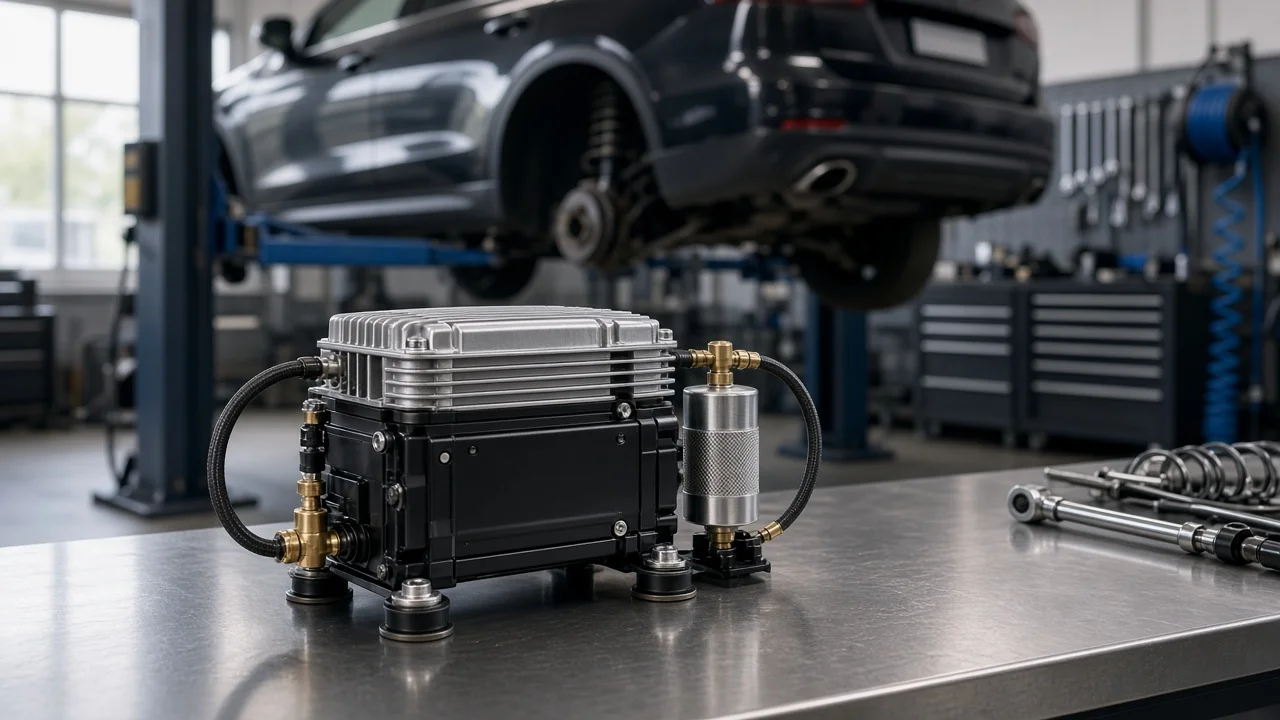
Most people buy a Dorman air suspension compressor because the original unit can no longer hold the vehicle at ride height, or it runs too long and too loudly trying to. Choosing a replacement depends mostly on diagnosis and fitment, not on features. This guide covers how to confirm the compressor is actually the failed part, match it to your vehicle, read the listing details that matter, and plan for what ownership costs beyond the purchase price.
Define the job the product must do
Start with the symptom. Common ones are a vehicle that sags overnight, a suspension warning message, a compressor that runs constantly, or a compressor that never starts. The compressor only replaces lost air. It cannot fix a leaking air spring, a cracked line, or a faulty valve block. If something downstream leaks, a new compressor will run longer to make up the loss, overheat, and can fail early. Before you buy, pressurize the system and spray soapy water on the springs, lines, and fittings. Check the fuse and relay. Listen for the compressor when the system should be calling for air. Also note whether your vehicle has air springs at all four corners or only at the rear, because more corners means more work for the compressor.
Next, be honest about practical limits. Will you install the unit yourself, and do you have proper lifting equipment and jack stands? Some vehicles need a scan tool after the repair to clear stored codes or run a leveling routine, so find out whether yours does and whether you have access to one. Finally, think about how long you plan to keep the vehicle. That affects how much to spend on the compressor and on related parts that are close to the end of their life.
Check compatibility
Match the part by year, make, and model, then go further. Trim level, drivetrain, and suspension package all matter, because the same model year can come with air springs on some versions and conventional springs on others. If you can reach the original unit, read the part number on it and compare it with the interchange information in the listing. Then compare the physical interfaces: connector shape and pin count, the type and size of the air line outlet, the bracket and mounting points, and where the dryer sits. A compressor that fits electrically but has a different port or bracket layout means extra work and possible leaks.
Check how complete the assembly is. Some replacements are the compressor alone. Others include the dryer, a bracket, isolators, or a relay. Work out which parts your vehicle uses and which ones you would be reusing from the old unit. Reused rubber isolators that have hardened with age can pass vibration and noise into the cabin. Read the included-components section of the listing carefully rather than assuming the box matches the photo.
Features that affect the choice
A few details change real-world results. An included or new dryer helps keep moisture out of the valves and springs. New mounts or isolators reduce noise. Clear guidance on the relay matters because a failing relay can damage a new compressor. Written warranty terms tell you what you can claim later. Labels such as heavy duty, upgraded, or OE quality are not measurements. Look for concrete information instead: what is in the box, whether the unit is new or remanufactured, and exactly which vehicles it covers. If the seller publishes duty cycle or thermal protection data, use it to compare. If it is missing, do not assume one unit outlasts another.
The main trade-off is between an aftermarket replacement, an original equipment part from a dealer, and a used salvage unit. Dorman sells aftermarket replacement parts, so the comparison usually comes down to price, availability, included components, and warranty against the original part. A salvage compressor may cost less, but its hours of use, dryer condition, and leak history are unknown. That makes it a gamble on a component that is often working hard by the time it fails.
Limitations and ownership costs
Safe installation comes first. Many vehicles have an air suspension switch or a service mode that must be turned off before lifting. If it stays on, the system may try to level the vehicle while you work, and the body can move. Release system pressure as the service procedure directs before you disconnect any air line. For vehicle support, lift only at the manufacturer's lift points and work under the vehicle only when it rests on rated jack stands, never on a jack or the air springs alone. Tighten brackets and fittings to the fastener specification in the service information for your vehicle. This guide does not list torque values because they vary by application.
Budget for the items around the compressor, too. Possible extra costs include a new relay, a dryer if one is not included, and air springs that are aging at the same rate as the compressor that failed. A compressor will not fix sag or poor handling caused by worn suspension parts, so while the vehicle is up, check the bushings and ball joints for joint play. If the vehicle sat low for a long time, look for uneven tire wear. If ride height changes after the repair, have the wheel alignment measured instead of guessing at settings. A scan tool calibration at a shop may add labor cost, and a fault in the control module or height sensors is a separate repair the compressor cannot fix.
Build a practical shortlist
Narrow the options with a short checklist, not a ranking. First, confirm the diagnosis: no significant leaks, and a working fuse and relay. Second, confirm fitment by year, make, model, trim, and suspension package, using your VIN where the seller supports it. Third, check that the connector, air port, and mounting points match the original. Fourth, note the included components, especially the dryer, isolators, bracket, and relay. Fifth, note whether the unit is new or remanufactured and what the warranty and return terms say in writing. Last, list what the installation needs, including whether a scan tool is required. Compare two or three candidates on these points side by side, and drop any listing that leaves a fitment question unanswered.
Keep the old compressor and its packaging until the new unit is installed and proven. After installation, the vehicle should rise to its normal ride height in a reasonable time, the compressor should shut off once it gets there, and the vehicle should hold height overnight without warning messages. If it does not, recheck the system for leaks and electrical faults before blaming the replacement part.