Dorman 4WD Actuator Selection Guide: Matching the Right Part
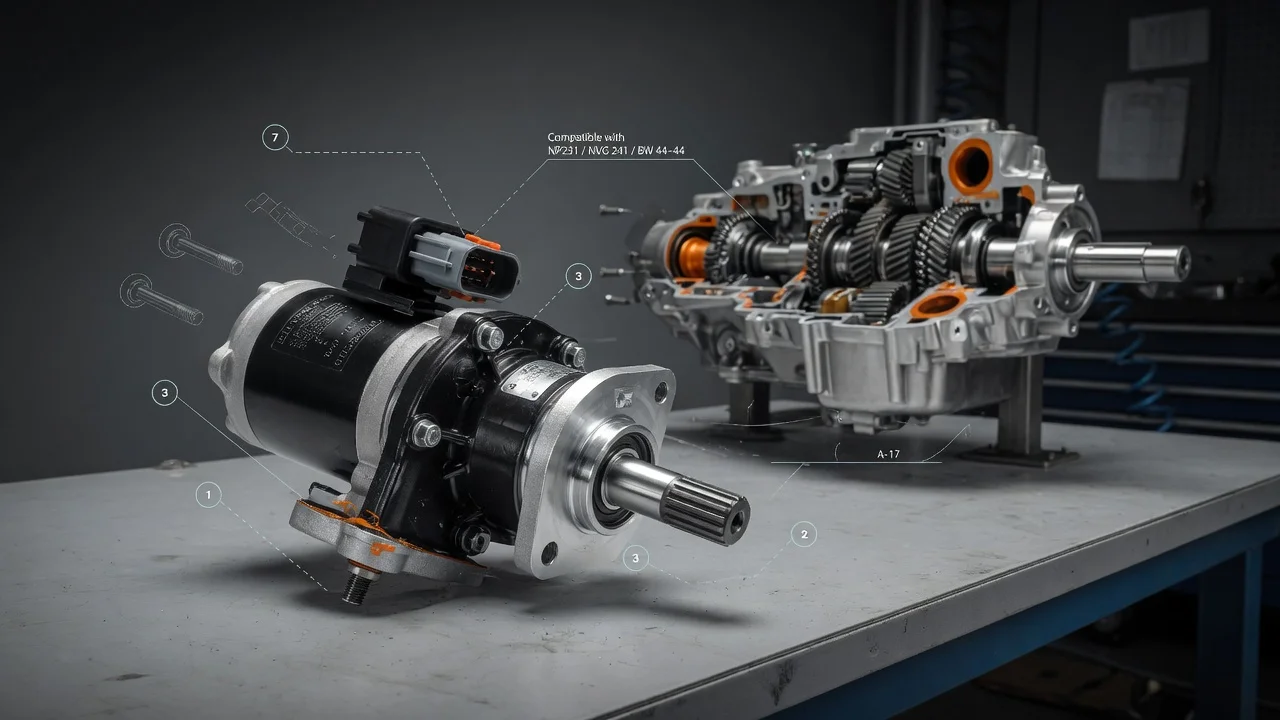
People usually shop for a Dorman 4WD actuator after four-wheel drive stops engaging, engages slowly, or a dash light points to a front axle or transfer case fault. Picking the right replacement starts with knowing which actuator your truck or SUV actually uses and why the original quit. This guide covers matching the part to your vehicle configuration, judging features honestly and planning for the work that comes with the install.
Define the job the actuator must do
The term covers several parts that do very different jobs. A front axle actuator, sometimes called an axle disconnect or shift actuator, slides a collar to lock the front axle shafts together. A transfer case shift motor turns the shift mechanism inside the transfer case to select ranges such as 2WD, 4 High and 4 Low. Some vehicles use vacuum-controlled hubs or wheel-end assemblies instead of an electric motor on the axle. Dorman sells replacements in more than one of these categories, so the first step is identifying which component your vehicle has and which one has failed.
Confirm the diagnosis before ordering. Symptoms such as grinding on engagement, a flashing 4WD indicator or front wheels that never drive can come from a blown fuse, a corroded connector, a damaged harness, a vacuum leak, a faulty selector switch or a control module fault rather than the actuator itself. A proper inspection includes checking power and ground at the connector, reading stored codes and, where possible, commanding the actuator with a scan tool. Also consider operating conditions: a truck that sees salted winter roads, deep water or regular off-road use puts more stress on seals and connectors than one that rarely leaves pavement, and that exposure should shape how carefully you inspect the surrounding parts.
Check compatibility
Fitment depends on more than year, make and model. The same model line can use different front axles, transfer cases and 4WD systems depending on drivetrain, engine, cab and bed configuration, trim, and whether the vehicle has a manual shift lever or electronic shift-on-the-fly. Production date can matter too when a manufacturer changed parts mid-year. The most reliable approach is to match the replacement against your VIN in a parts catalog and compare it with the part number on the unit you remove or the number recorded in your service history.
When the new part arrives, compare it with the old one before installation. Check the electrical connector shape and pin count, the mounting flange and bolt locations, the length and shape of the plunger or output shaft, any O-rings or seals, and the orientation of the housing. On vacuum systems, confirm the port layout and hose routing. Needing a connector adapter or a modified bracket is a sign the part is wrong for your vehicle, not a workaround. Use the manufacturer specifications in the service information for fastener torque and any setup steps rather than relying on general rules.
Features that affect the choice
Dorman markets some products under its OE FIX label, which the company uses for parts it describes as redesigned to address a known weakness in the original. Treat that label as a claim to evaluate, not a guarantee. Look at what the product description says has actually changed, such as housing material, seal design or connector construction, and decide whether that change relates to why your original failed. If your actuator died from a damaged harness or water entering a connector, a redesigned motor alone will not solve the underlying problem.
Other points worth comparing are whether the part is new or remanufactured, whether it includes the seal, gasket or O-ring needed for installation, and the warranty terms offered by the seller. Some electric actuators and transfer case motors may need a position match, initialization or relearn procedure after replacement; check the service information for your vehicle and confirm you have a scan tool that can perform it if required. Customer reviews can reveal fitment problems or noise complaints, but they rarely describe mileage, climate or how the vehicle was diagnosed, so weigh them as anecdotes rather than test data.
Limitations and ownership costs
The part price is only one piece of the cost. Access varies widely: some actuators bolt to the outside of the axle housing within easy reach, while others require removing skid plates, heat shields or other components first. Depending on the design, removing an axle actuator can open the differential, so be ready to check and top up the front axle fluid with the type listed in your maintenance schedule. Budget for a new seal or gasket if one is not included, sealant where the service information calls for it, and possibly connector repair parts if the original plug is brittle or corroded.
An actuator cannot repair mechanical damage elsewhere in the system. A worn shift fork, damaged shift collar, chipped splines, failed hub components or internal transfer case wear will still cause engagement problems after a new actuator goes in. It also cannot compensate for a faulty selector switch or control module. If grinding continues after replacement, stop and inspect rather than repeatedly forcing engagement, which can damage the new part. If your owner's manual recommends engaging 4WD periodically, following that guidance helps keep the mechanism moving and makes developing problems easier to notice early.
Build a practical shortlist
Before you buy, run each candidate through a short checklist. Confirm the actuator type matches the component that failed: front axle actuator, transfer case shift motor or vacuum hub system. Verify fitment by VIN and by the original part number, including drivetrain and 4WD system type. Compare the connector, mounting points, plunger or shaft design and seals against the old unit. Note whether seals and installation hardware are included. Check whether a relearn or calibration step is required and whether you can perform it. Read the warranty terms and return policy, especially for electrical parts that some sellers will not accept back once installed.
Narrowing the list this way usually leaves one or two correct options rather than a field of lookalike parts. Choose the one that matches your vehicle exactly and addresses the cause of the original failure, then plan the job around access, fluid and any setup steps. If the diagnosis is uncertain or the system needs scan-tool initialization you cannot perform, having a shop confirm the fault first can cost less than replacing a part that was never the problem.