Dodge Ram Parking Brake Shoe Replacement Guide
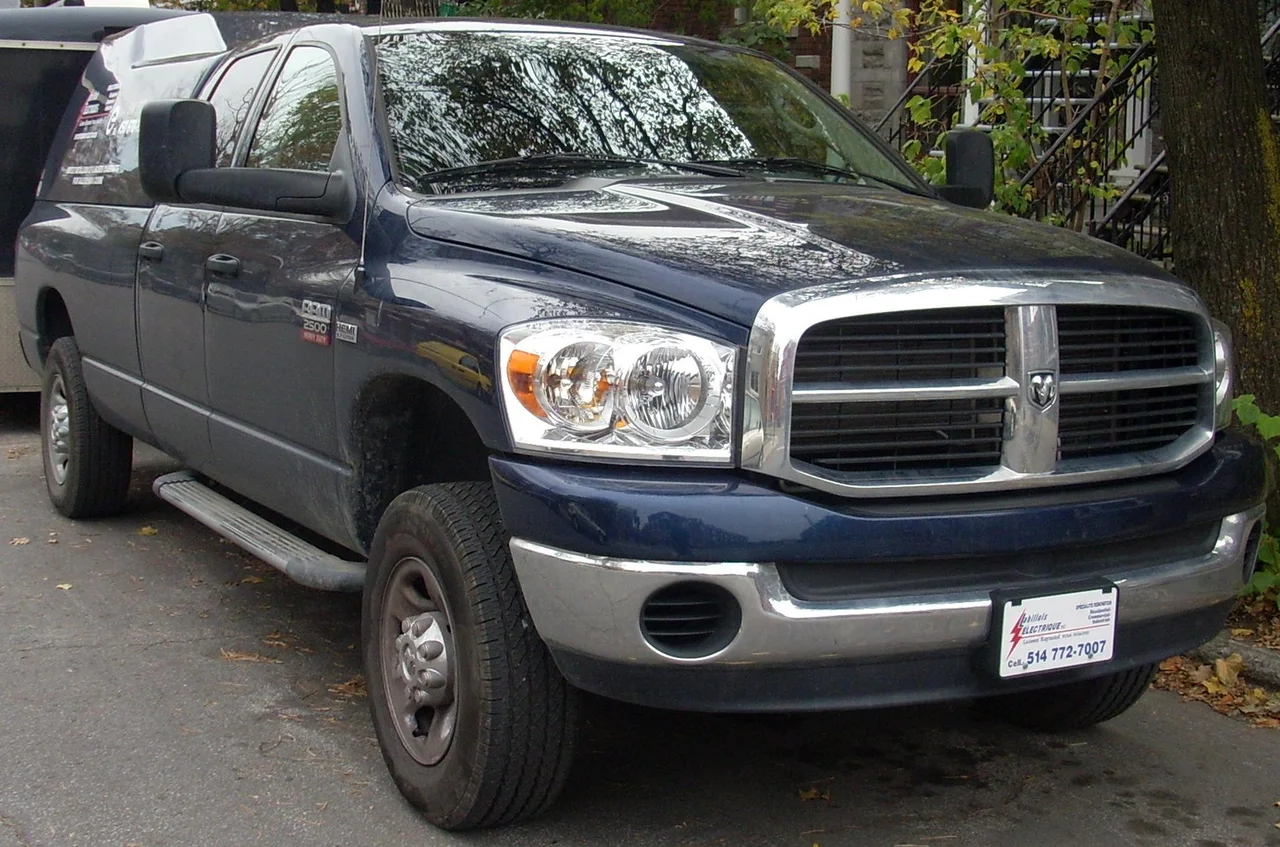
On most Dodge Ram pickups with rear disc brakes, the parking brake is a small drum brake hidden inside the hat of each rear rotor. Its shoes rarely wear quickly. Rust, contamination and driving with the brake partly applied can still ruin them. This guide explains how to confirm the shoes are really the problem, then how to remove, install, adjust and test them using your truck's own service information rather than guesswork.
Confirm the part and repair scope
Start by matching the part to your exact truck. Vehicle fitment depends on model year, 1500 versus 2500 or 3500, two- or four-wheel drive, axle type and rear rotor size. Older Rams with rear drum brakes use the service brake shoes for parking rather than a separate drum-in-hat set. Some later trucks use an electric parking brake, which has its own service mode and scan tool requirements. Use the VIN or build data when ordering, and compare the new shoes with the old ones before you assemble anything. A new hardware kit with springs, hold-downs and adjuster parts is usually worth installing at the same time, because tired or rusted springs cause many of the same complaints as worn shoes.
Next, make sure the shoes are actually at fault. If the truck rolls with the parking brake set, the cause may be worn or oil-soaked friction material. It can just as easily be a seized or stretched cable, a stuck actuator lever, a misadjusted star wheel or a faulty pedal tensioner. Gear oil on the shoes points to a leaking axle seal, which must be repaired first or the new shoes will be ruined. Measure lining thickness and the inside diameter of the drum section and compare them with the wear limits in your service manual. If the drum surface is scored, cracked or beyond its limit, the brake rotors need replacing too, and that is a good time to inspect the brake pads and caliper slides.
Prepare tools and safe access
Gather the following before you start: • a floor jack, rated jack stands on solid ground and wheel chocks; • common sockets and wrenches, plus a torque wrench; • a brake spring tool or pliers, a hold-down spring tool and a flat adjusting spoon; • wire to support the caliper; • brake cleaner and high-temperature brake grease; Penetrating oil and a dead-blow hammer help with rotors rusted to the hub. Brake dust can be harmful. Wear gloves and a suitable mask, clean with a wet method or brake cleaner, and never blow parts off with compressed air.
Before lifting, chock the front wheels, put an automatic transmission in park and release the parking brake. Many Rams have a self-adjusting tensioner at the pedal. The service procedure may call for locking it out so cable slack is available while the shoes are off, and skipping that step can make reassembly difficult. Heavy-duty trucks with full-floating rear axles may require removing the axle shaft and hub to reach the shoes, which adds seals, bearings and hub nut procedures to the job. If that applies to your truck, or you are not comfortable working with springs and brake hardware, hand the job to a professional shop.
Remove without avoidable damage
Work on one side at a time so the other side stays assembled as a reference, and take photos before removing anything. Remove the wheel. Unbolt the caliper and hang it from the frame or suspension with wire so it never hangs by the brake hose. Remove the caliper bracket, then the rotor. If the rotor will not come off, the shoes may be catching on a worn lip inside the hat. In that case, back the adjuster off through the access slot, which may be covered by a rubber plug. Do not pry hard against the dust shield or hammer on the friction surface.
With the rotor off, note how the shoes, upper and lower springs, adjuster and actuator lever fit together. Remove the return springs carefully, since they store considerable force and can fly off a tool. Release the hold-down springs, then spread the shoes and lift them away from the anchor and actuator. Disconnect the cable from the lever only if the design requires it, and avoid kinking the cable or tearing its boot. Inspect the backing plate for rust ridges and broken shoe contact pads, and check that the actuator moves freely when the cable is pulled.
Clean the backing plate and the shoe contact points, then disassemble and clean the adjuster. A seized star wheel is a common reason parking brakes stop holding. Keep left and right adjusters separate, because they may use opposite threads and swapping them can make the system back itself off.
Install and restore the system
Apply a thin film of high-temperature brake grease to the backing plate contact pads and the adjuster threads, keeping it well away from the friction material. Fit the new shoes in the same orientation as the originals. If the shoes have different lining lengths or positions, the parts instructions or service manual show which goes where. Install the hold-down springs, then the adjuster with its star wheel facing the access slot, then the return springs. Confirm every spring is seated and the shoes are centered on the anchor.
Adjust the shoes before fitting the rotor. A brake shoe gauge lets you measure the drum's inside diameter and transfer that size to the shoes. Without a gauge, adjust until the rotor slides on with light drag, then back the star wheel off as directed by the service information. Reinstall the rotor, caliper bracket and caliper, torquing bolts to the specified values. Use threadlocker only where the manual calls for it. This job does not open the hydraulic system, so the brake fluid does not need bleeding unless a hose or line was disconnected. Pump the brake pedal a few times to confirm it is firm before moving the truck.
Repeat the job on the other side, then restore the cable system. Release any tensioner lockout so the cable takes up its slack, or perform the cable adjustment described for your model. Trucks with an electric parking brake may need a scan tool to return the system to normal operation. Many manufacturers also specify a burnishing procedure for new parking brake shoes, usually light applications at low speed. If your service information includes one, follow the published method.
Check the completed work
Torque the wheels to specification and lower the truck. Apply and release the parking brake several times, confirming it engages fully and releases completely. Test holding power carefully on a safe incline in both directions, staying ready on the service brake. Then lift the rear wheels or take a short, low-speed drive and check for drag, scraping or a rotor hat that feels noticeably hotter than the other side. The parking brake warning light should go out when the brake is released, and the brake pedal should feel normal.
If the truck still rolls, recheck the shoe adjustment and cable operation before assuming the new parts are defective. Grinding, a burning smell, uneven heat between sides or a warning light that stays on can mean a dragging brake, misassembled parts or a separate fault that needs diagnosis. If the brake pedal is soft or sinking, stop driving the truck until a qualified technician has inspected the hydraulic system.