Do Engine Oil Stop-Leak Additives Actually Work?
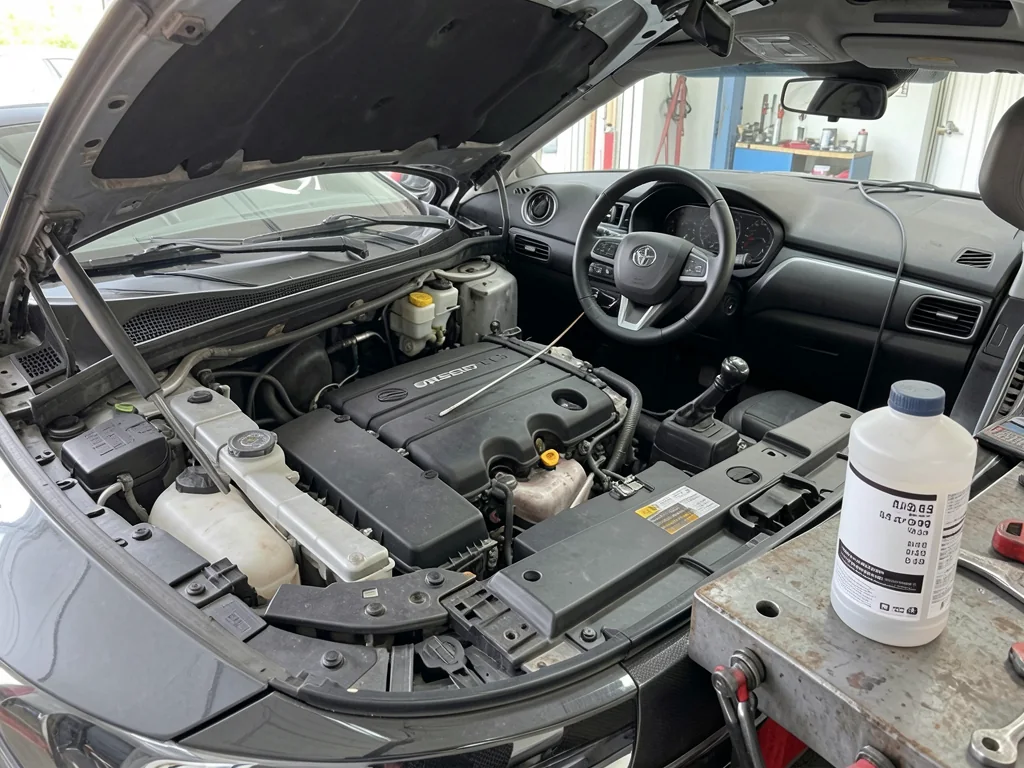
A slow oil drip is easy to ignore until the stain spreads or the dipstick reads low. Bottled stop-leak products promise a simpler fix than a gasket job, and in the right circumstances some may help. Knowing what these additives can influence, what they cannot, and how to confirm where the oil is going will help you decide whether a bottle or a repair makes more sense.
What Engine Oil Stop-Leak Additives Can Actually Do
Some stop-leak formulations may reduce minor seepage when the source is an aged elastomer seal that has hardened or shrunk after years of heat cycles. Rubber crankshaft seals, valve stem seals, and similar parts can lose flexibility and stop conforming tightly to the surfaces they seal. Seal-conditioning ingredients are intended to act on that material, encouraging it to soften or swell slightly so it meets its mating surface more closely. Whether that happens depends on the seal compound, how far it has deteriorated, and whether the seal is actually the leak source.
Some products also thicken the oil, which can slow its passage through small gaps, but that moves engine oil viscosity away from what the manufacturer specified. More importantly, no additive can rebuild a torn or displaced seal, restore a scored sealing surface, flatten a warped cover, or close a crack in a pan or housing. Where results occur, they are not guaranteed and may not last, and there is no universal timeframe for improvement. Treat any change as something to verify by observation rather than a certainty.
Identify the Leak Before Choosing an Additive
Spots under a parked car show that something is dripping, not what it is or where it starts. Engine oil, transmission fluid, power steering fluid, and air conditioning condensate can land in similar areas. With the vehicle parked on level ground and the engine off and cooled, note where fresh spots appear relative to the wheels, their color on a piece of cardboard, and their size. Check the oil level as the owner's manual describes, and record each reading with the date so changes over time become clear.
A falling oil level alone does not reveal the cause. External seepage leaves residue and drips, while oil consumption means the engine is burning oil internally, whether through worn rings, valve guides, or a crankcase ventilation fault that pulls oil into the intake. Oil also travels along engine surfaces and is pushed by airflow, so a wet oil pan may be collecting oil that escaped much higher up. When the source is unclear, a technician can clean the area, use dye or inspection tools, and check for sealing and ventilation problems.
What to Check on Lucas Engine Oil Stop Leak
Lucas sells more than one engine oil treatment, so confirm you are holding the product labeled specifically for oil leaks rather than a general oil stabilizer, and read the current label for its intended application. The manufacturer presents its stop-leak product as aimed at seal-related seepage, and that should be read as a statement of purpose. It does not predict the result on your engine, where the leak might come from a gasket, a damaged surface, or a component the product was never meant to affect.
Before adding anything, compare the label's restrictions with the oil specification in your owner's manual and any manufacturer guidance on supplemental additives. Some automakers discourage aftermarket oil additives, particularly for engines that require specific approved oils. Quantity matters too. Whatever volume the label calls for becomes part of the total crankcase fill, so pouring a bottle into an engine already at the full mark can overfill it. Excess oil can be churned into foam and add pressure on seals, sometimes worsening the leak you hoped to slow.
What to Check on Liqui Moly Engine Oil Saver
Liqui Moly products can carry different names and labels depending on the country, so confirm the exact product and read the label sold in your market before relying on any description. The engine oil saver is generally presented as a seal-conditioning treatment meant to reduce leakage and oil loss associated with aged seals. Whether it suits your vehicle depends on the engine application, the oil specification your manufacturer requires, and any exclusions or restrictions printed on the packaging, which should take priority over general marketing descriptions.
If the label describes a treatment period or distance over which effects may develop, treat that as guidance rather than a promise that your particular leak will stop. Blue or gray exhaust smoke, or steady consumption without visible drips, calls for diagnosis first. Those symptoms can involve valve stem seals, but they can also point to worn piston rings, a turbocharger seal problem, or a crankcase ventilation fault, none of which the product can be assumed to address. Confirming the cause keeps you from spending time and money on the wrong remedy.
Additive Risks and Symptoms That Need Immediate Attention
A finished motor oil is a balanced blend of base oil and additives, and pouring in another product changes that balance. The treated mixture may have different viscosity or other properties, so do not assume it still meets the approvals printed on the oil bottle. Avoid combining stop-leak products or exceeding the label quantity in hopes of a stronger effect. Stacking treatments makes the outcome less predictable, and every extra ounce raises the risk of overfilling, with the foaming and seal pressure that can follow.
Some situations call for stopping rather than treating. Rapid oil loss, a substantial puddle, smoke rising from the engine bay, or oil dripping onto the exhaust or other hot parts are reasons to pull over safely, shut the engine off, and arrange assistance. An oil pressure warning demands the same response, since continued driving with low pressure can cause severe internal damage quickly, and no additive answers that warning. Observe only from above or around the vehicle; never touch hot components or crawl beneath a car that is not properly supported.
Monitor Seepage and Arrange Repair of the Underlying Fault
If you try an additive for minor seepage, track the results methodically. Check the oil level under consistent conditions, on level ground with the engine off for the interval your manual recommends, and log each reading. Slide clean cardboard under the engine overnight to capture fresh drips rather than judging by the parking spot, since a cleaner driveway may simply reflect less driving, different weather, or where the car happened to sit. Steady readings over several weeks are better evidence than one good morning.
Persistent or returning leakage means the underlying fault still needs locating and correcting. Depending on what a technician finds, the fix may involve replacing a seal or gasket, correcting a crankcase ventilation fault that is pressurizing the engine, or repairing a damaged cover, pan, or sealing surface. Tell the shop which additive you used and how much you added, since that can inform their assessment and the next oil service. Avoid repeated dosing to hide continued oil loss, because it delays a repair that often grows more involved the longer it waits.