Discount Tire Flat Tire Repair: How to Arrange a Puncture Assessment
The Short Answer
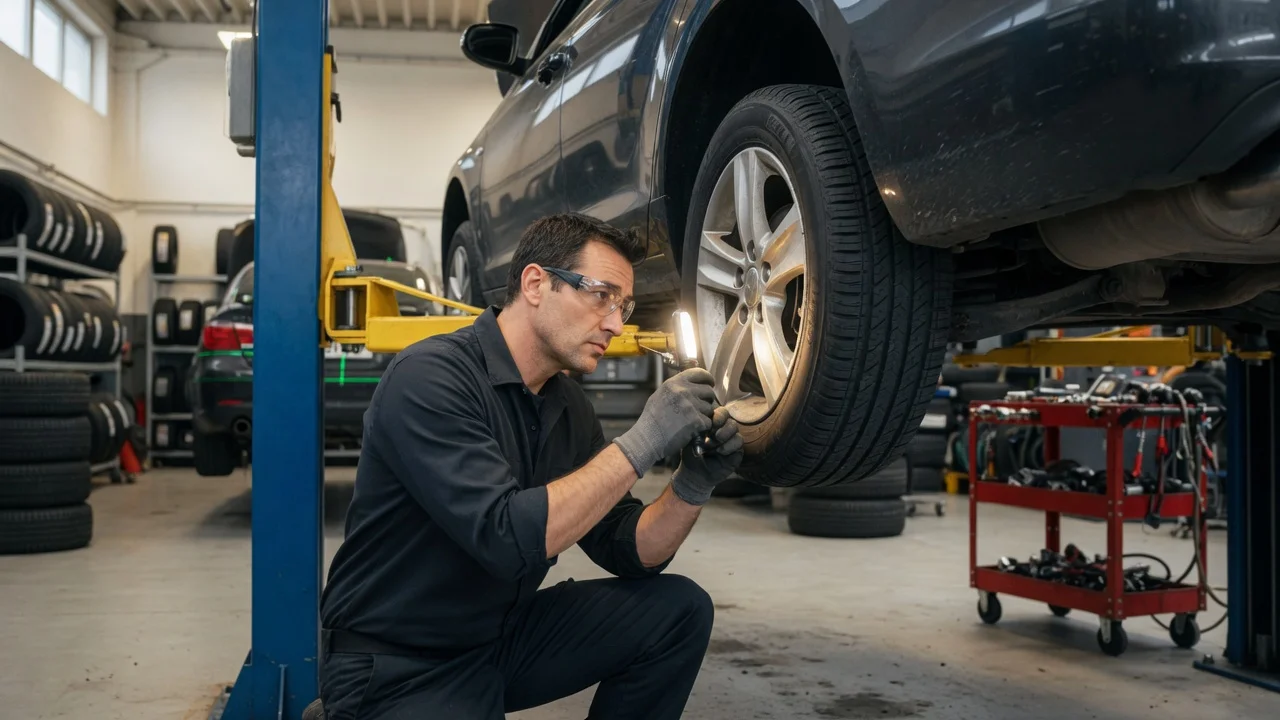
To get a flat tire looked at by Discount Tire, contact or visit your nearest store and ask for a flat or puncture inspection. A technician removes the tire from the wheel, finds the cause of the air loss, and decides whether the tire can be safely repaired or must be replaced. Discount Tire has long promoted free flat repairs, including on tires bought elsewhere, but no current policy text was supplied for this guide. Confirm with your local store whether the repair is free for your tire, whether you need an appointment, and how long the wait is likely to be.
A puncture assessment is an inspection to decide whether a damaged tire can be repaired. It is not a guarantee of a repair. The result depends mainly on where the damage is, how large it is, and whether the tire was damaged inside by being driven while flat or badly underinflated.
What Usually Decides Whether a Tire Can Be Repaired
US tire industry guidance, which retailers commonly follow, generally allows repairs only in the central tread area. The puncture must also be small: the commonly cited limit is a diameter of about 1/4 inch (6 mm). The approved method is a combined plug and patch fitted from inside the tire after it has been removed from the wheel. The store applies its own standards, so treat the table below as a general guide, not a promised outcome.
Condition | Typical outcome; Small puncture (nail or screw) in the central tread | Often repairable after an internal inspection; Damage in the shoulder (where tread meets sidewall) or sidewall | Generally not repairable; replacement needed; Puncture larger than the repair limit, or a cut or gash | Generally not repairable; Puncture overlapping an earlier repair | Often refused; Internal damage from driving flat or badly underinflated | Not repairable, even if the outside looks fine; Worn tread at or near the legal or replacement limit | Usually replaced instead of repaired; Run-flat tire | Depends on the tire maker's guidance; some prohibit repair or limit it to one
If one tire must be replaced, the store may raise tread-depth matching. On all-wheel-drive vehicles in particular, some manufacturers set limits on how much tread depth can differ between tires. That requirement depends on the vehicle, so check your owner's manual or ask the technician to show you the specification they are using.
Steps to Arrange the Assessment
Before You Start
Have your vehicle's year, make and model, and your tire size, which is printed on the tire sidewall. Know where the spare tire, jack and wheel lock key (if fitted) are kept. Your owner's manual shows their locations and the correct jacking points. Have a tire pressure gauge. Your vehicle's recommended pressure is on the placard, usually inside the driver's door jamb, and in the owner's manual. If the tires were bought at Discount Tire, have the purchase details or any road hazard certificate (an optional damage protection plan) available.
Ordered Steps
1) Get to a safe place. If the tire loses air while driving, slow down gradually and pull well away from traffic onto firm, level ground. Turn on your hazard lights. Stop if the vehicle pulls hard, vibrates heavily or the tire is visibly flat. Driving on a flat tire can destroy it and damage the wheel, which turns a possible repair into a replacement. 2) Look before you act. Note where you see a nail, screw, cut or bulge, and whether the tire is fully flat or only low. Do not pull out an embedded object. It may be slowing the leak, and the technician will use it to locate the damage. 3) Decide how to get the vehicle to the store. If the tire still holds most of its pressure and the store is close, inflating it to the placard pressure may get you there. Stop and switch to the spare if it loses pressure quickly again. If the tire is fully flat, damaged on the sidewall, or bulging, fit the spare or arrange roadside assistance or a tow. 4) If you fit the spare, follow the jacking and wheel-fastening instructions in your owner's manual. Never put any part of your body under a vehicle supported only by a jack. Temporary (compact) spares carry speed and distance limits on the spare's label and in the manual. Stay within them, and check the spare's pressure, because spares often lose air in storage. 5) Contact the store. Ask whether repairs are walk-in or by appointment, what the current wait is, whether the repair is free for your tire, and whether they work on your tire type (for example, run-flat tires or tires with a different wheel lock). 6) At the store, show the technician where the damage is. Mention whether the tire was driven while flat, and whether it is a run-flat tire. Ask them to explain the result. 7) If the tire is repaired, make sure it is refitted to the correct position, inflated to the placard pressure, and that the wheel fasteners are tightened. Ask whether the tire pressure monitoring system (TPMS) needs to be reset on your vehicle. 8) If the tire cannot be repaired, ask why: location, size, internal damage or tread wear. Then decide on a replacement with that information.
Completion Check
The job is complete when the repaired or replaced tire is on the vehicle at the placard pressure, the TPMS warning light (if your vehicle has one) has gone out or been reset, and the spare, jack and wheel lock key are back in storage. Check the repaired tire's pressure again within the next day or two to confirm it is holding air. If it keeps losing pressure, return to the store.
Work That Needs a Qualified Technician
A permanent repair requires removing the tire from the wheel, inspecting the inside, and installing a plug-patch, followed by remounting and balancing. Tire shop equipment does this work. An outside plug or an aerosol sealant may be a roadside stopgap, but it is not treated as a permanent repair, and it does not show whether there is internal damage. Tell the technician if you used sealant, because it can affect the repair and the TPMS sensor. Your vehicle's owner's manual may also have guidance on sealant use.
If You Are Not Sure Why the Tire Is Losing Air
A low-pressure warning or a soft tire does not always mean a tread puncture. Separate what you can see from what might be causing it, and let the in-store inspection confirm the cause.
Observation | Possible causes | What it suggests; Visible nail or screw in the tread | Tread puncture | Often a good candidate for repair if it is in the central tread; Cut, bulge or damage on the sidewall | Impact or sidewall damage | Unsafe to drive on; replacement likely; Slow loss, nothing visible | Small puncture, valve stem leak, leak where the tire seals against the wheel (bead leak), damaged or corroded wheel | Needs inspection; some causes are fixed without a tire repair; Air loss after hitting a pothole or curb | Bead or wheel damage, internal tire damage | Inspect the wheel and tire; damage may not be visible outside; TPMS warning on all tires, especially in cold weather | General pressure drop with lower temperatures | Check and adjust all tires to placard pressure; a single persistently low tire still warrants inspection; TPMS warning but gauge shows normal pressure | Sensor fault or system issue | Needs diagnosis; not evidence of a puncture
Start with the highest-risk checks: sidewall damage, bulges, and rapid pressure loss mean the tire should not be driven on. Next, look for an object in the tread, since that narrows the cause quickly. For slow leaks with no visible cause, a technician can spray soapy water on the tread, valve and bead to locate escaping air. That test points to the cause but does not on its own decide whether a repair is safe.
Gaps to Confirm Locally
This guide was prepared without current Discount Tire policy documents, so several details need confirming with your store. These include whether repairs are free for your tire, appointment and walk-in rules, service times, any repair limits beyond industry guidance, and how road hazard coverage applies. Speed and distance limits for temporary spares, jacking points, TPMS reset procedures and tread-depth matching rules vary by vehicle. Check them against your owner's manual for your specific model year and equipment.