CV Boot Clamp Pliers and Tools: Choosing the Right Tool
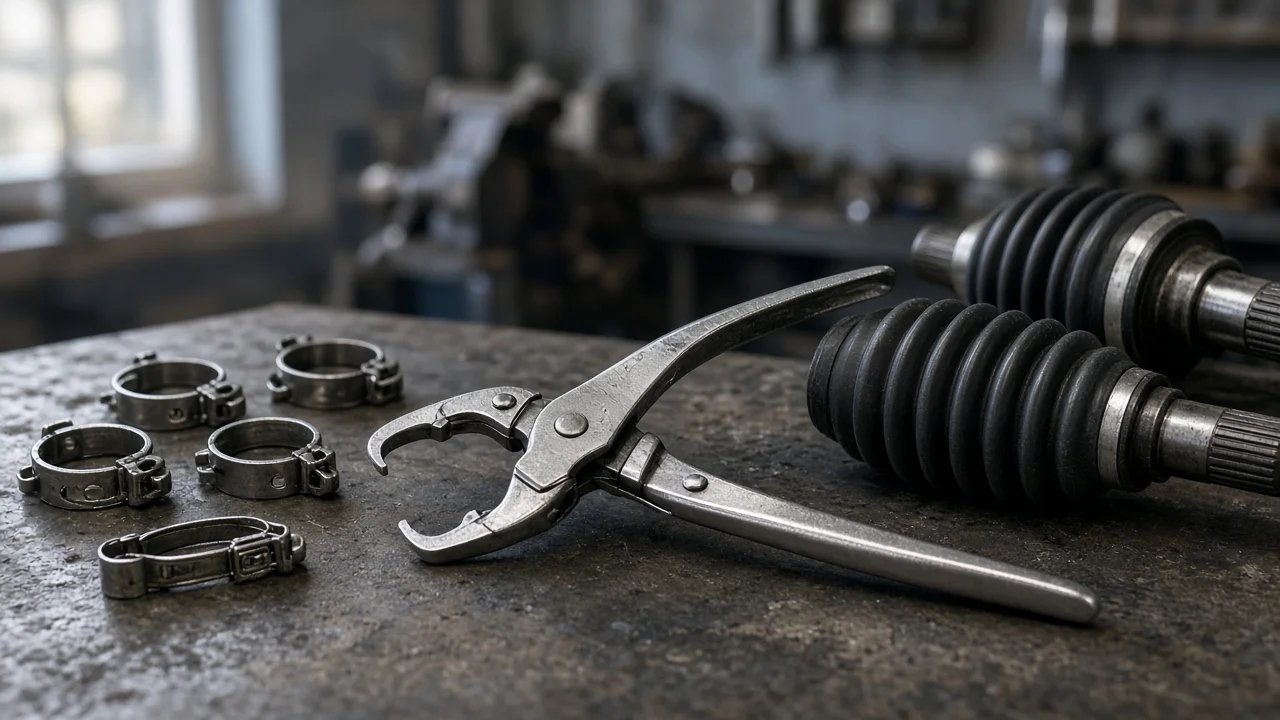
A torn CV boot is usually an inexpensive repair until the clamp goes on wrong. A loose or overcrimped clamp lets grease out and dirt in, and the joint you meant to save fails anyway. Choosing CV axle clamp pliers depends less on brand than on matching the tool to the clamps your vehicle and replacement kit actually use, and to where you will do the work.
Define the job the tool must do
Start with the job, not the catalog. You might be replacing a single outer boot on the car, rebuilding a half shaft on the bench after removing it, or servicing several vehicles in a shop. A one-time boot job on a daily driver justifies a different purchase than regular axle work. Note the vehicle configuration as well. Front-wheel drive, all-wheel drive and many rear-drive vehicles with independent suspension use CV joints, but boot size, clamp location and clearance around the knuckle, control arm and subframe vary widely between models.
Practical constraints matter just as much. Working on the vehicle means reaching the inner clamp with little room to swing a tool, often close to the transmission or differential, so jaw angle and handle length decide whether a tool fits at all. On the bench, with the axle secured in a vise, access is easier and a larger tensioning tool becomes practical. Also check the service history. A previous boot repair may have replaced the factory clamps with a different style, so the clamps you remove are not always the type you need to install.
Check compatibility with your clamps
Clamp design decides compatibility. Ear-type clamps have a raised loop that is squeezed closed, and they need pincer-style pliers with jaws that close the ear evenly. Ear-less or low-profile band clamps have no ear. Instead, the tool hooks into the band and pulls it until a locking tab engages, so ordinary pincers will not work on them. Universal stainless banding, often supplied in aftermarket boot kits, is fed through a buckle, tensioned with a dedicated banding tool, then cut and folded over to lock it.
Before buying, identify the clamp type on both the inner and outer joint, because they can differ on the same axle, and check what the replacement boot kit includes. Manufacturer specifications and service information may name a required clamp, tool or crimping procedure, particularly for hard thermoplastic boots, which generally need more clamping force than softer rubber boots. When the service information specifies a clamp or tool, follow it rather than substituting a generic method. Some kits include screw-type clamps that need only a driver, but they are not an acceptable substitute where a specific clamp is called for.
Features that affect the choice
For ear clamps, jaw design is the main variable. End-jaw pincers suit ears that face you, while side-jaw or angled versions help when the ear sits toward the subframe or engine. Narrow, hardened tips grip the ear without slipping, and a smooth closing action makes it easier to compress the ear evenly. Longer handles reduce effort but need more room to move. Some pliers add a stop or calibrated mechanism intended to apply consistent closing force, which helps avoid cracking the ear or distorting the band through over-compression.
For ear-less clamps and banding, look at how the tool engages the band and how tension is applied. Screw-driven or ratcheting tensioners give more controlled tightening than a simple squeeze, and some include an adjustable or torque-limiting setting. A built-in cutter on a banding tool saves a step and leaves a cleaner tail. Read marketing labels skeptically: terms such as professional grade, universal or fits all CV boots say little on their own. Useful evidence is a clear list of supported clamp types and band widths, the jaw material, any closing force or tension the maker actually states, and a shape you can position on your axle.
Limitations and ownership costs
No single tool handles every clamp. A set that combines ear pincers, an ear-less clamp tool and a banding tool costs more up front, but it can be cheaper than buying a second tool after discovering a mismatch halfway through a job. Budget for consumables as well: new clamps in the correct size for each boot, the boot itself, the grease supplied with or specified for that joint, and cleaning supplies. Crimped and locked clamps are generally single-use, and reusing an old one invites a leak.
Setup is simple but deserves attention. Jaws and hooks wear, and rounded tips can slip, damage the band or leave a clamp under-tightened, so inspect the tips and pivots before each job and keep them clean and lightly oiled. These tools also have clear limits. They do not diagnose a worn joint, separate an axle from the hub or make up for poor boot seating and an incorrect grease fill. If a joint already clicks, clunks or shows grit mixed into the grease, a new boot and clamp may not be enough, and the joint should be inspected before you decide to reboot it.
Build a practical shortlist
Narrow the options with a short checklist rather than a ranking. First, confirm the clamp type on each joint of your axle and in the replacement kit. Second, confirm the tool explicitly supports that clamp type and band width. Third, check access: jaw angle and handle length should suit on-car work if you will not remove the axle. Fourth, look for controlled closing or tensioning where the boot material or service information calls for a defined clamp force. Fifth, check tip and jaw construction and whether worn parts can be replaced.
If you maintain one vehicle that uses a single clamp style, a dedicated tool for that style is usually enough. If you work on several vehicles or install aftermarket kits, a combined CV axle boot tool set lowers the chance of getting stuck mid-repair. Whichever you choose, finish by checking the result: each clamp should sit squarely in its groove, the boot should be seated without twists, and the axle should turn through its full range of steering and suspension travel without the boot rubbing nearby parts.